A job's Notes tab holds a running record of the job: what happened on site, what is holding it up, what the customer agreed. A note can belong to the whole job or to one job item, and your team can comment on it, react to it and acknowledge it.
Who can do this: anyone in your team who can open the job.
Add a note
- Open the job and click the Notes tab.
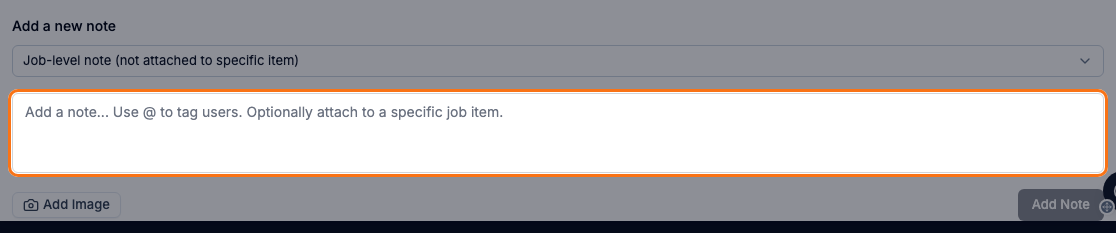
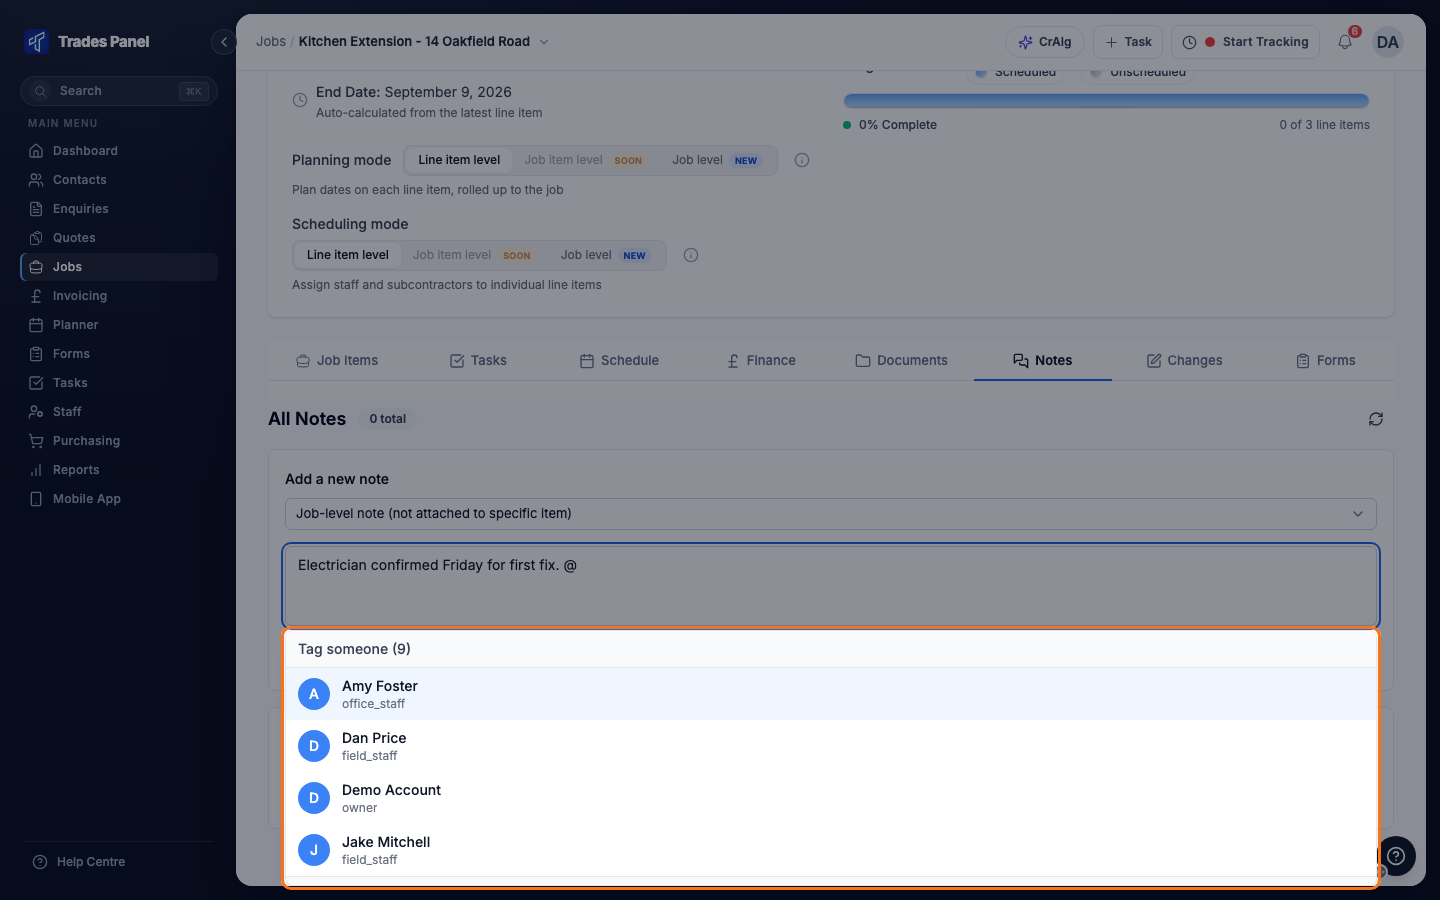
- Leave the dropdown on Job-level note (not attached to specific item), or pick a job item if the note is about that item.
- Type the note.
- To tag someone, type @ and pick them from the list. They get a notification.
- To attach a photo, click Add Image. One image per note, up to 10MB.
- Click Add Note.
The note appears at the top of All Notes. To share a photo set or a file larger than 10MB, upload it to the job's Documents tab instead.
Acknowledge a note
Acknowledging a note tells the rest of the team it has been dealt with.
- Click Acknowledge on the note.
- Click Acknowledge Note to confirm.
The note then shows Acknowledged by and your name. Notes nobody has acknowledged are highlighted, and their number shows on the Notes tab and beside All Notes. To undo it, click Acknowledged.
Comment or react
- Comment: click Comments under the note, type your reply and click Add Comment. You can tag people with @ here too.
- React: click the reaction button beside Comments and pick an emoji.
A note cannot be edited after it is posted. Add a comment to correct it.
Turn a note into a task
- Click Create Task at the bottom of the note.
- Check the Task Name and Description.
- Pick a Due Date. It is required.
- Change the Priority if Medium is not right.
- The job is already selected under Related To. Under Assigned To, you are assigned by default. Add or remove people as needed.
- Click Create Task.
The task appears on the job's Tasks tab and in Tasks on the main menu. See Create and track tasks.
Show a note to the customer
If the job's client portal is turned on, the note box has a Visible to customer tick box, and each note has a Show to customer button. A note shown to the customer reads Shown to customer. Click it to hide the note again.
In the mobile app, use the Visible to customer switch when you add a note. See Share a Job With Your Customer on the Client Portal.
Delete a note
Owners and admins can delete a note with the bin button at its top right.
Related articles
- Store a job's documents - files, photos and folders on a job
- Create and track tasks - following up tasks created from notes
- Add and manage staff - who is in your team
- Who can see which job files - folder access by role
- Share a Job With Your Customer on the Client Portal - what the customer sees and how they reply