What It Does
Job Management in Trades Panel helps you create, view, and manage every project in one place. From assigning managers and defining site boundaries to adding detailed job items and line items, this feature ensures your team stays organised and every phase of your project is tracked clearly.
Explore all job management features.
Creating and Viewing Jobs
What It Does
The Jobs section gives you an overview of all active projects, with filters and timeline views for easier management and scheduling.
Steps
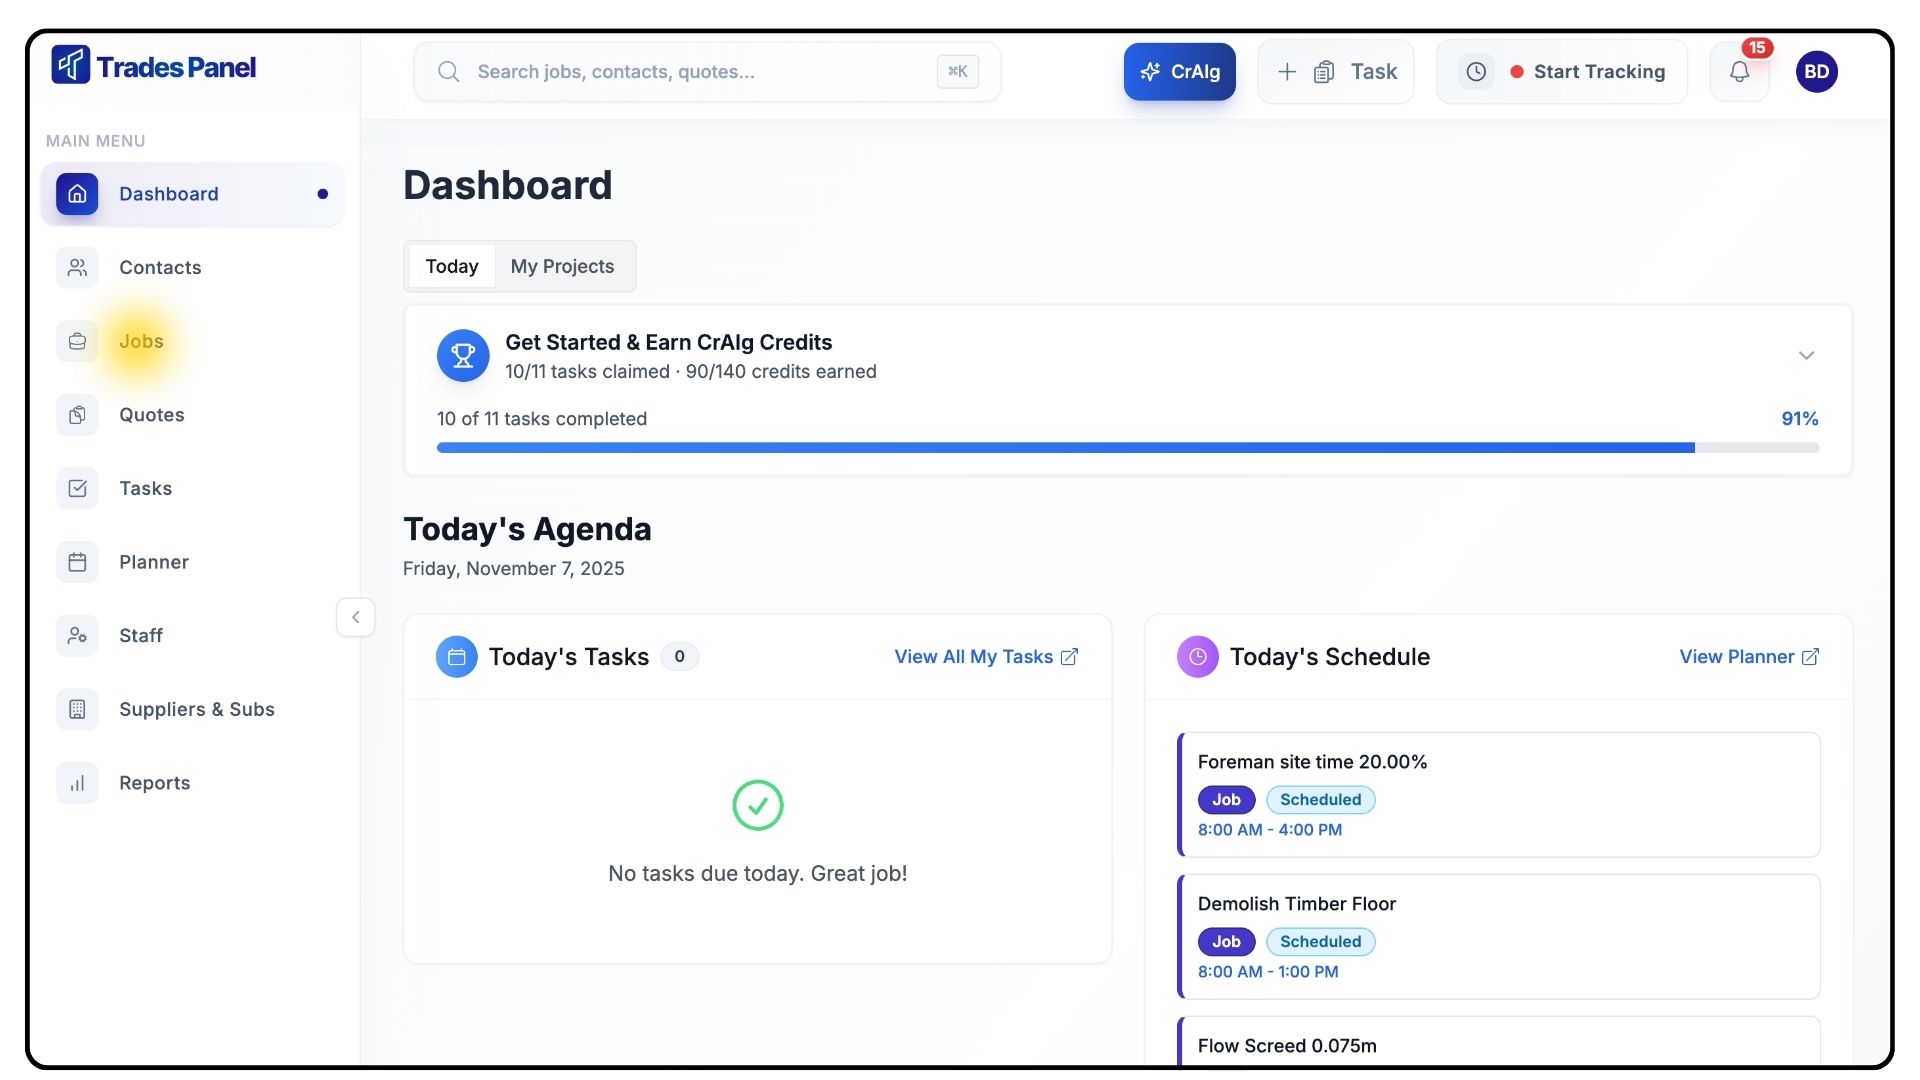
Select Jobs from the main menu.
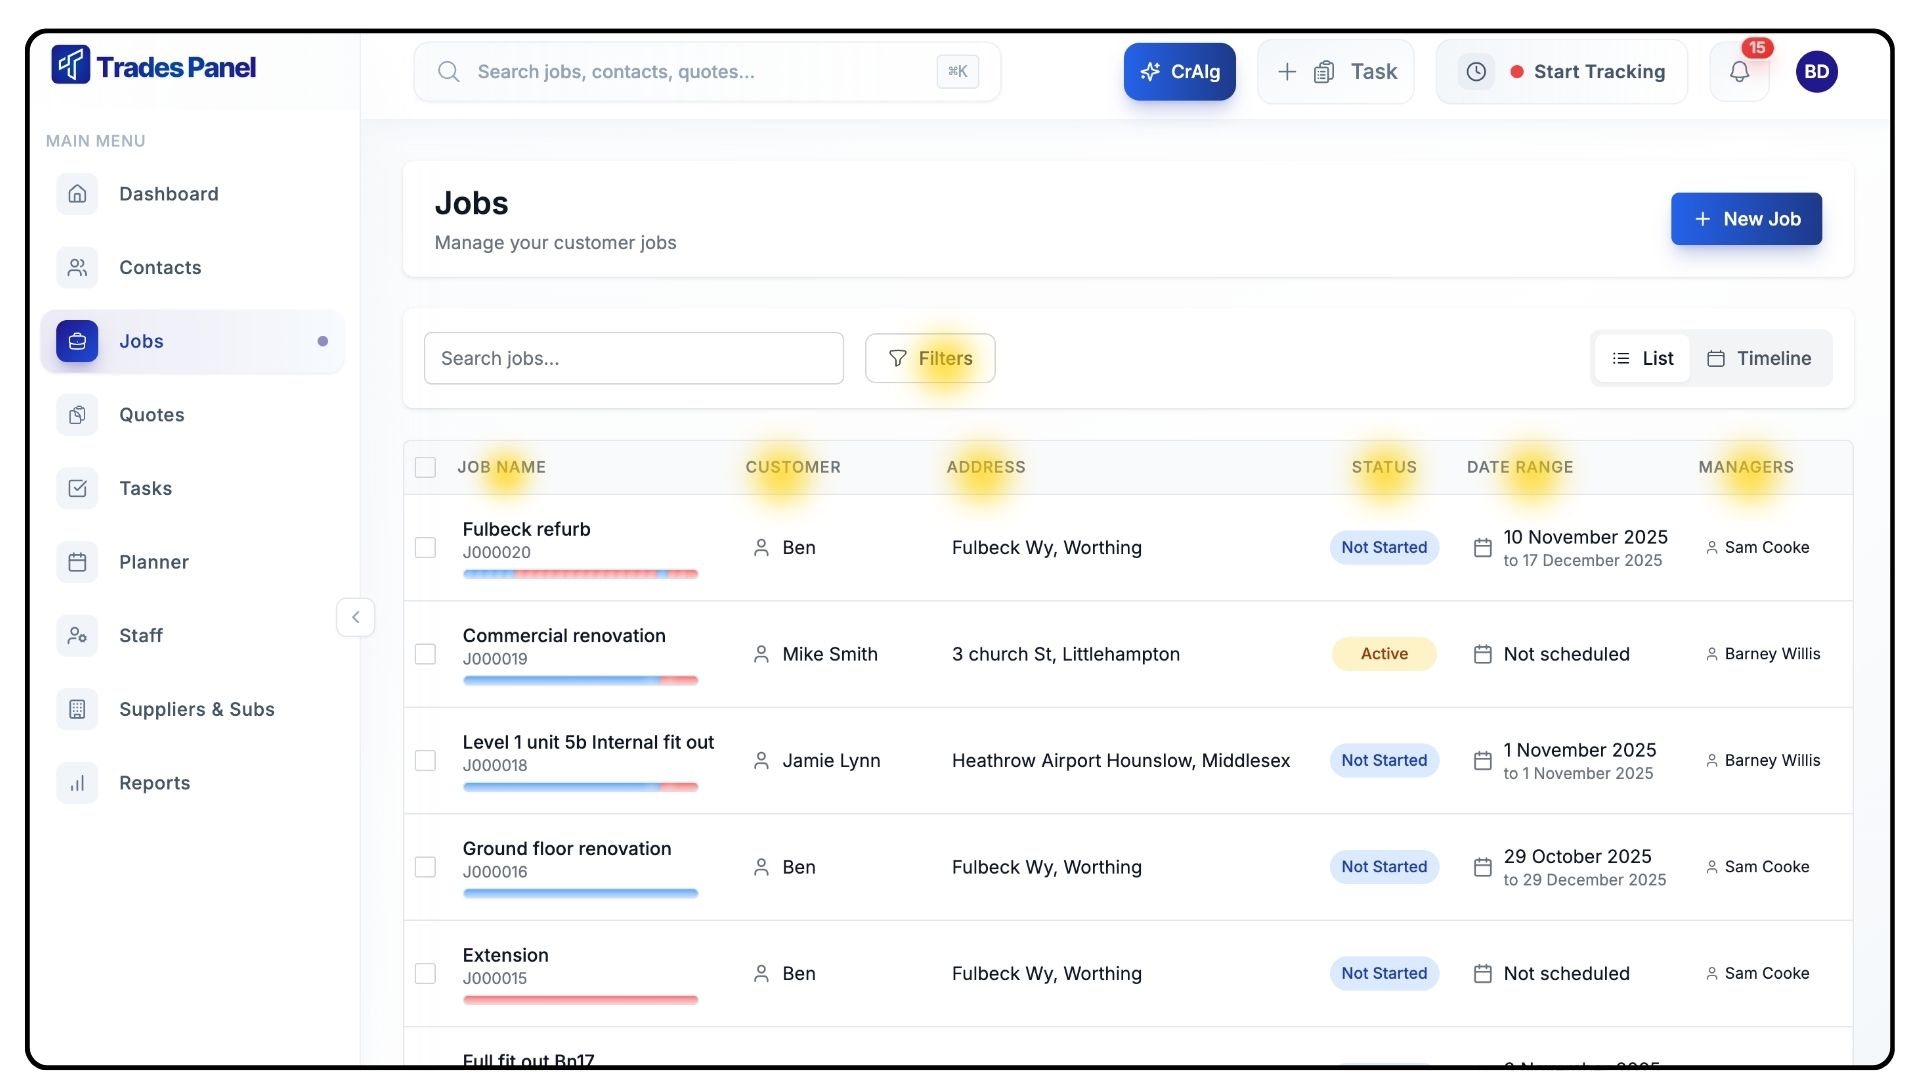
On the Jobs page, view a list of all current jobs.
Sort jobs by Customer, Address, Status, Date Range, or Manager.
Use filters to quickly locate specific jobs matching certain criteria.
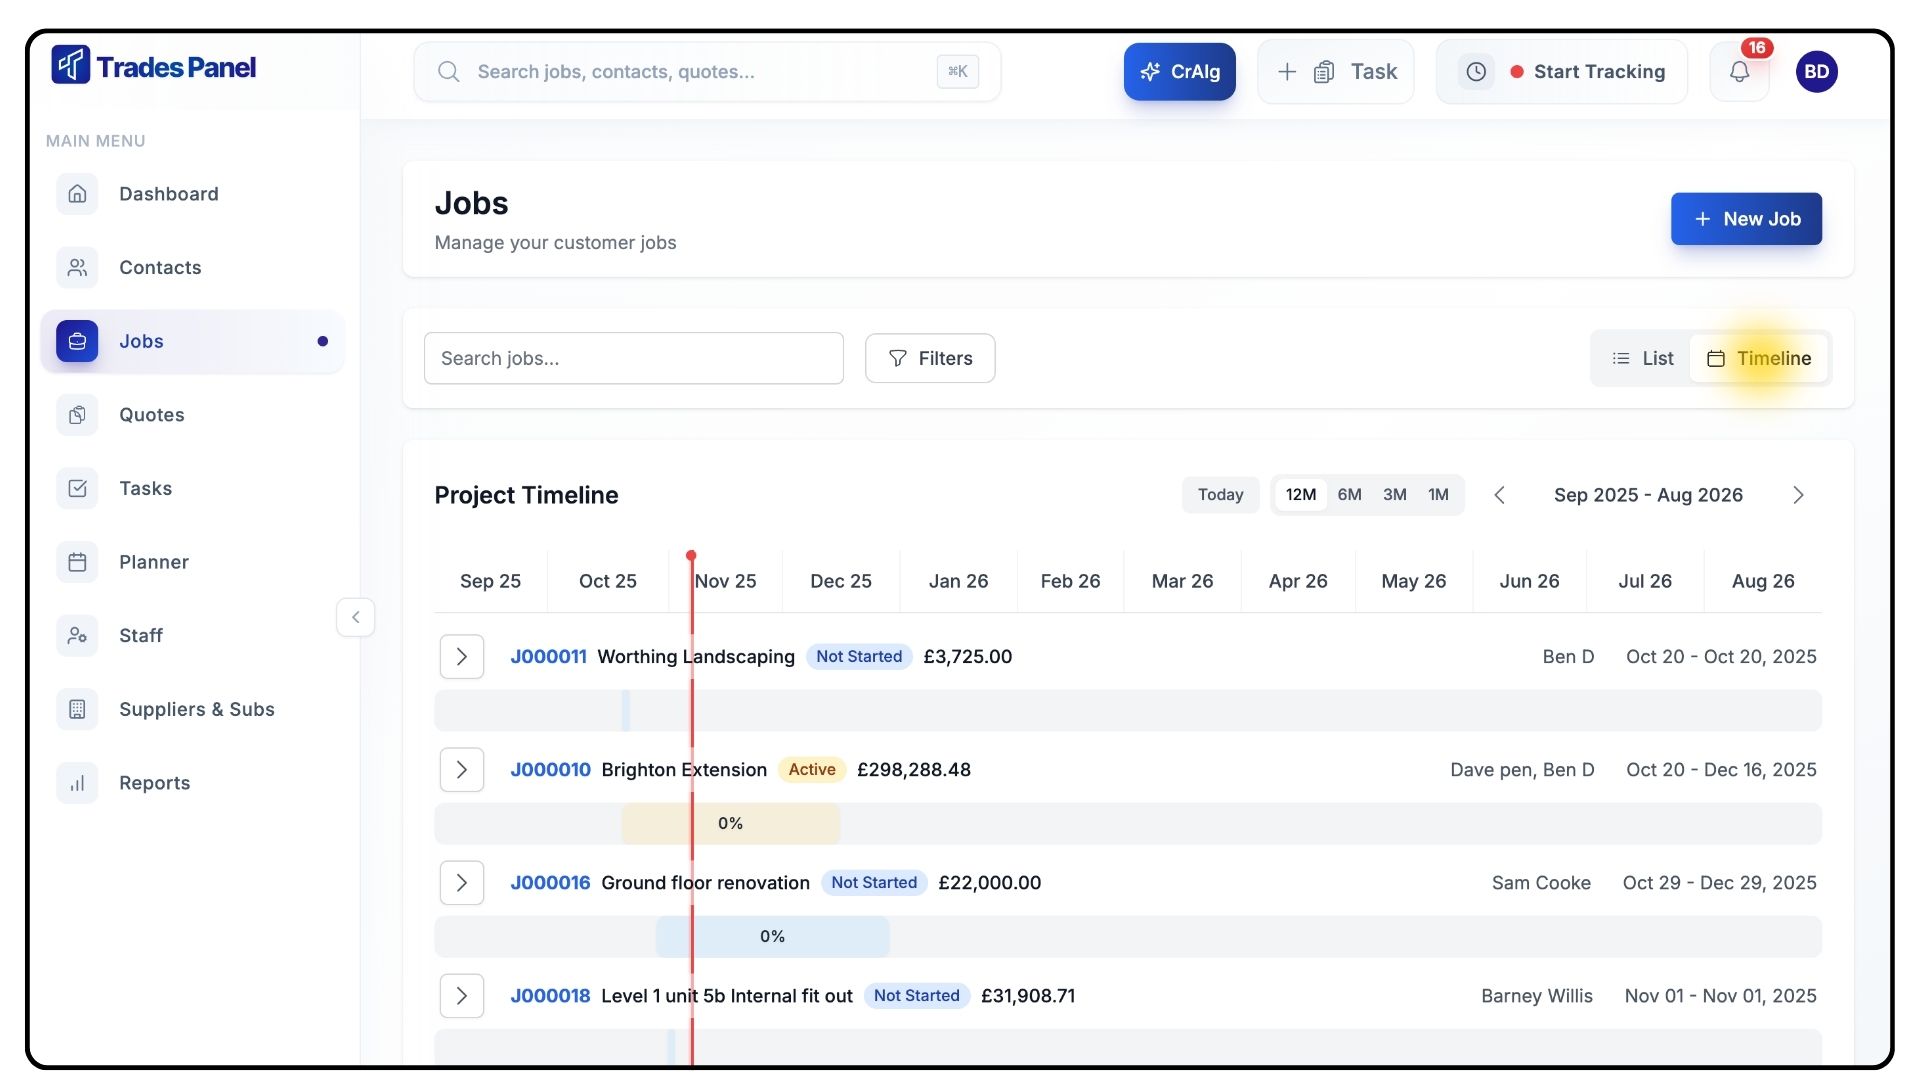
Click Timeline for a visual overview of all job timelines.
This helps identify overlaps, monitor progress, and track scheduling issues.
Creating a New Job
What It Does
Creating a job links customer, address, and project details together to form the foundation of your workflow.
Steps
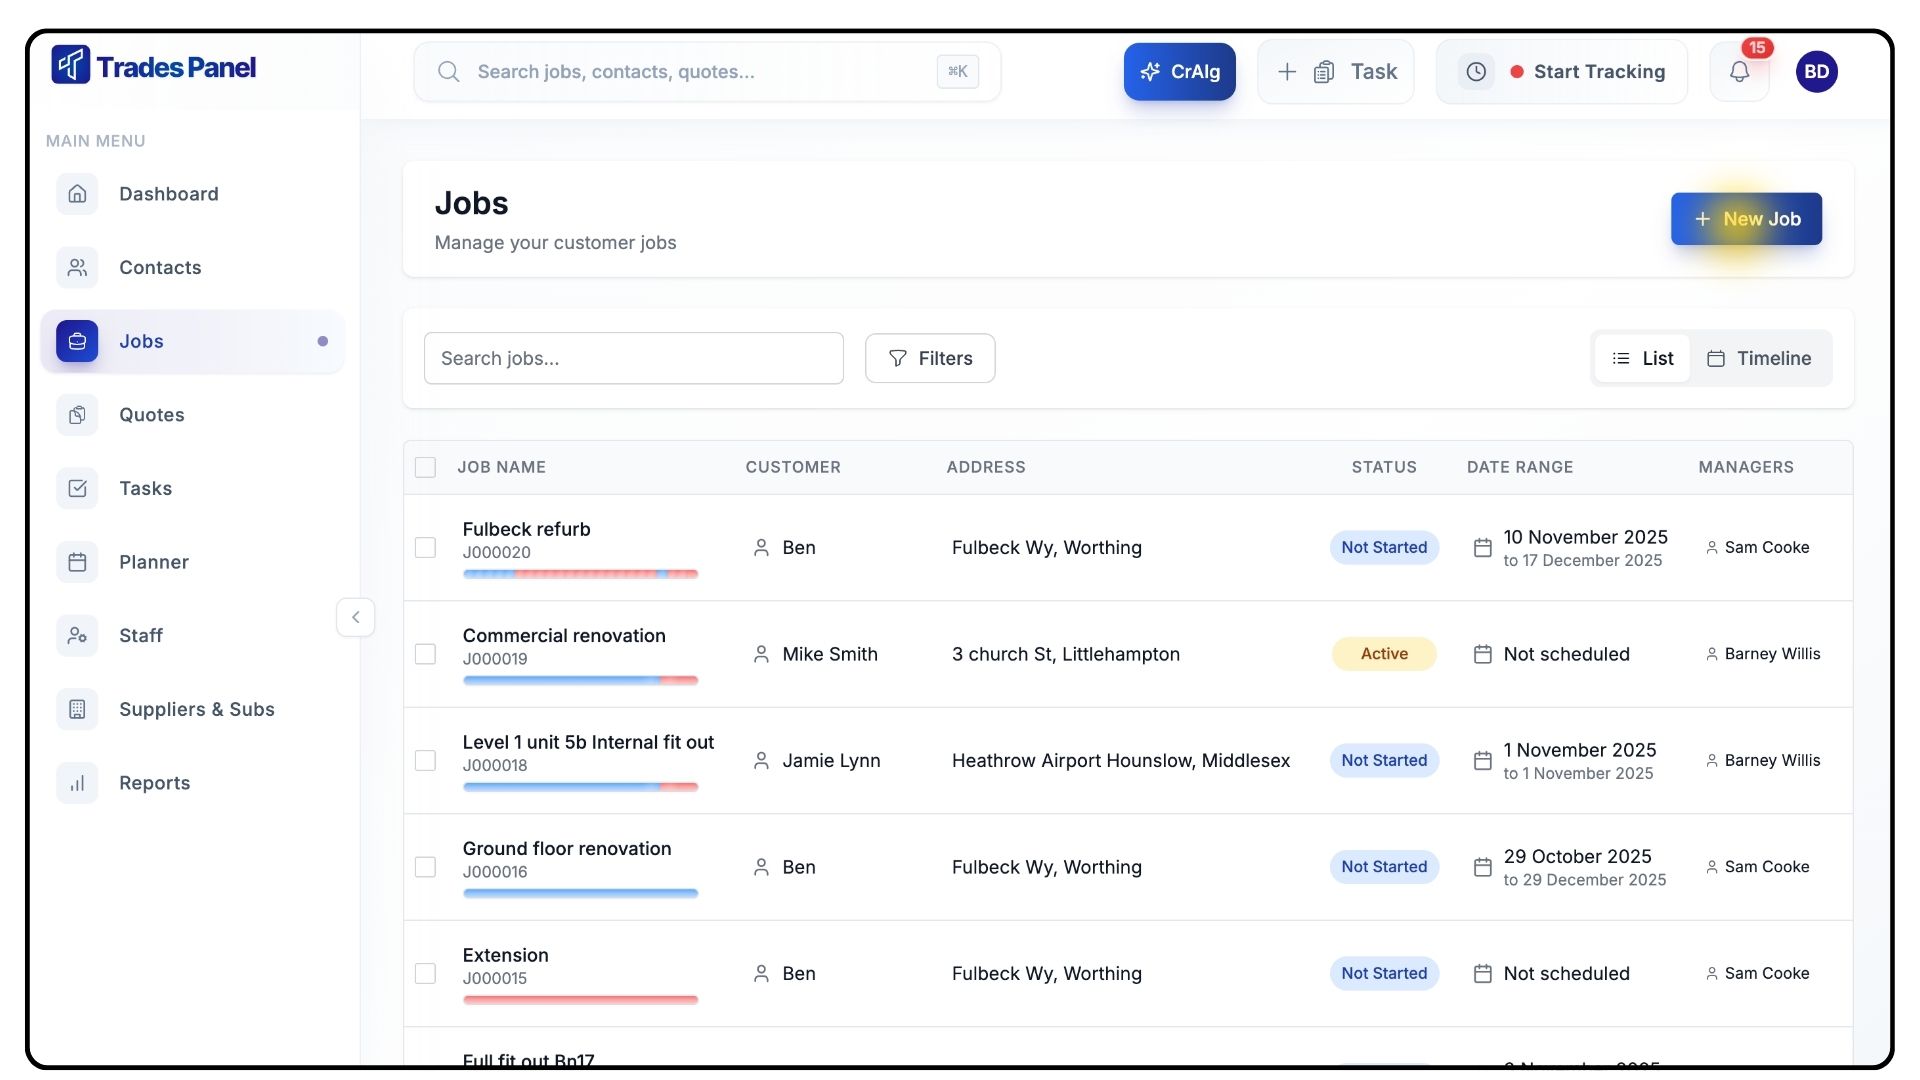
Click New Job in the top-right corner.
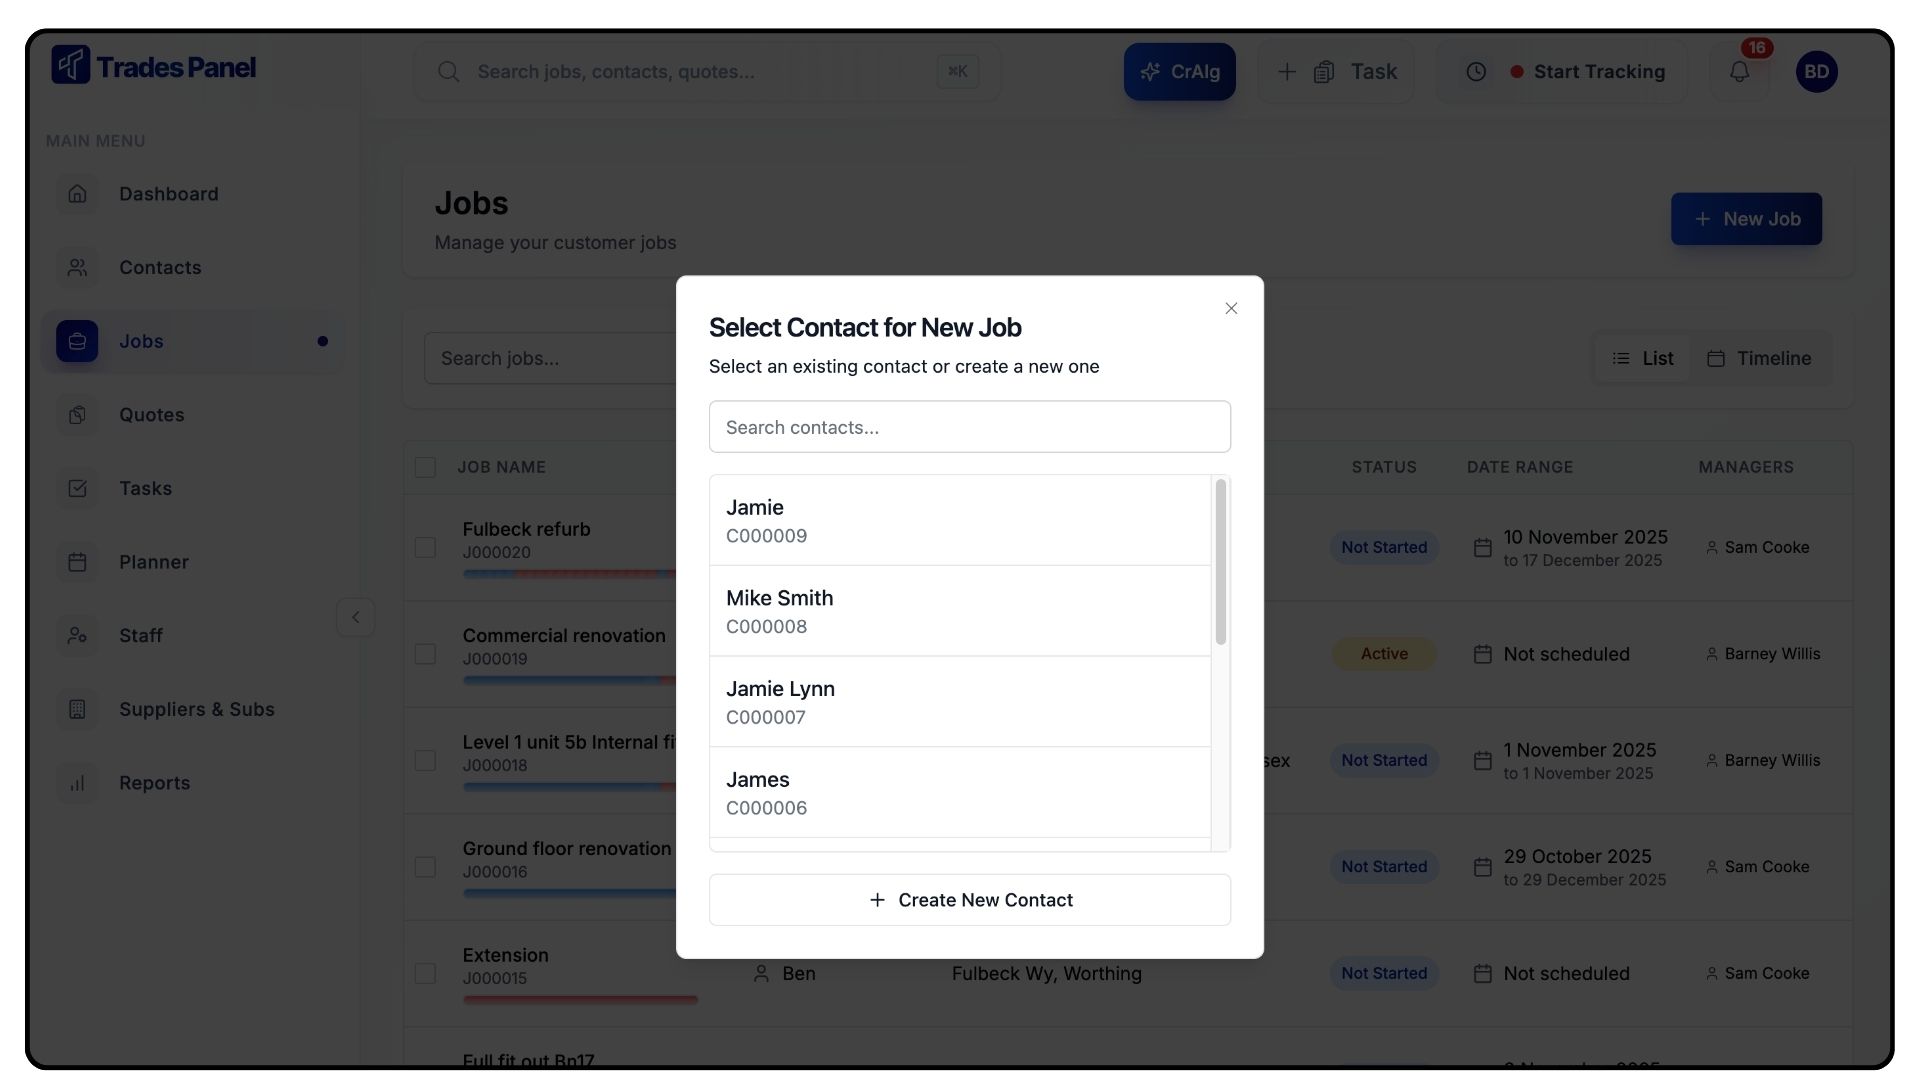
Select your Customer from the dropdown list, or add a new one if they’re not already in the system.
Choose the Job Address from the customer’s stored addresses.
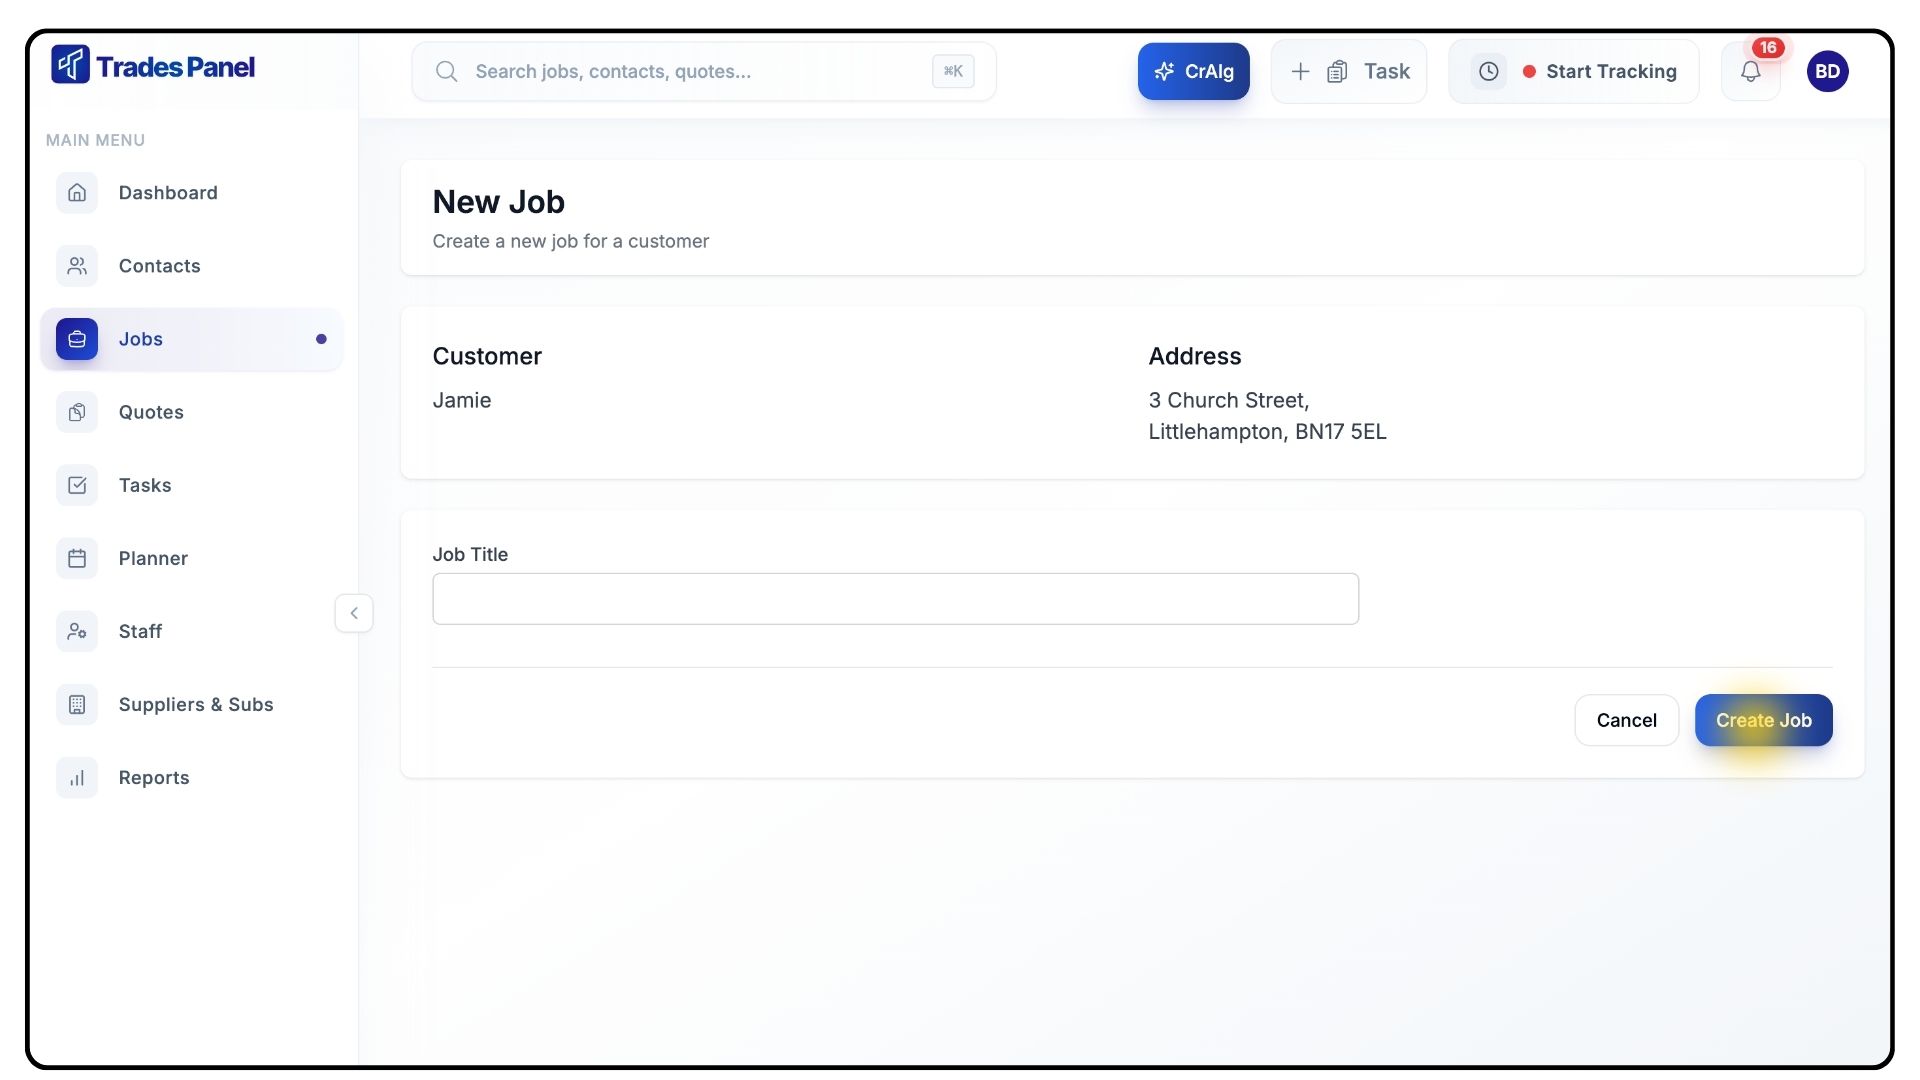
Enter a clear and descriptive Job Title.
Click Create Job.
The new job opens automatically, showing the Job Title, Creation Date, and Key Job Details.
Updating Job Status
What It Does
Statuses let your team track progress at a glance. Keeping them updated ensures everyone knows the project’s current stage.
Steps
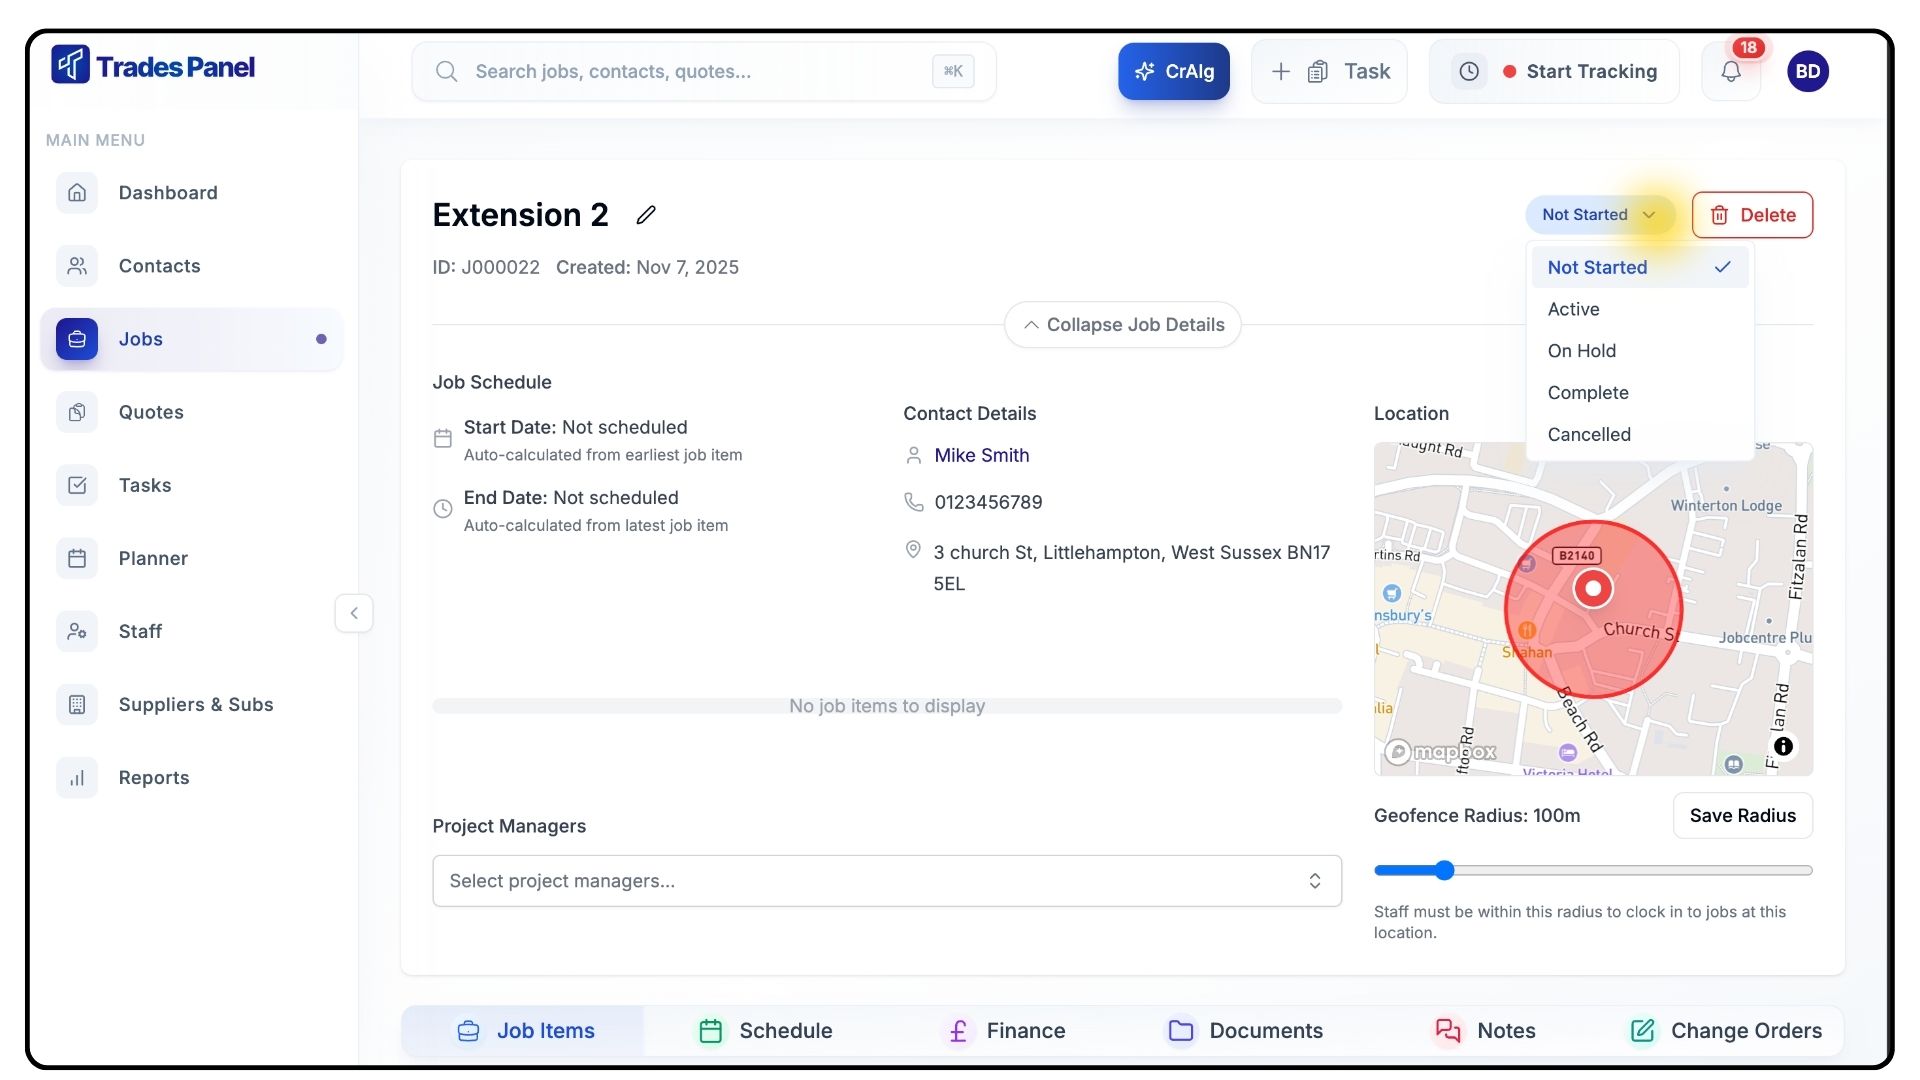
In the top-right corner, click the Status button.
Select a new option from the dropdown to update the job’s progress stage.
Assigning a Project Manager
What It Does
Assigning a Project Manager ensures accountability and provides a clear point of contact for the job.
Steps
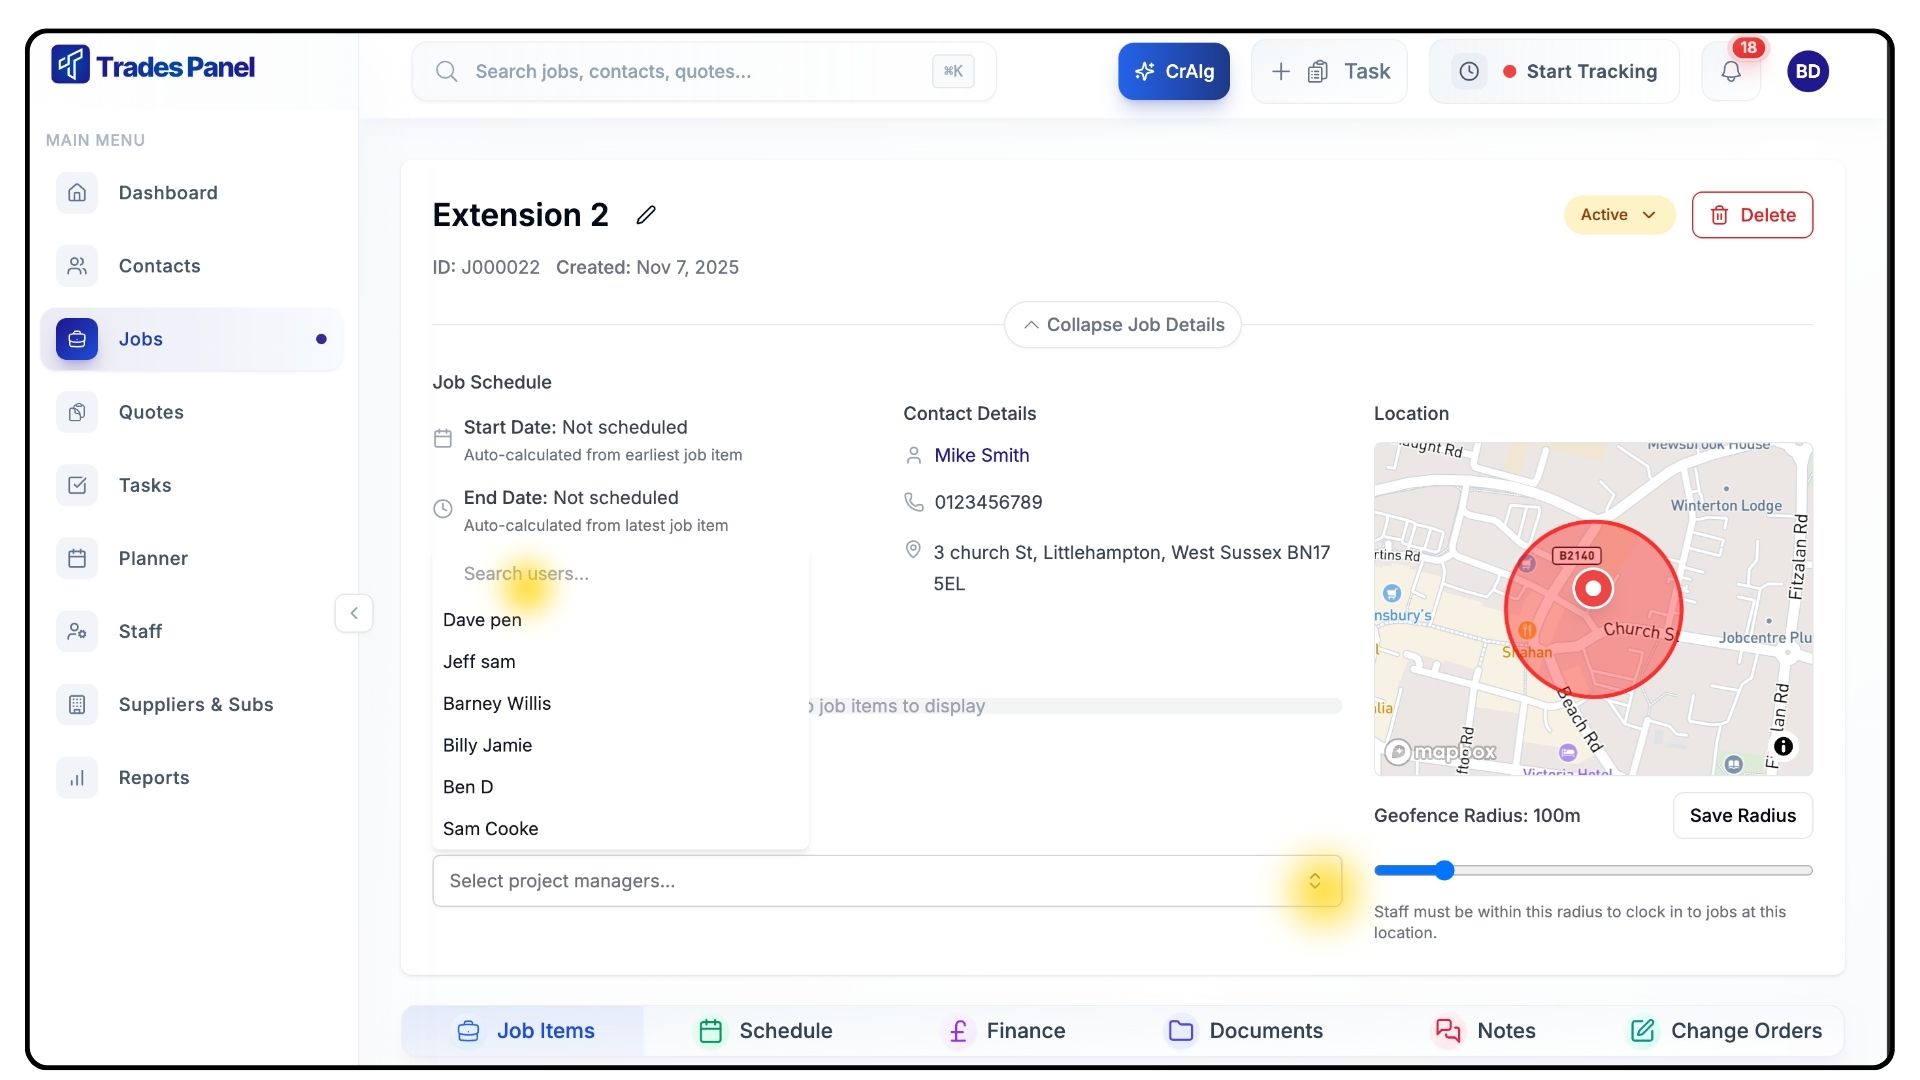
Click Assign Manager.
Select the relevant person from the list.
Setting Job Coordinates and Radius
What It Does
The job radius defines the geographic area where staff can clock in, ensuring accurate site attendance tracking.
Steps
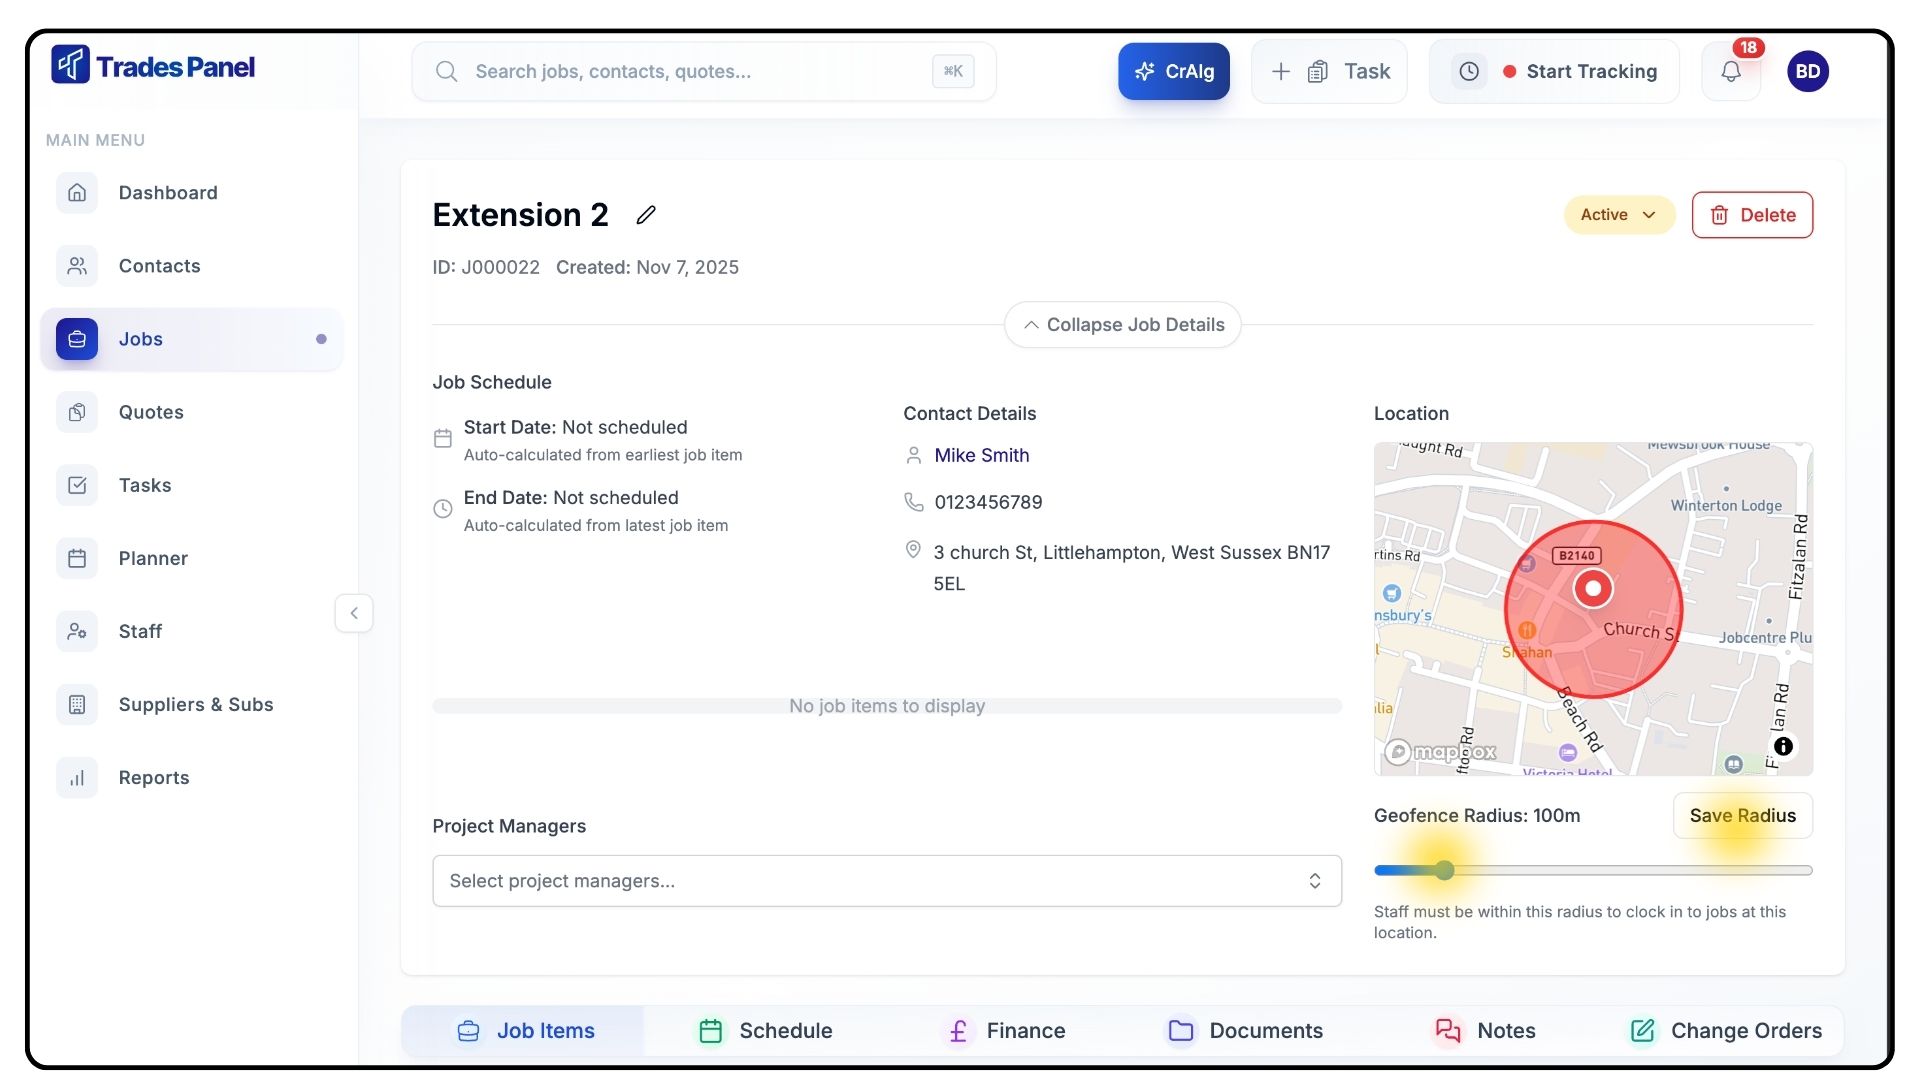
Click Get Coordinates above the map to generate the job’s working radius.
Adjust the radius using the slider at the bottom.
If you make changes, click Save Radius to confirm.
Staff will only be able to clock in within this defined area.
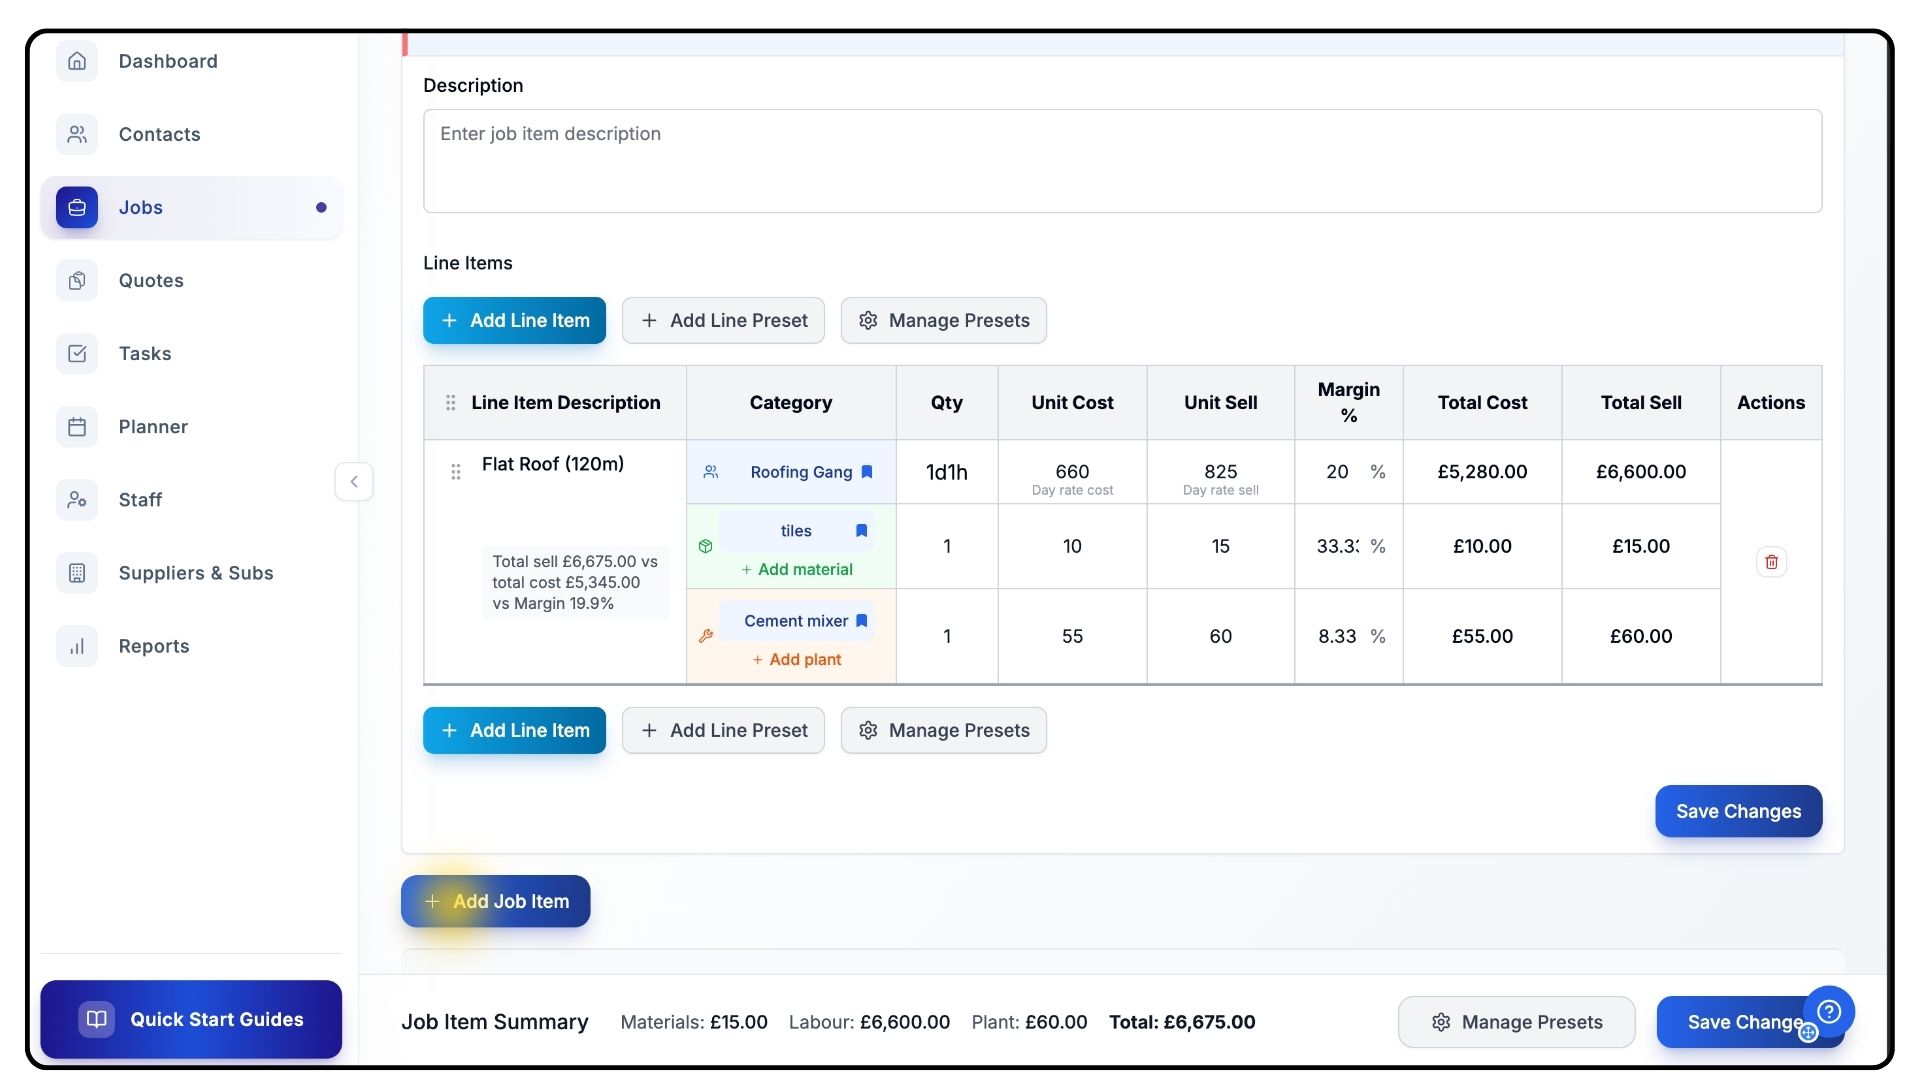
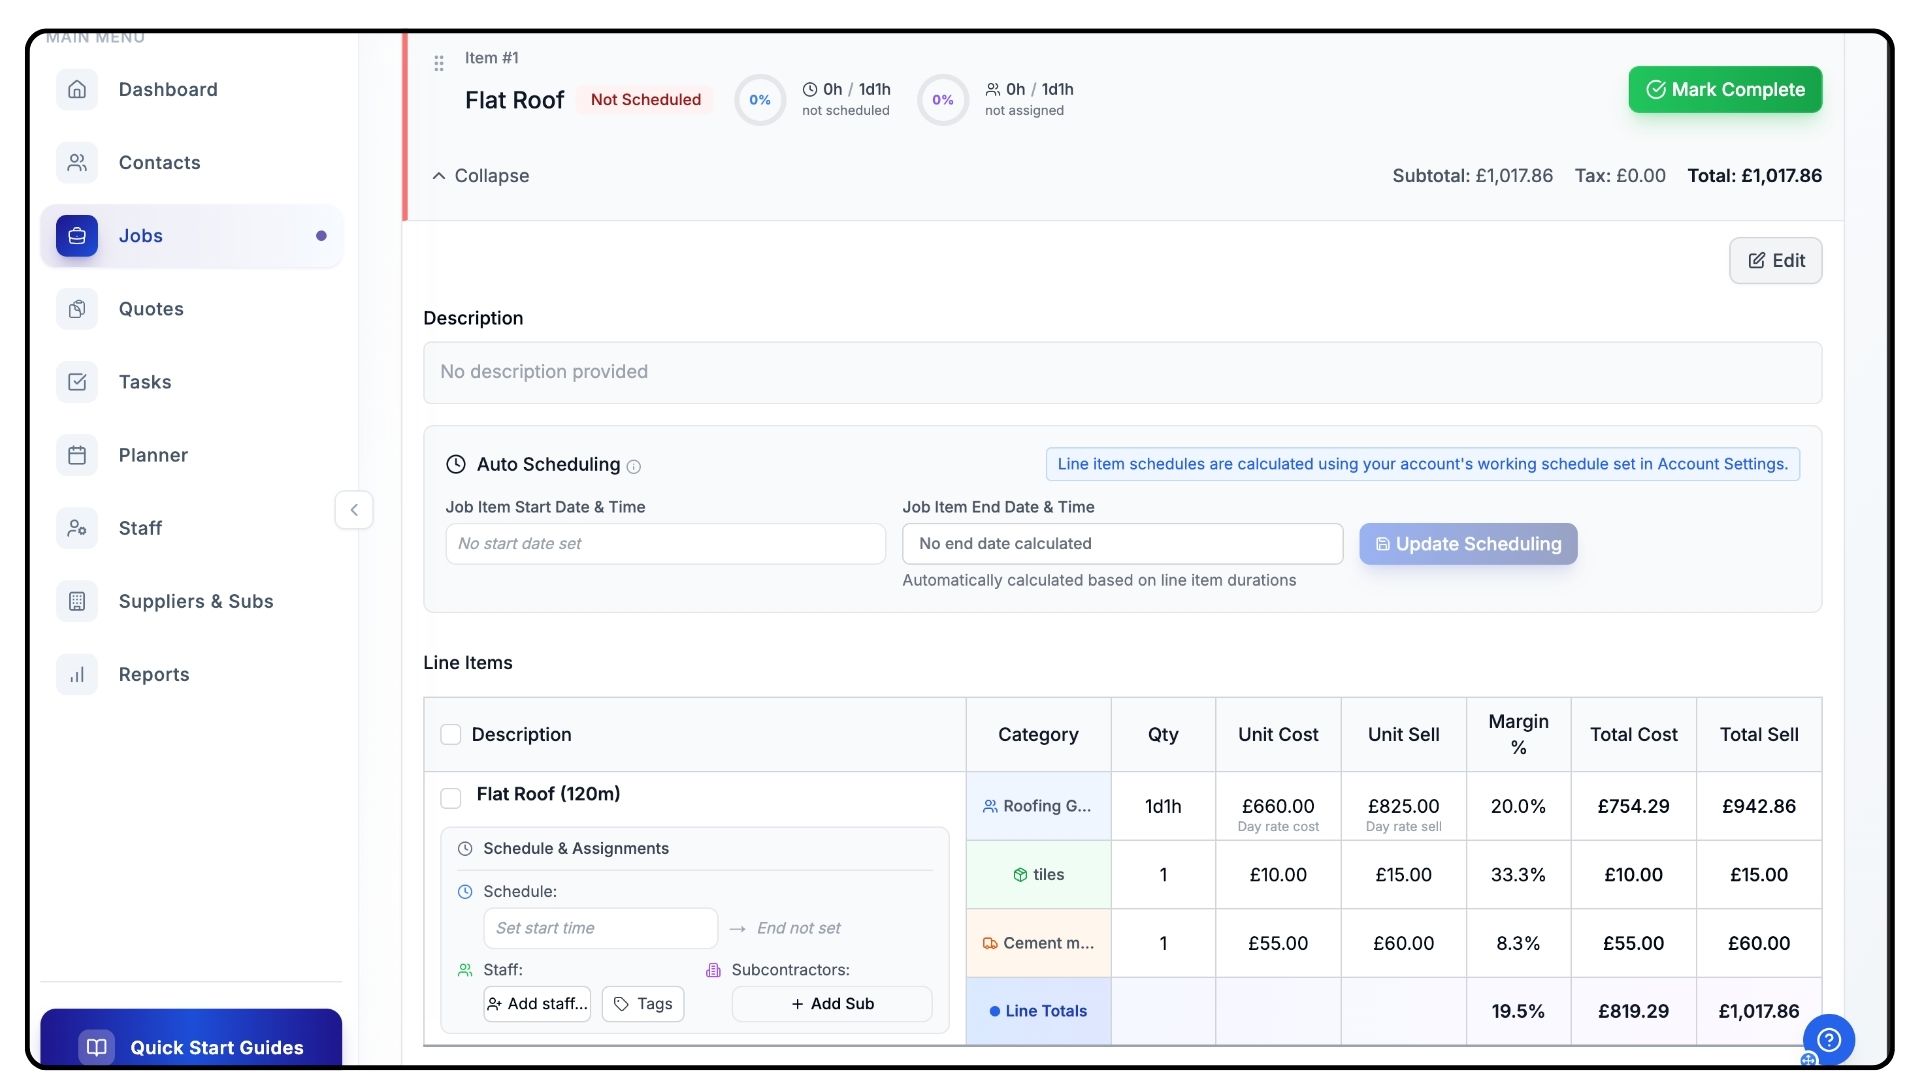
Adding Job Items
What It Does
Job Items represent the main phases or stages of your project - such as Demolition, Groundworks, or First Fix Carpentry.
Steps
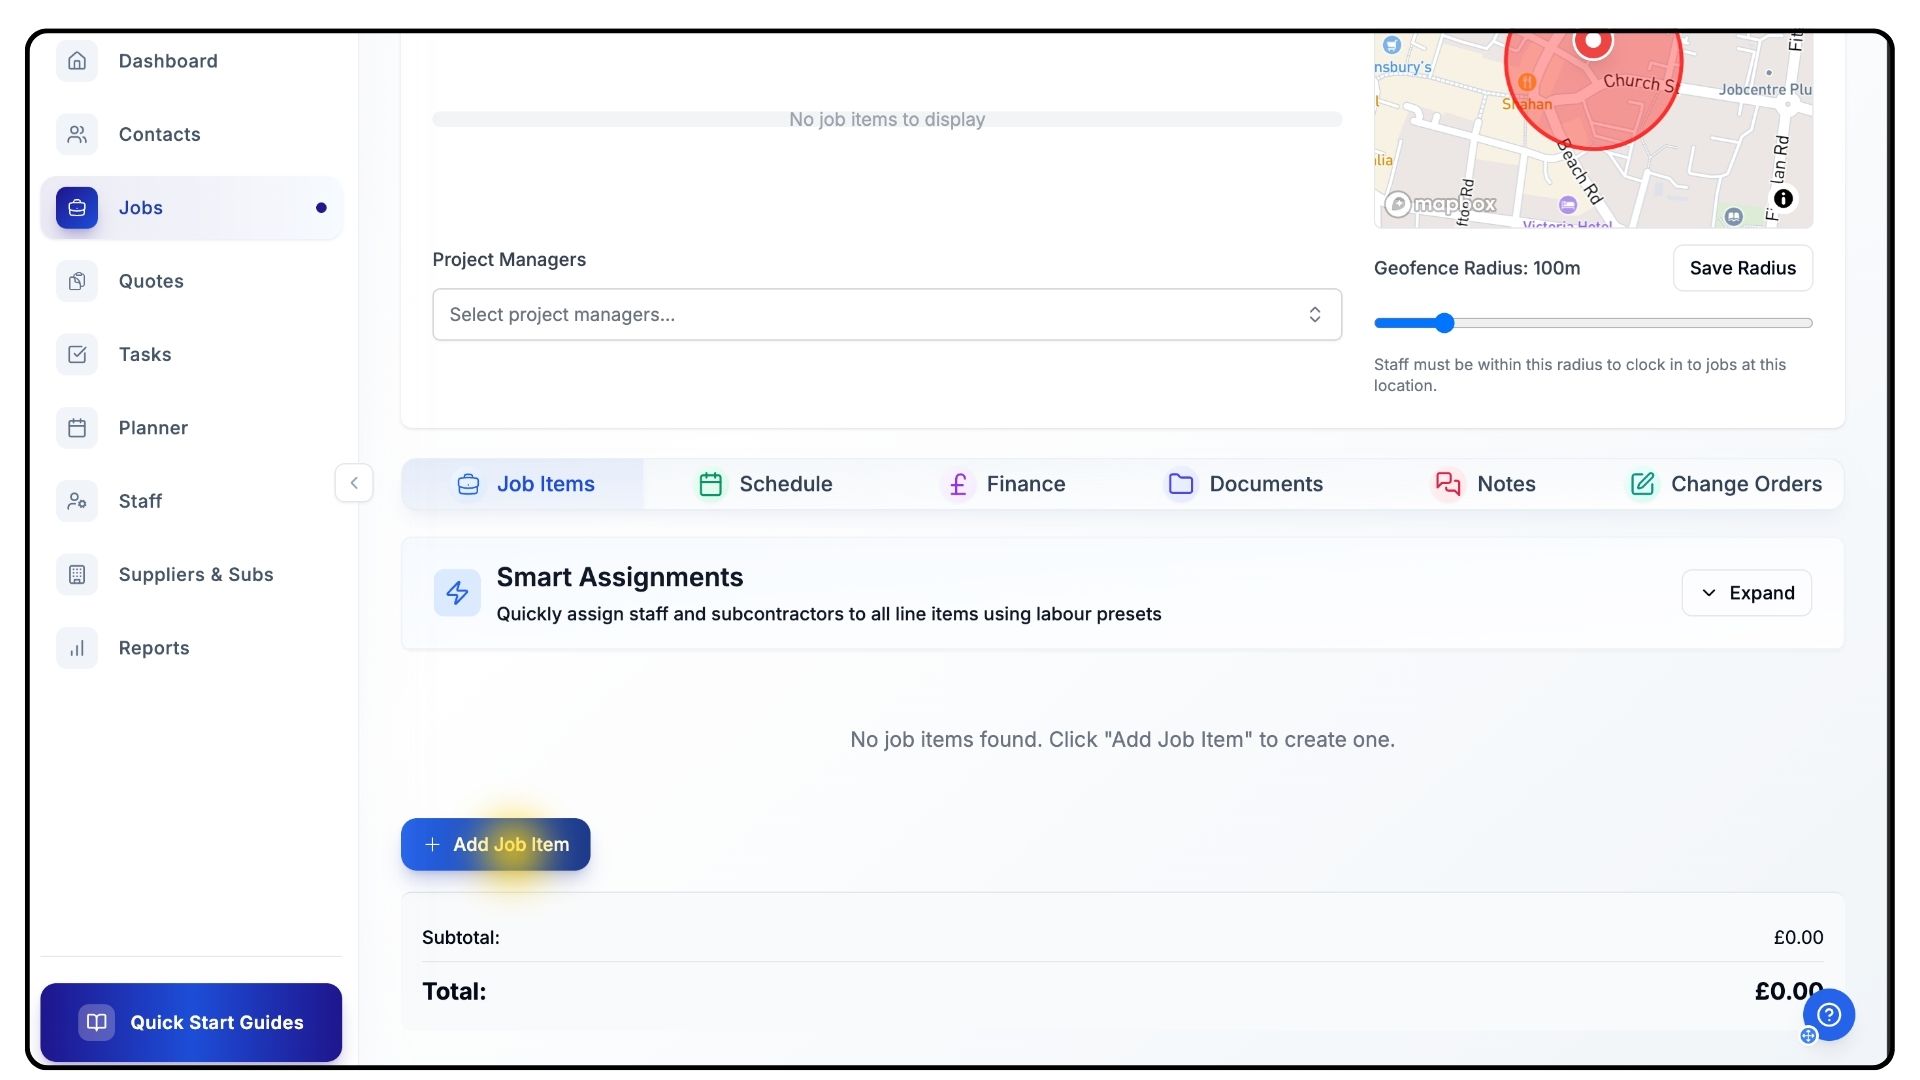
Scroll down to the Job Items section.
Click Add Job Item, then select Edit.
Give the item a Title and a Short Description.
Click Add Line Items to begin detailing specific tasks within this phase.
Adding Line Items
What It Does
Line Items represent individual tasks under each Job Item. They can include labour, materials, and plant — the core components of your project’s work.
Steps
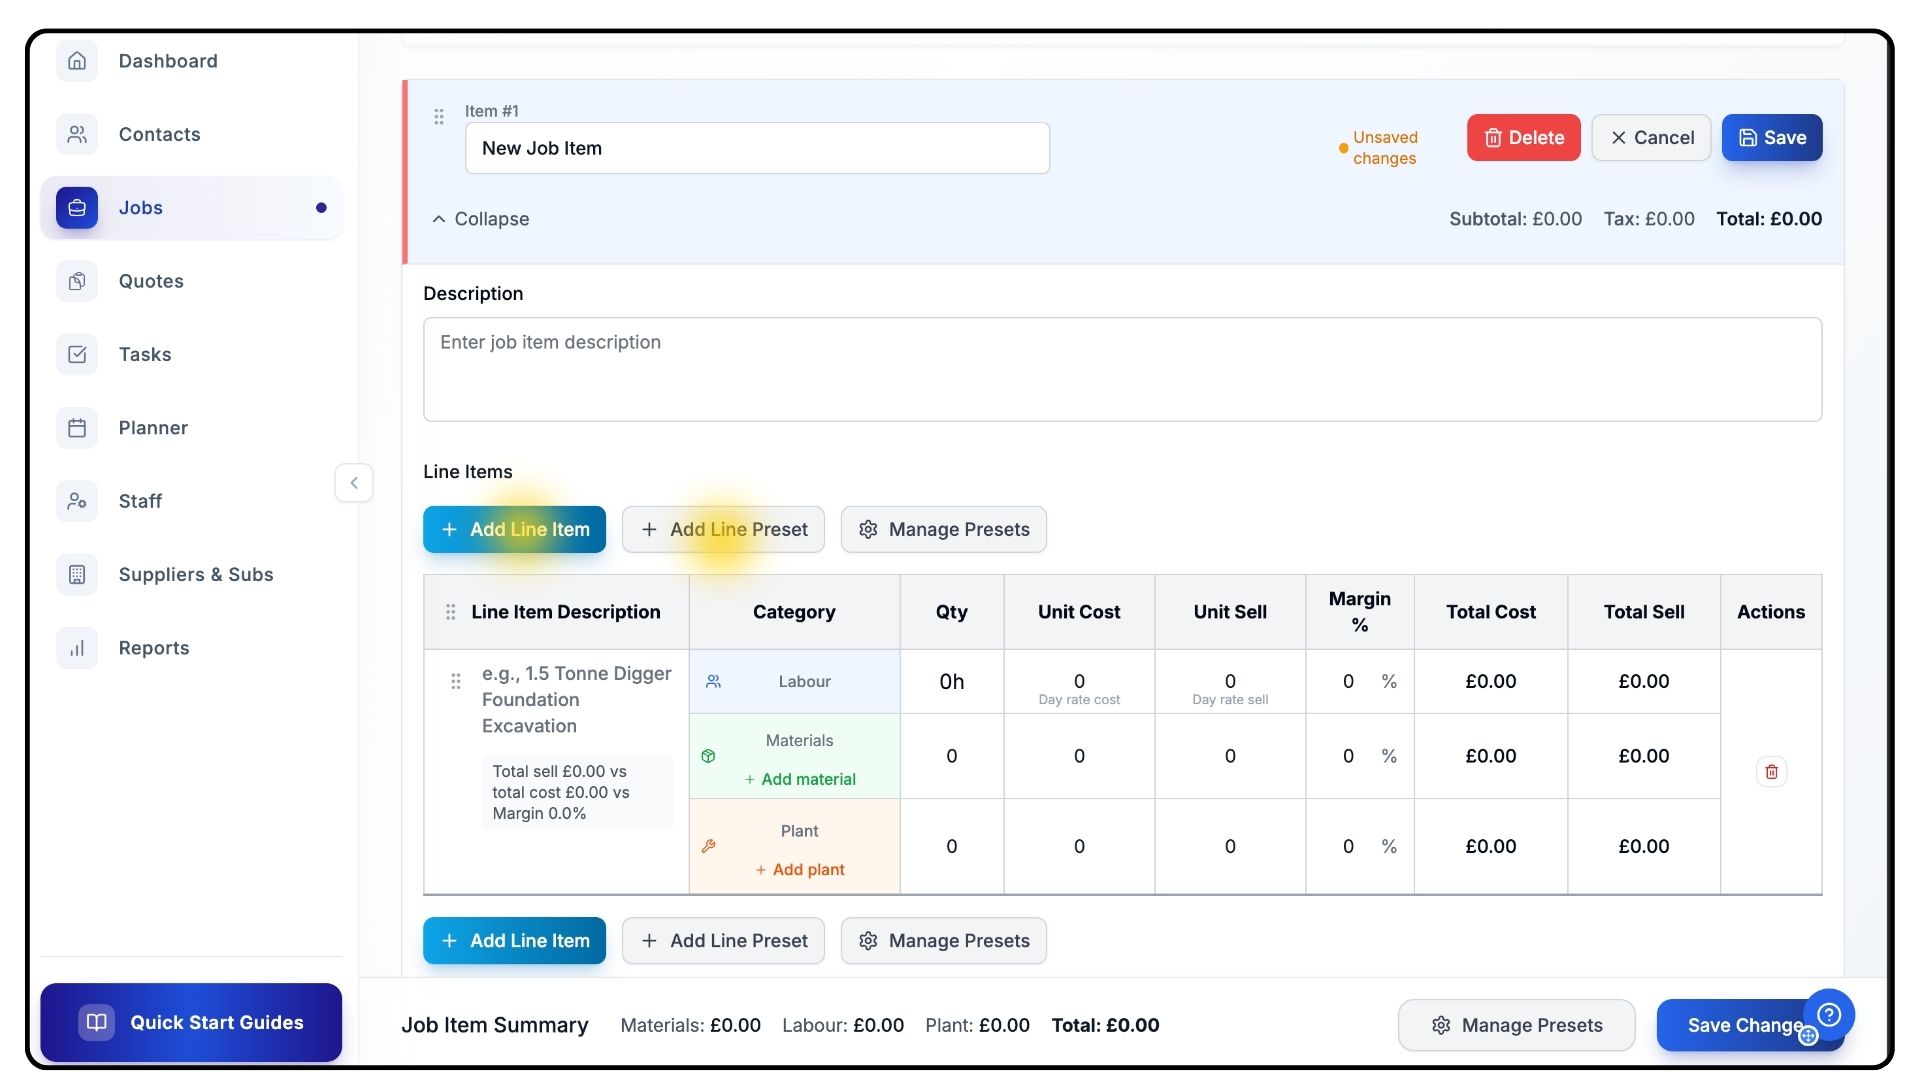
Under your chosen Job Item, click Add Line Item.
Add a Line Item Description (e.g., Excavation under Groundworks).
Enter the relevant details for:
Quantity
Unit Cost
Price
To quickly add common items, click Add Line Presets.
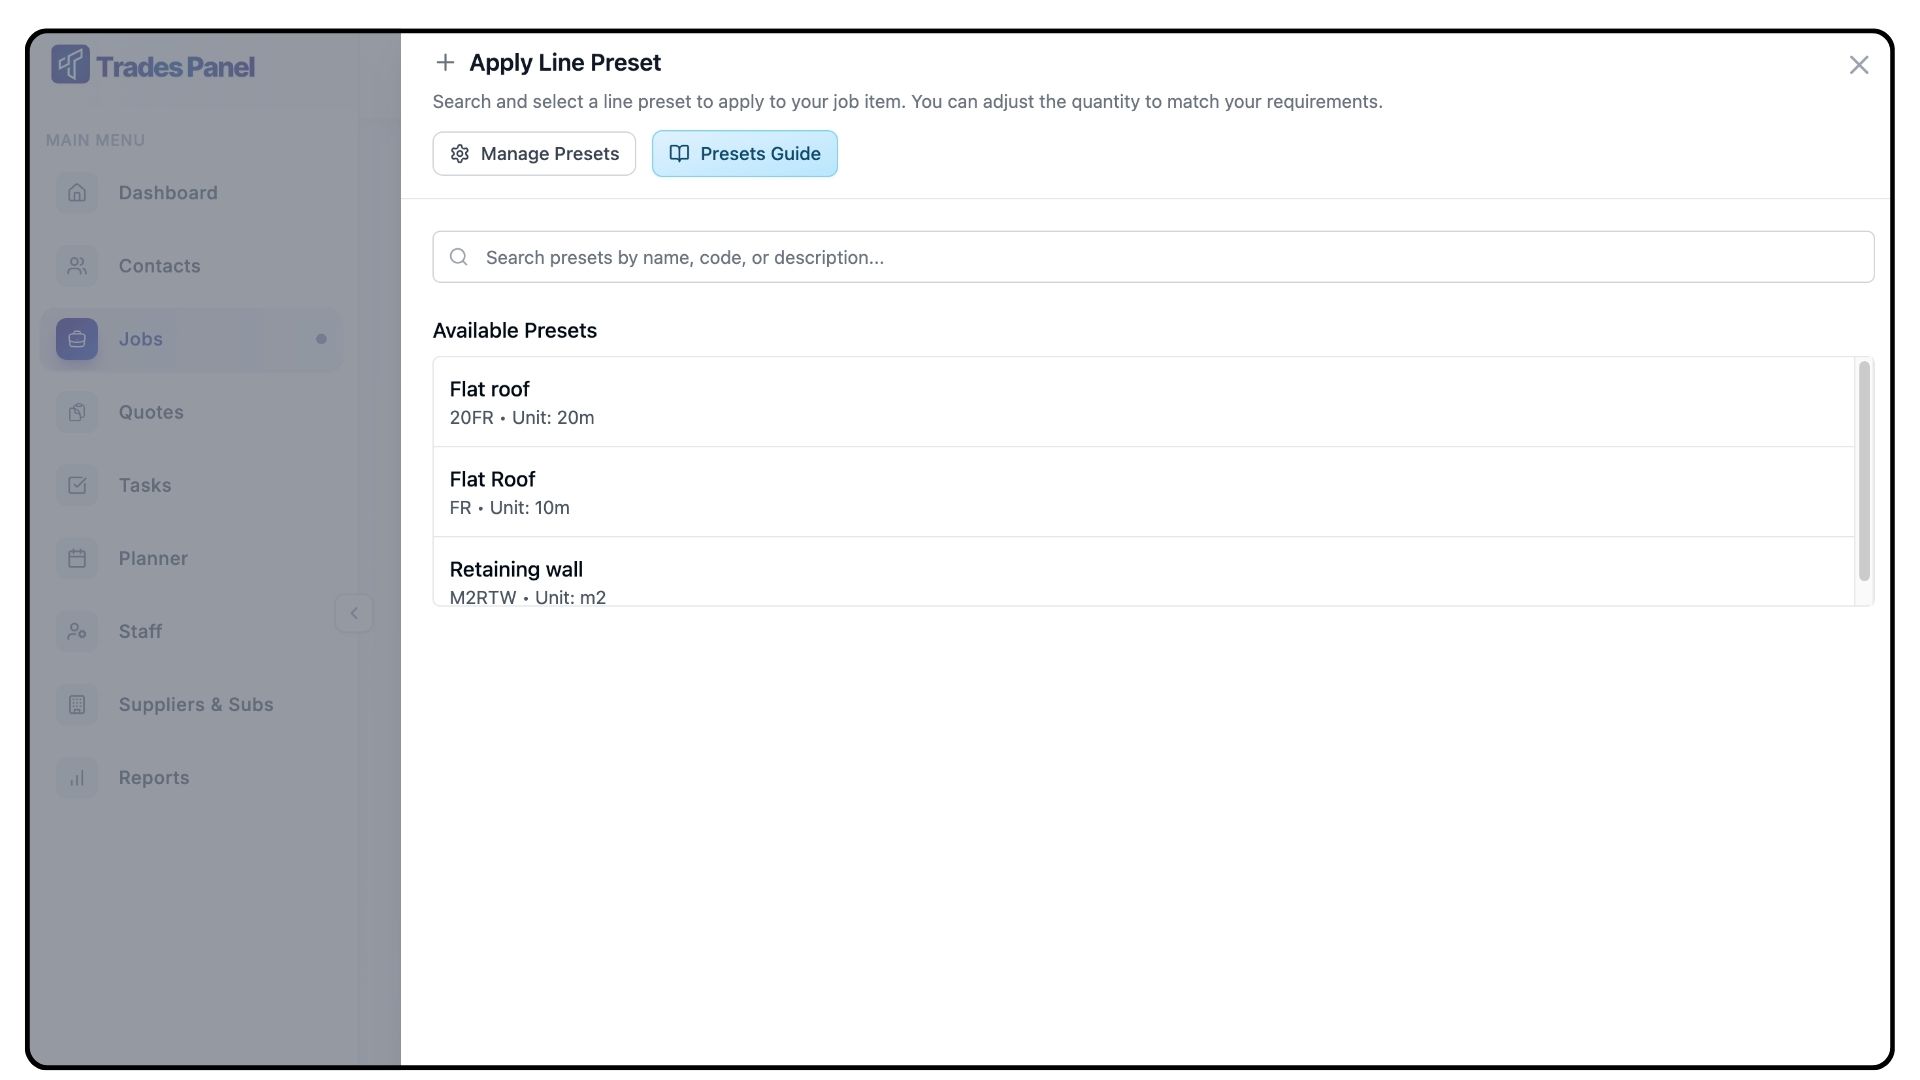
Line Presets are saved templates that store labour, material, and plant details for frequently used work items.
These presets help standardise codes, costs, and descriptions across projects.
You can learn how to create presets in our separate Presets Guide video.
Once all details are entered, click Save to save your changes.
Repeating Job Items
What It Does
Each phase of your project can be broken into separate Job Items. This makes large projects easier to manage and track.
Steps
Scroll to the bottom of the screen.
Click Add Job Item to repeat the process for each phase of your project.
Continue until all Job Items have been created and saved.
Finalising the Job Setup
What It Does
Once all job items are created, your job is fully set up and ready for scheduling and team allocation.
Steps
Review all job information and items for accuracy.
Confirm that the project manager, radius, and job stages are set correctly.
Congratulations, your job is now complete and ready for scheduling.
Common Questions
Q: Can I assign multiple managers to one job?
Each job can only have one designated Project Manager. If multiple people oversee different stages, you can note this in the job description or within Job Items.
Q: Can I edit the job radius after it’s been set?
Yes. You can adjust the radius at any time using the slider and clicking Save Radius again.
Q: What happens if I delete a Job Item?
The Job Item and its associated Line Items will be removed from the job, but existing data in reports remains unaffected.
Q: Can I reuse Job Items or Line Items in future jobs?
Yes. Use Line Presets to save and quickly reapply common configurations to future jobs.
Q: Is it possible to change a job’s customer after creation?
No. To avoid data conflicts, the customer link cannot be changed after creation. If needed, you can duplicate the job and assign it to a different customer.