What It Does
CrAIg is Trades Panel’s built-in AI assistant, designed to help you create quotes and upload purchase invoices quickly and accurately. It uses your saved day rates, presets, and financial data to automate repetitive tasks — saving time and improving accuracy across your projects.
Accessing CrAIg
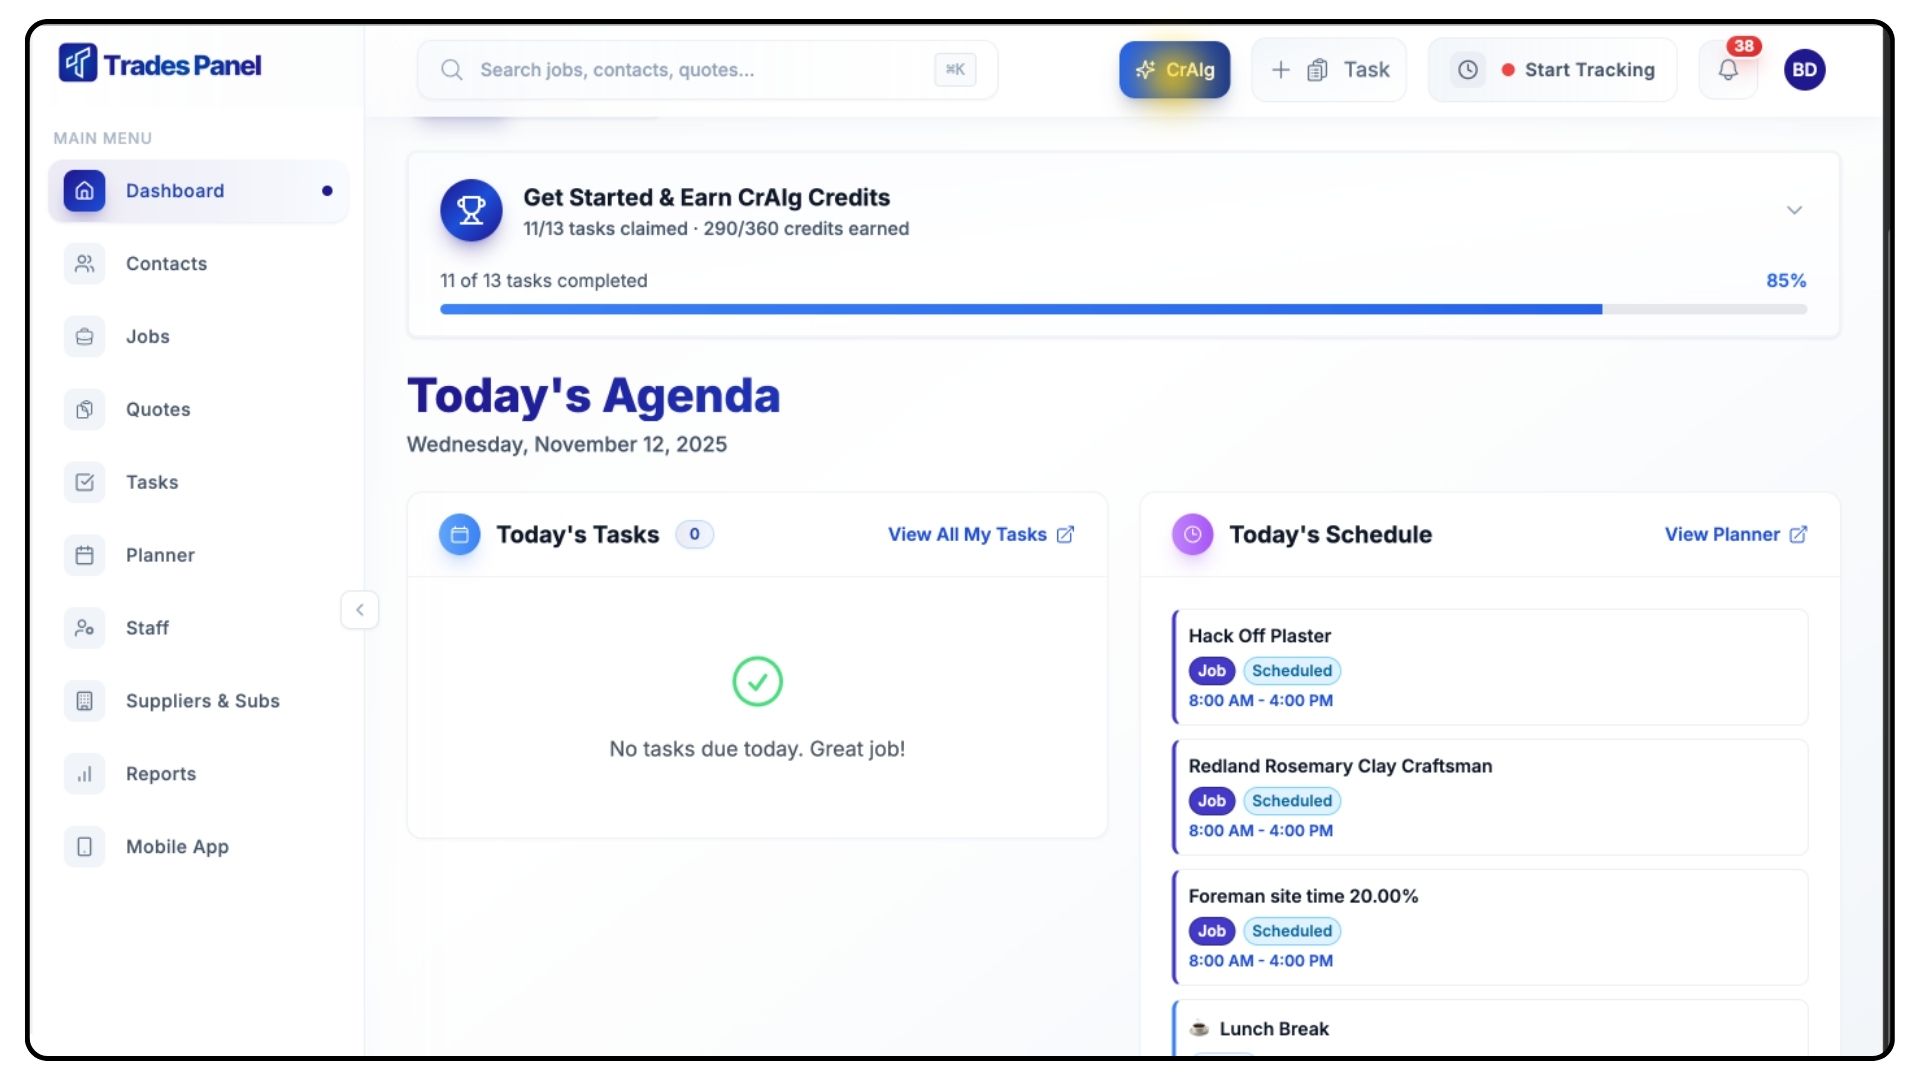
Click the CrAIg button at the top of your screen.
Here, you’ll see all your existing chats and tasks. Each action you perform uses credits from your account, and CrAIg will always display how many credits will be used before you begin.
Creating a New Quote
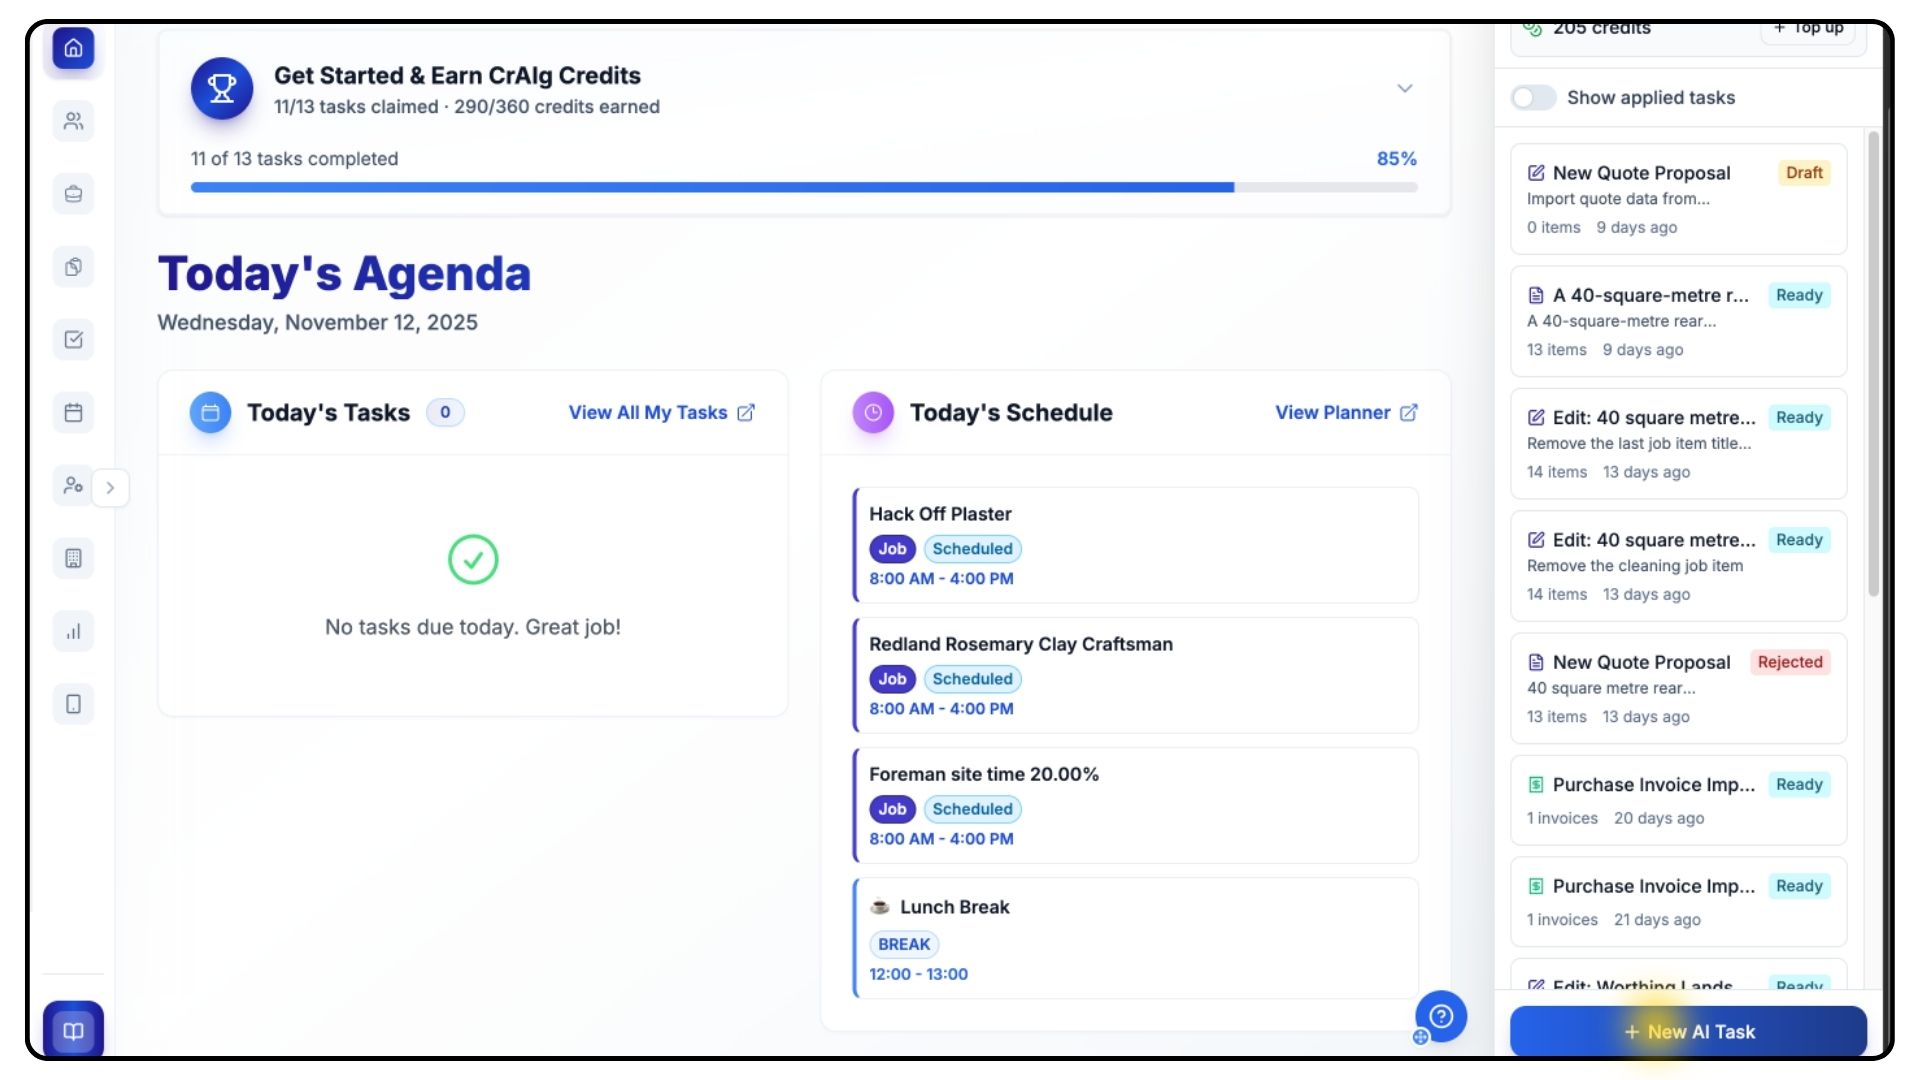
Click New AI Task at the bottom.
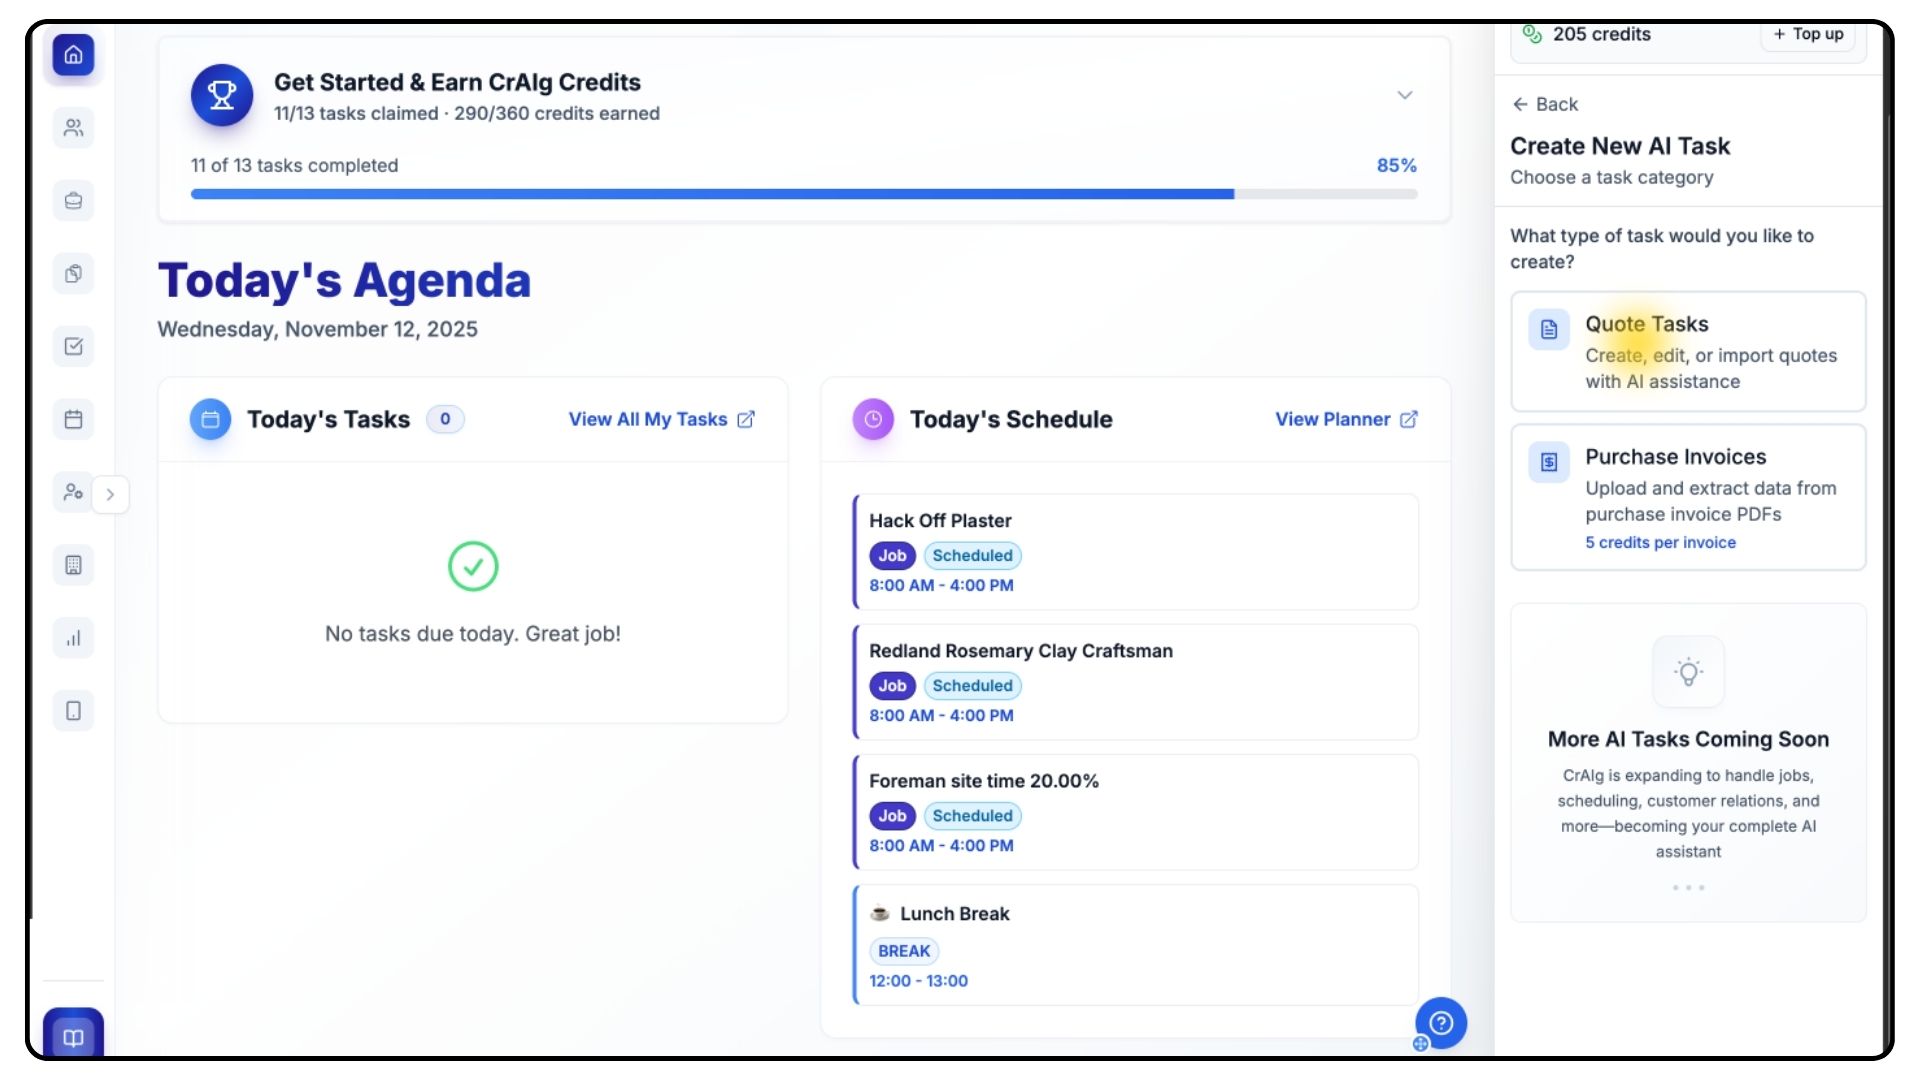
Select Quote Tasks.
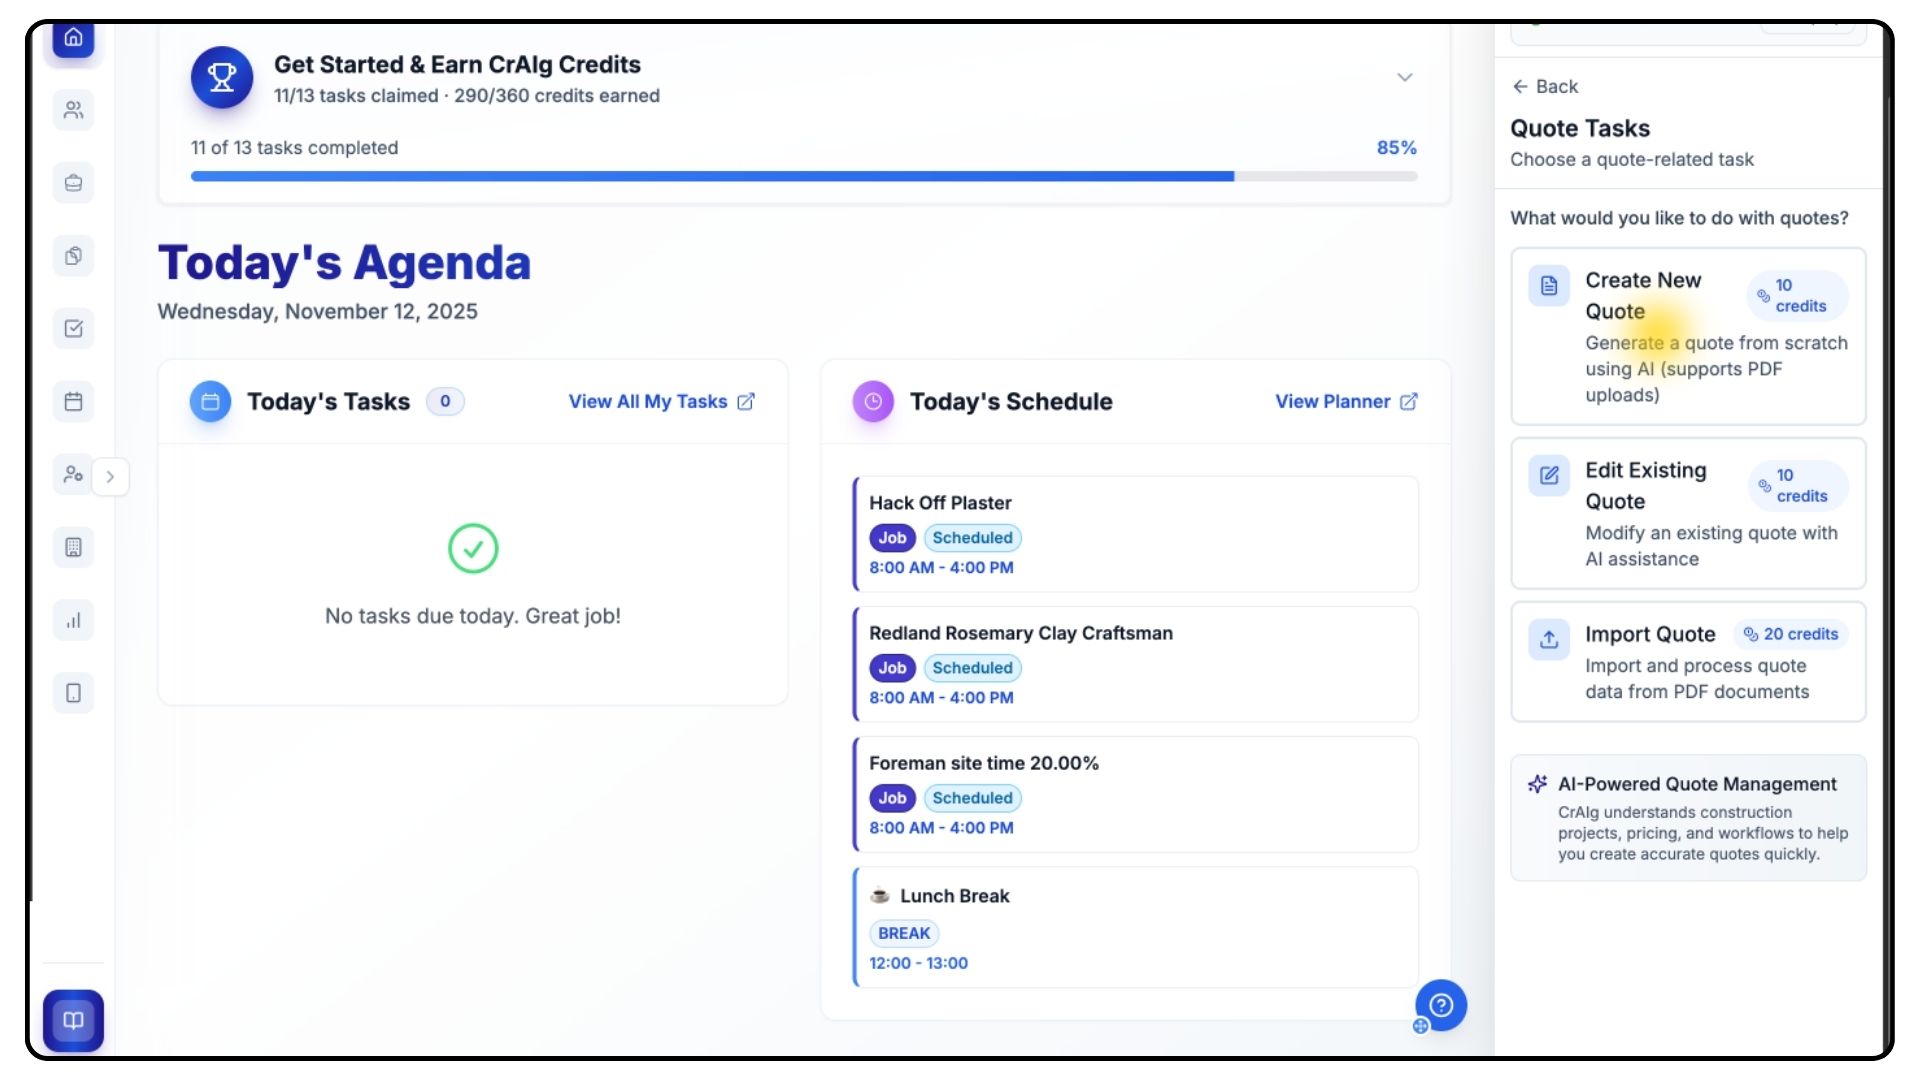
You’ll see three available options:
Create a New Quote
Edit an Existing Quote
Import a Quote
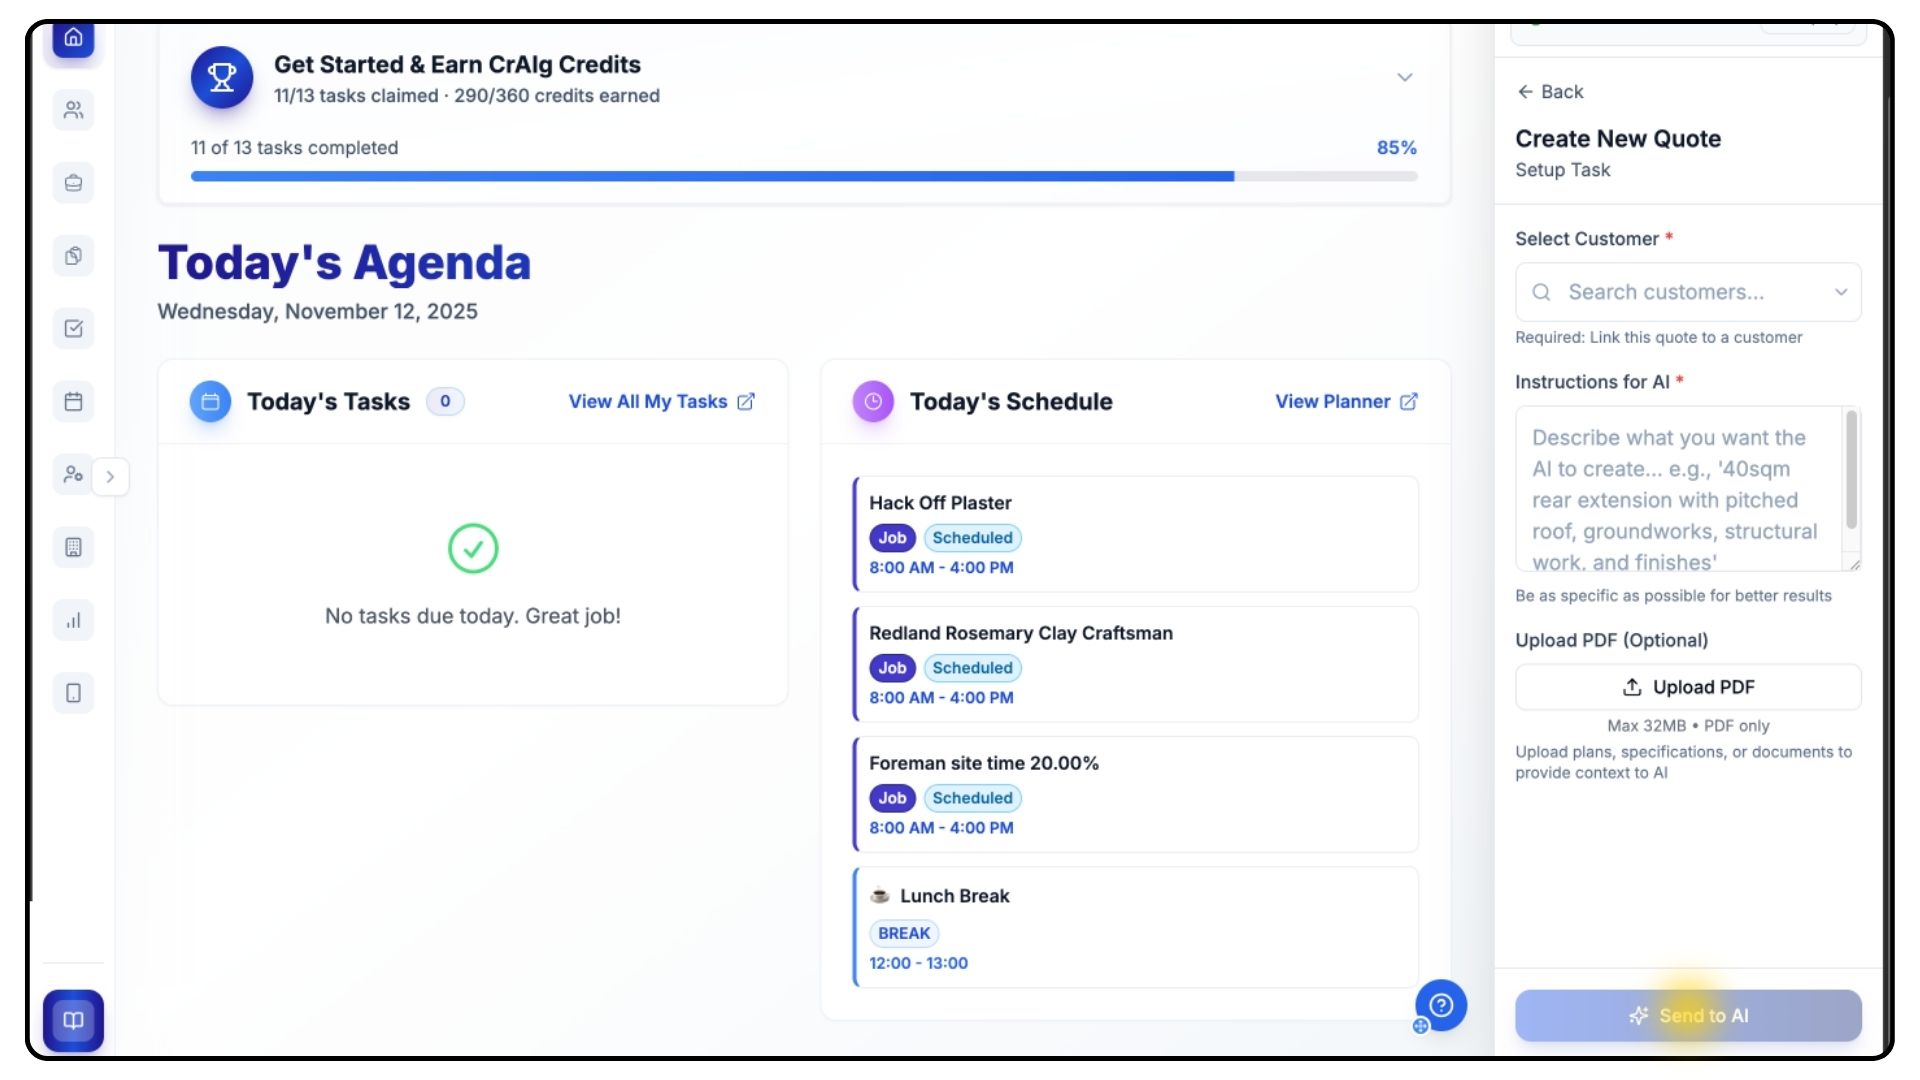
Click Create New Quote, select the customer from the dropdown menu, and then choose the project address.
In the instruction box, type detailed information about the work you’re quoting for — for example, “A 40-square-metre rear extension with a pitched roof.”
The more detail you provide, the more accurate your quote will be.
If you have relevant plans or documents, upload them as PDFs.
Once ready, click Send to AI and wait a few minutes while CrAIg generates your quote.
Reviewing and Editing the Quote
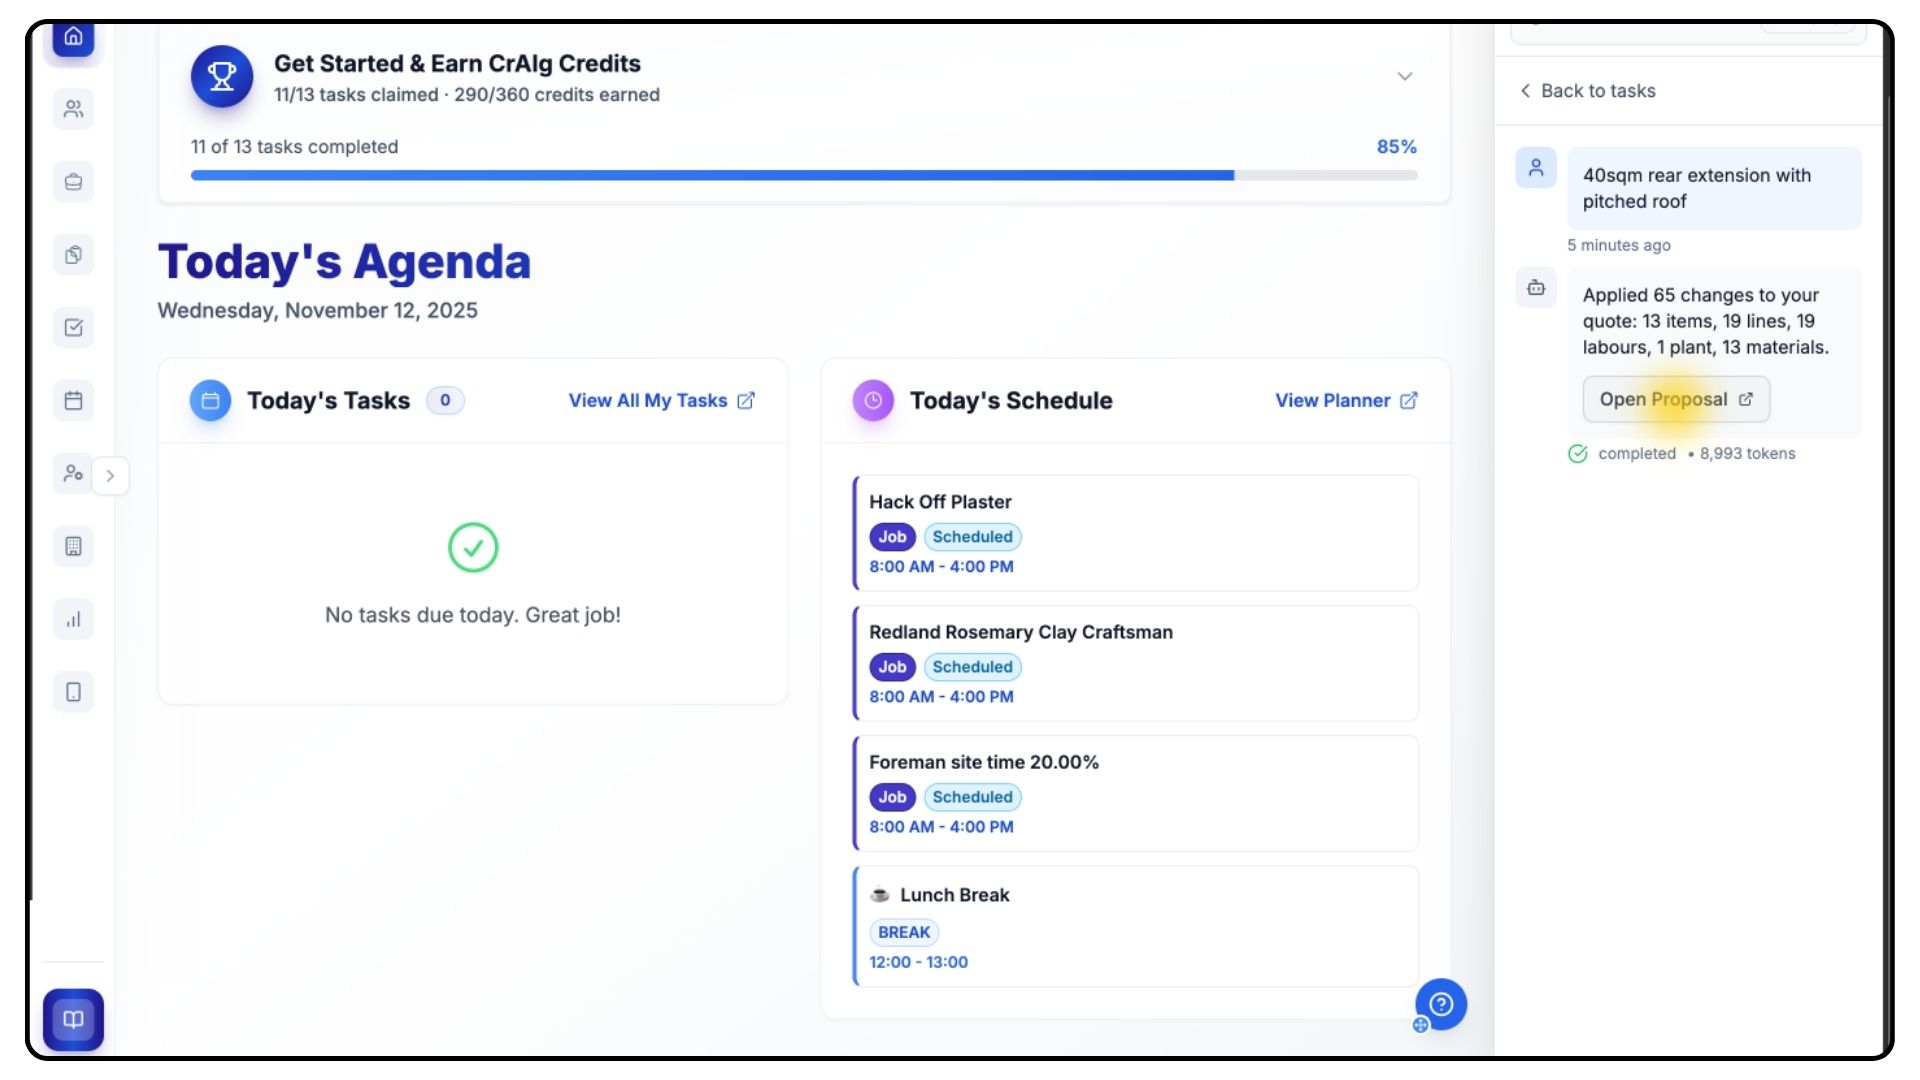
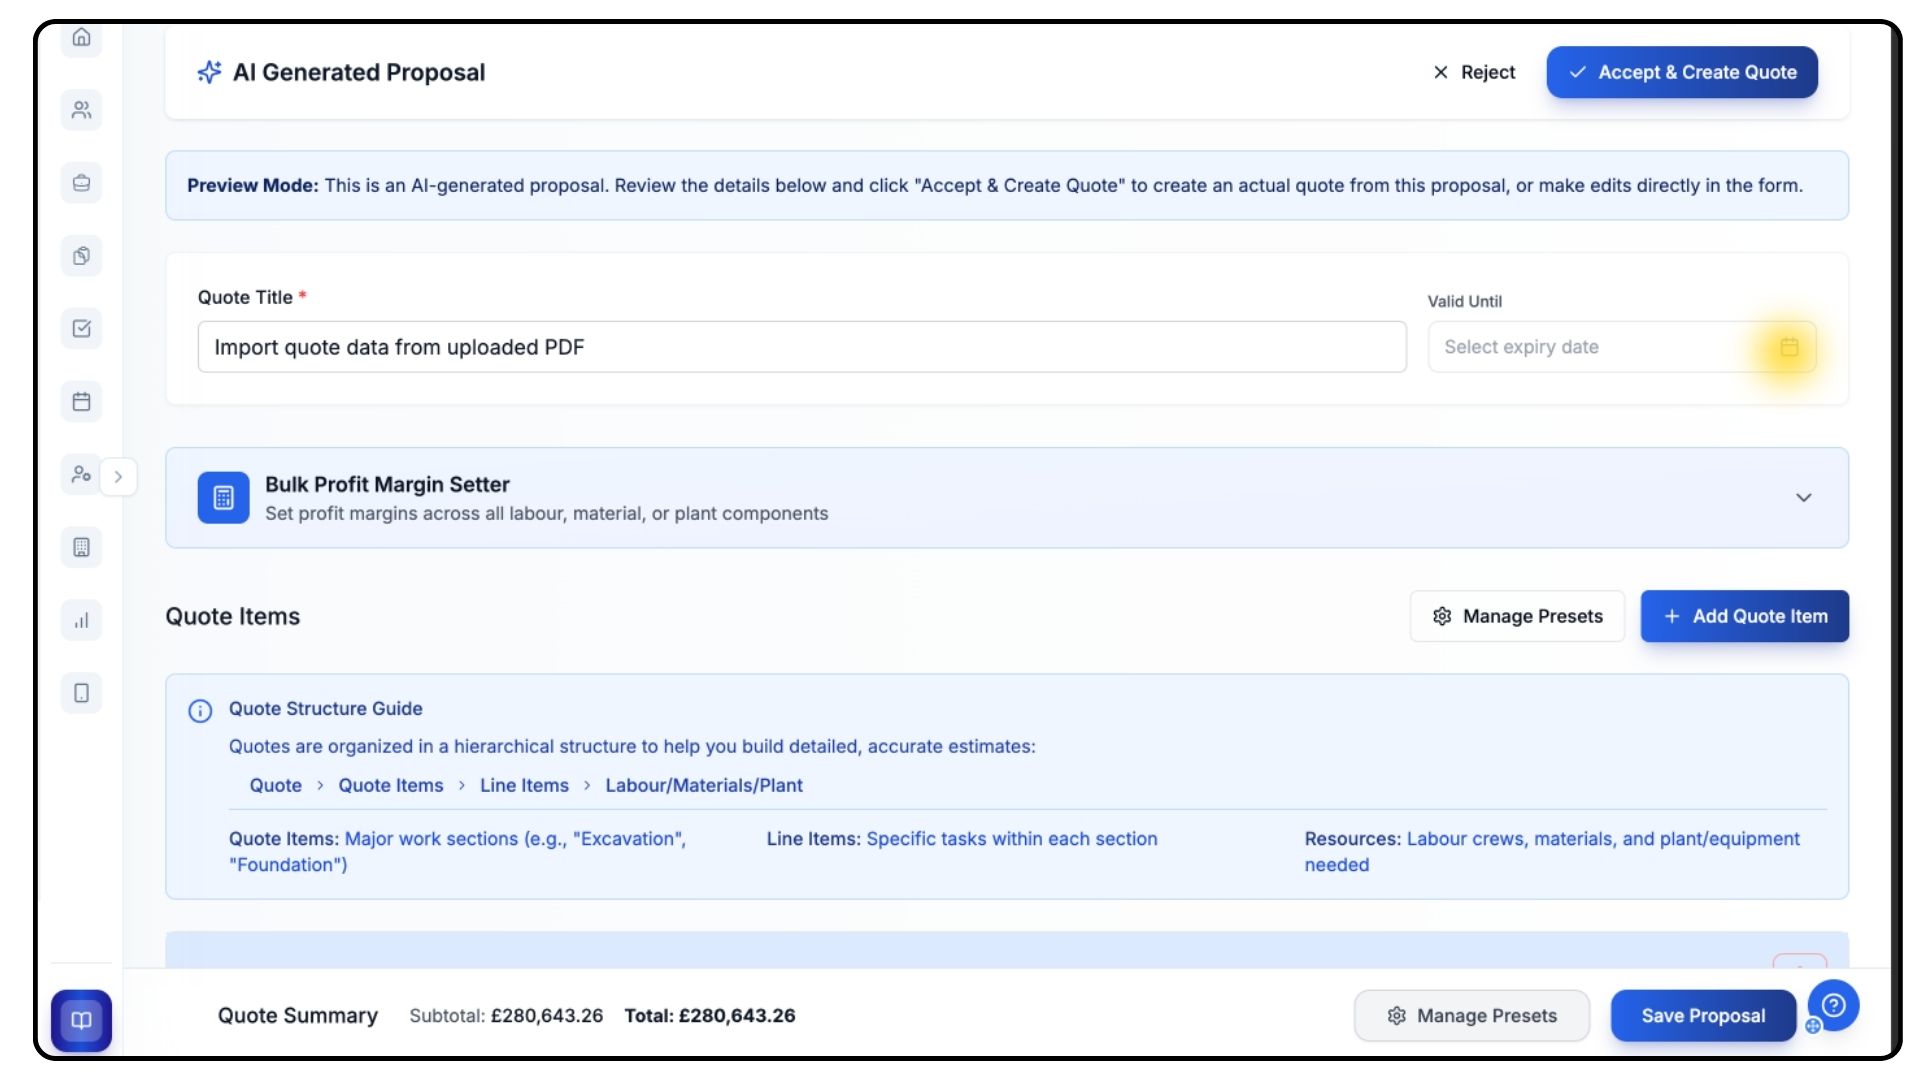
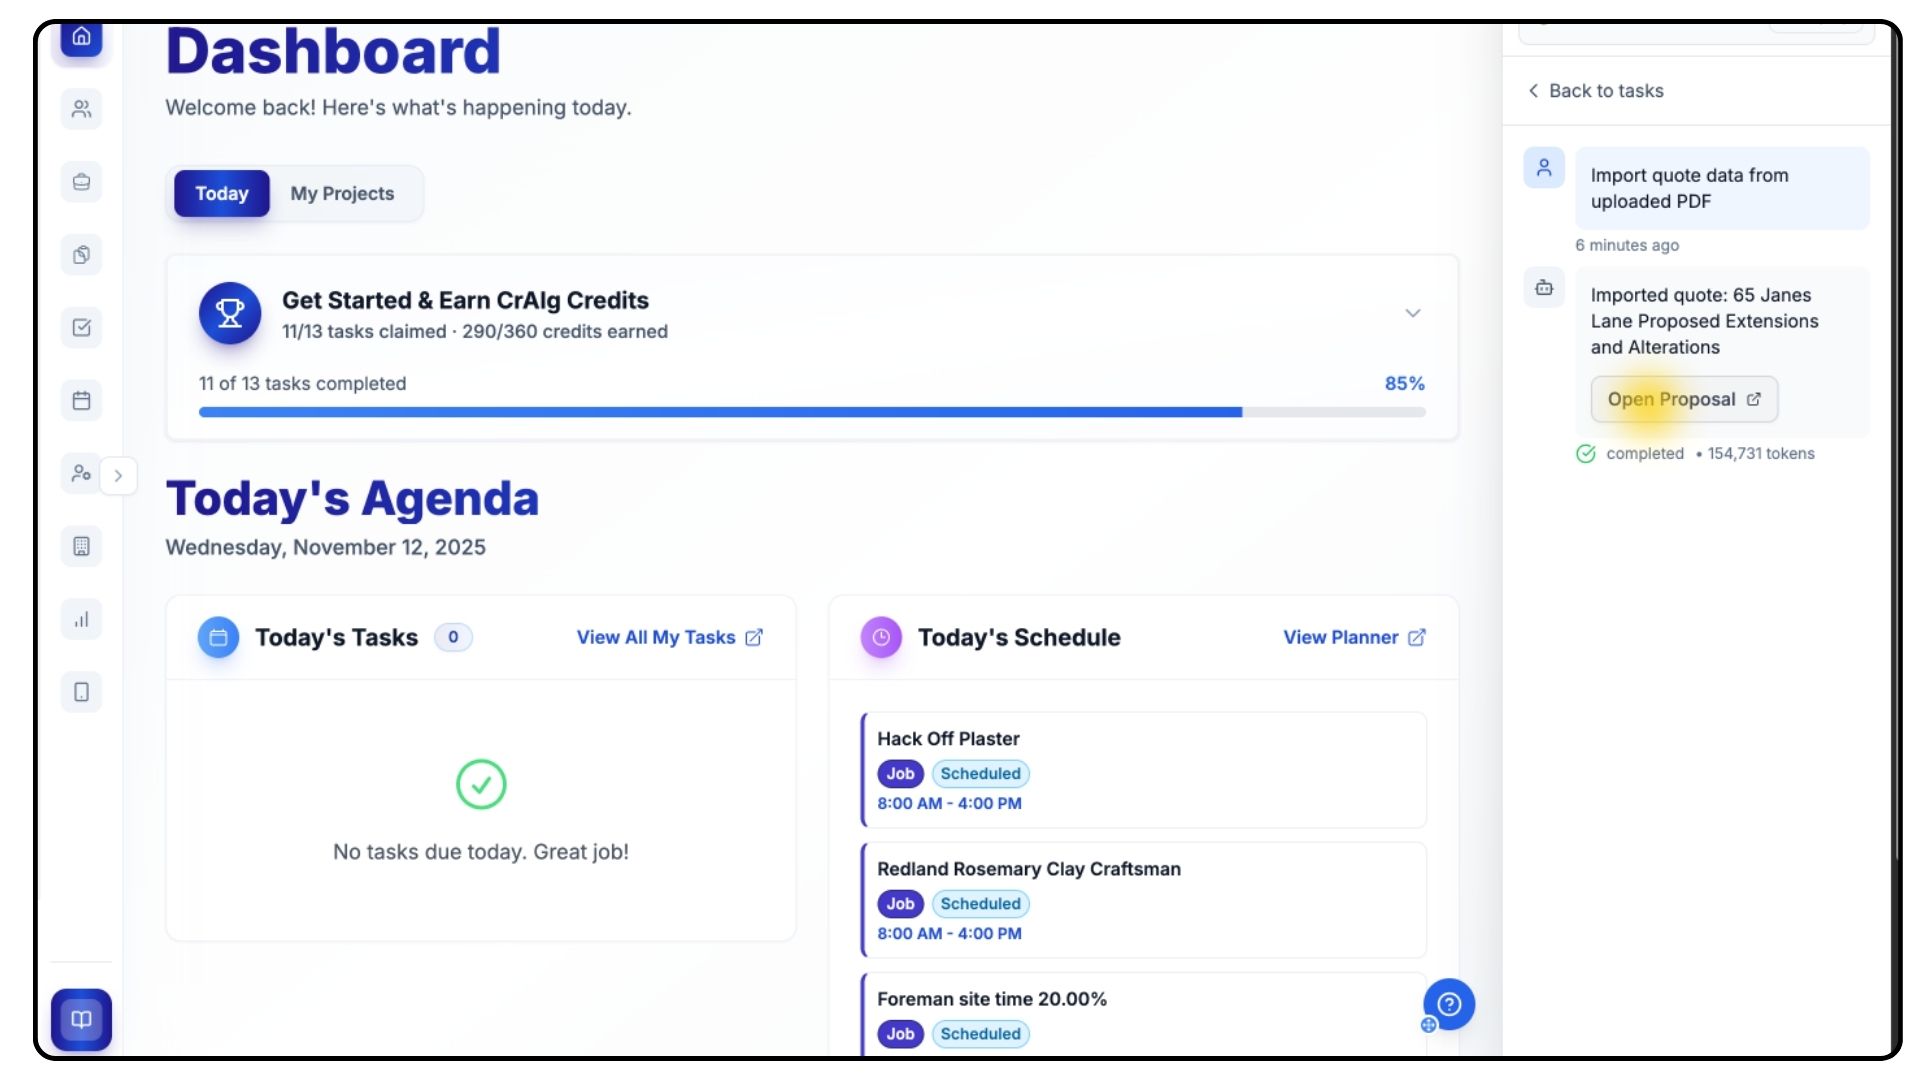
When it’s ready, click Open Proposal.
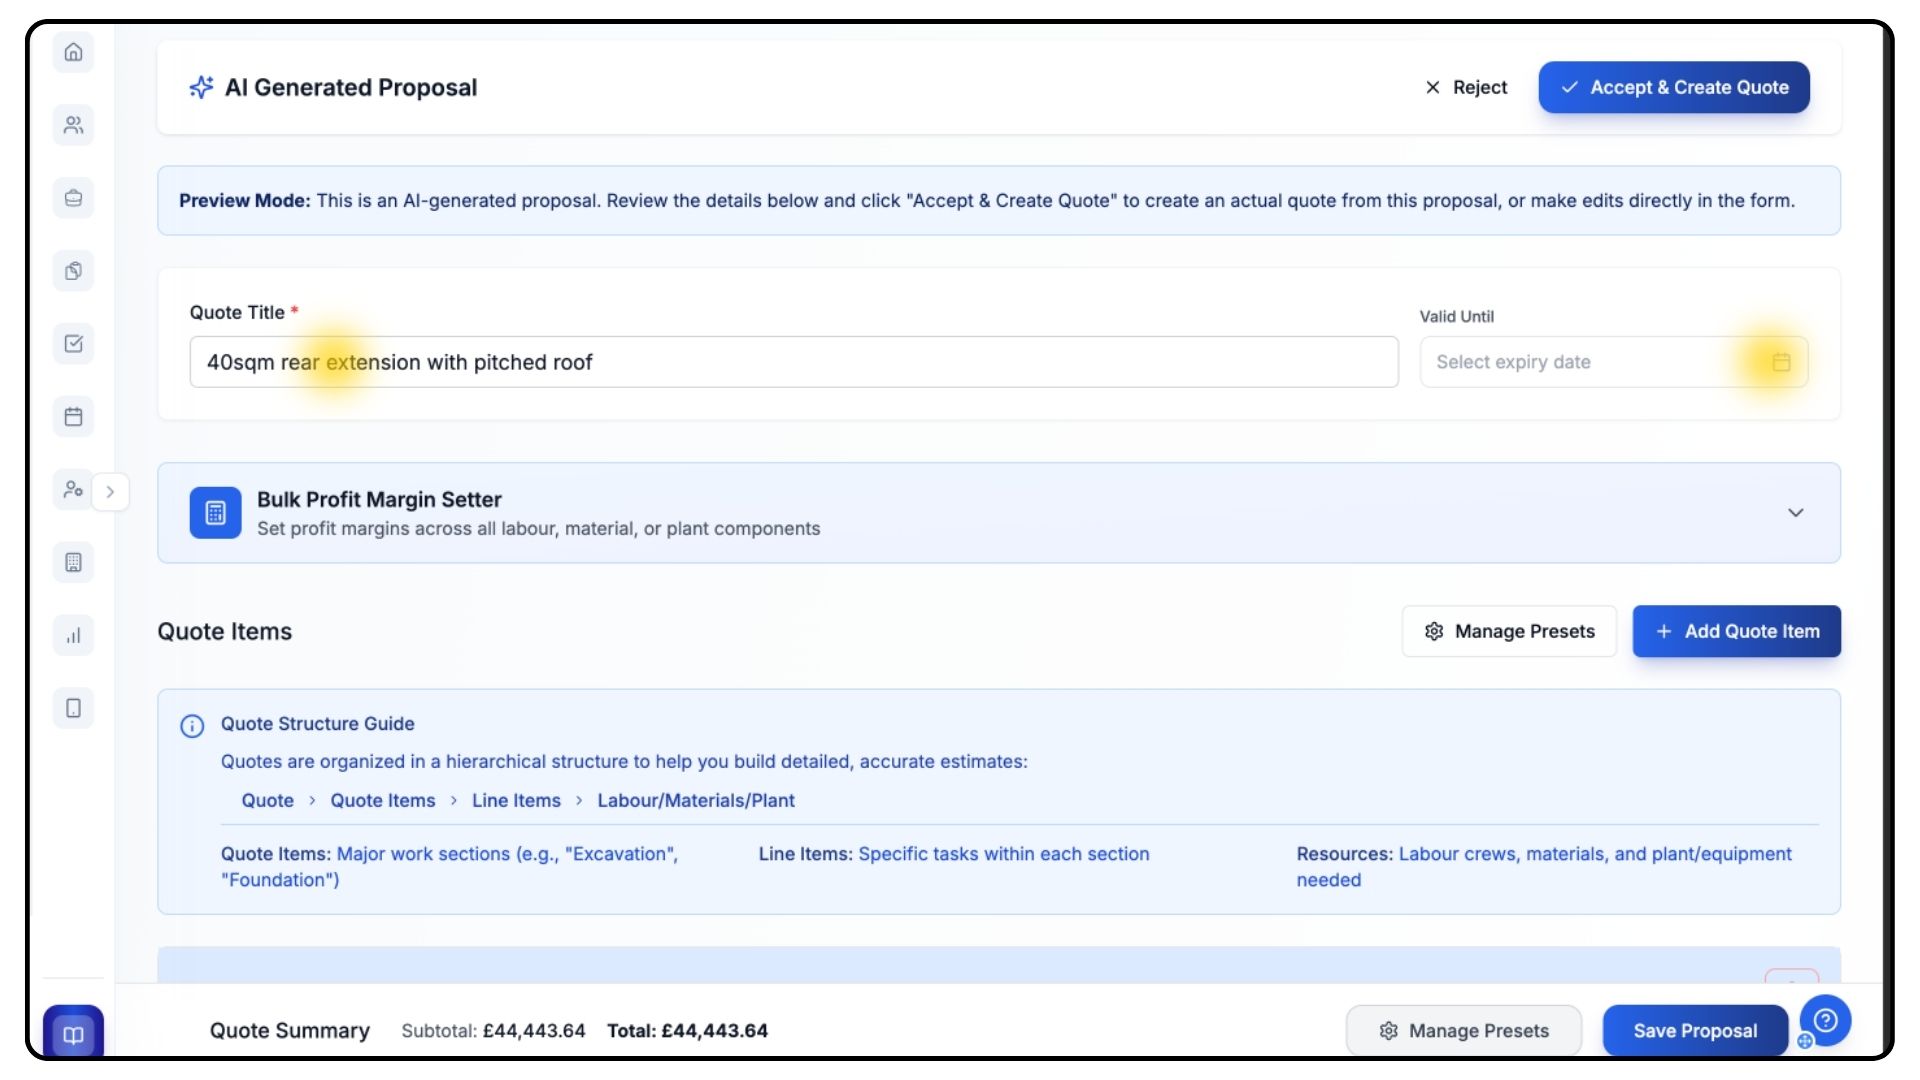
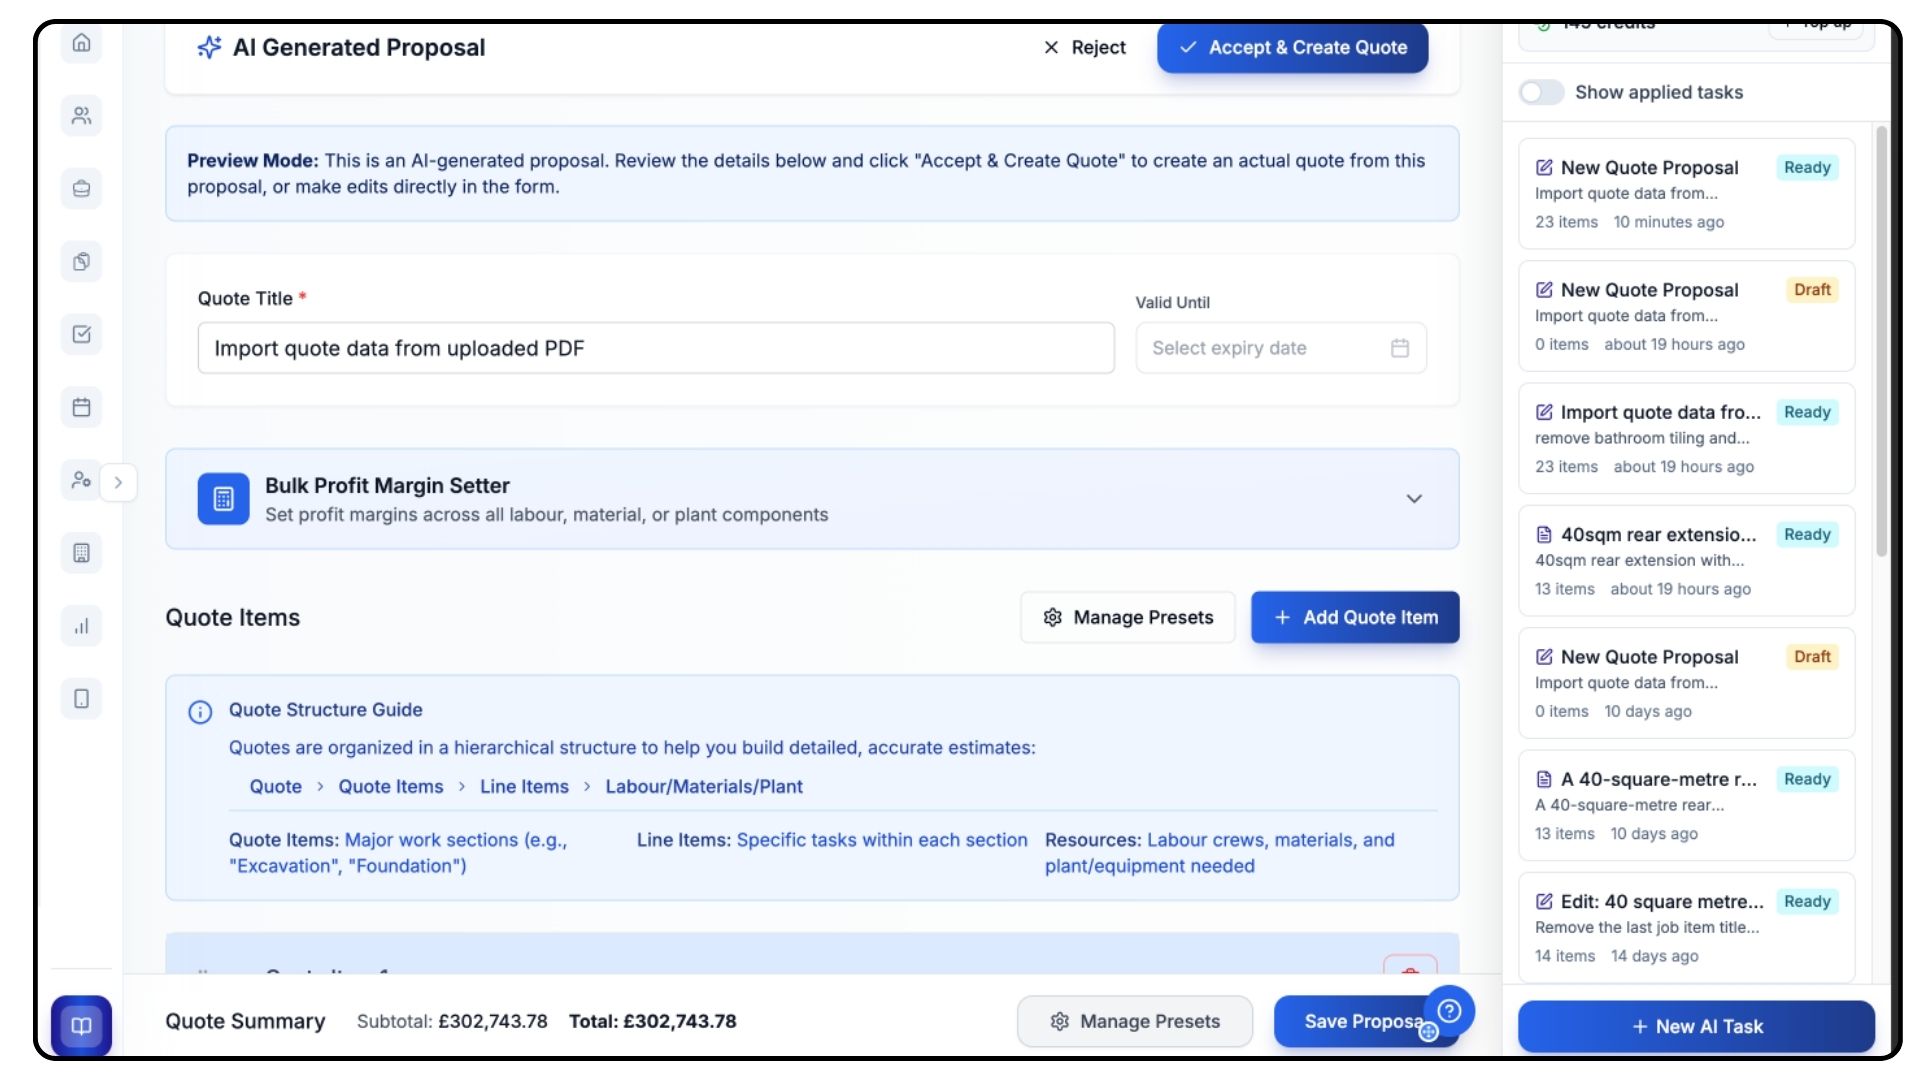
CrAIg will automatically name your quote based on your description, but you can change this title and set a valid-until date.
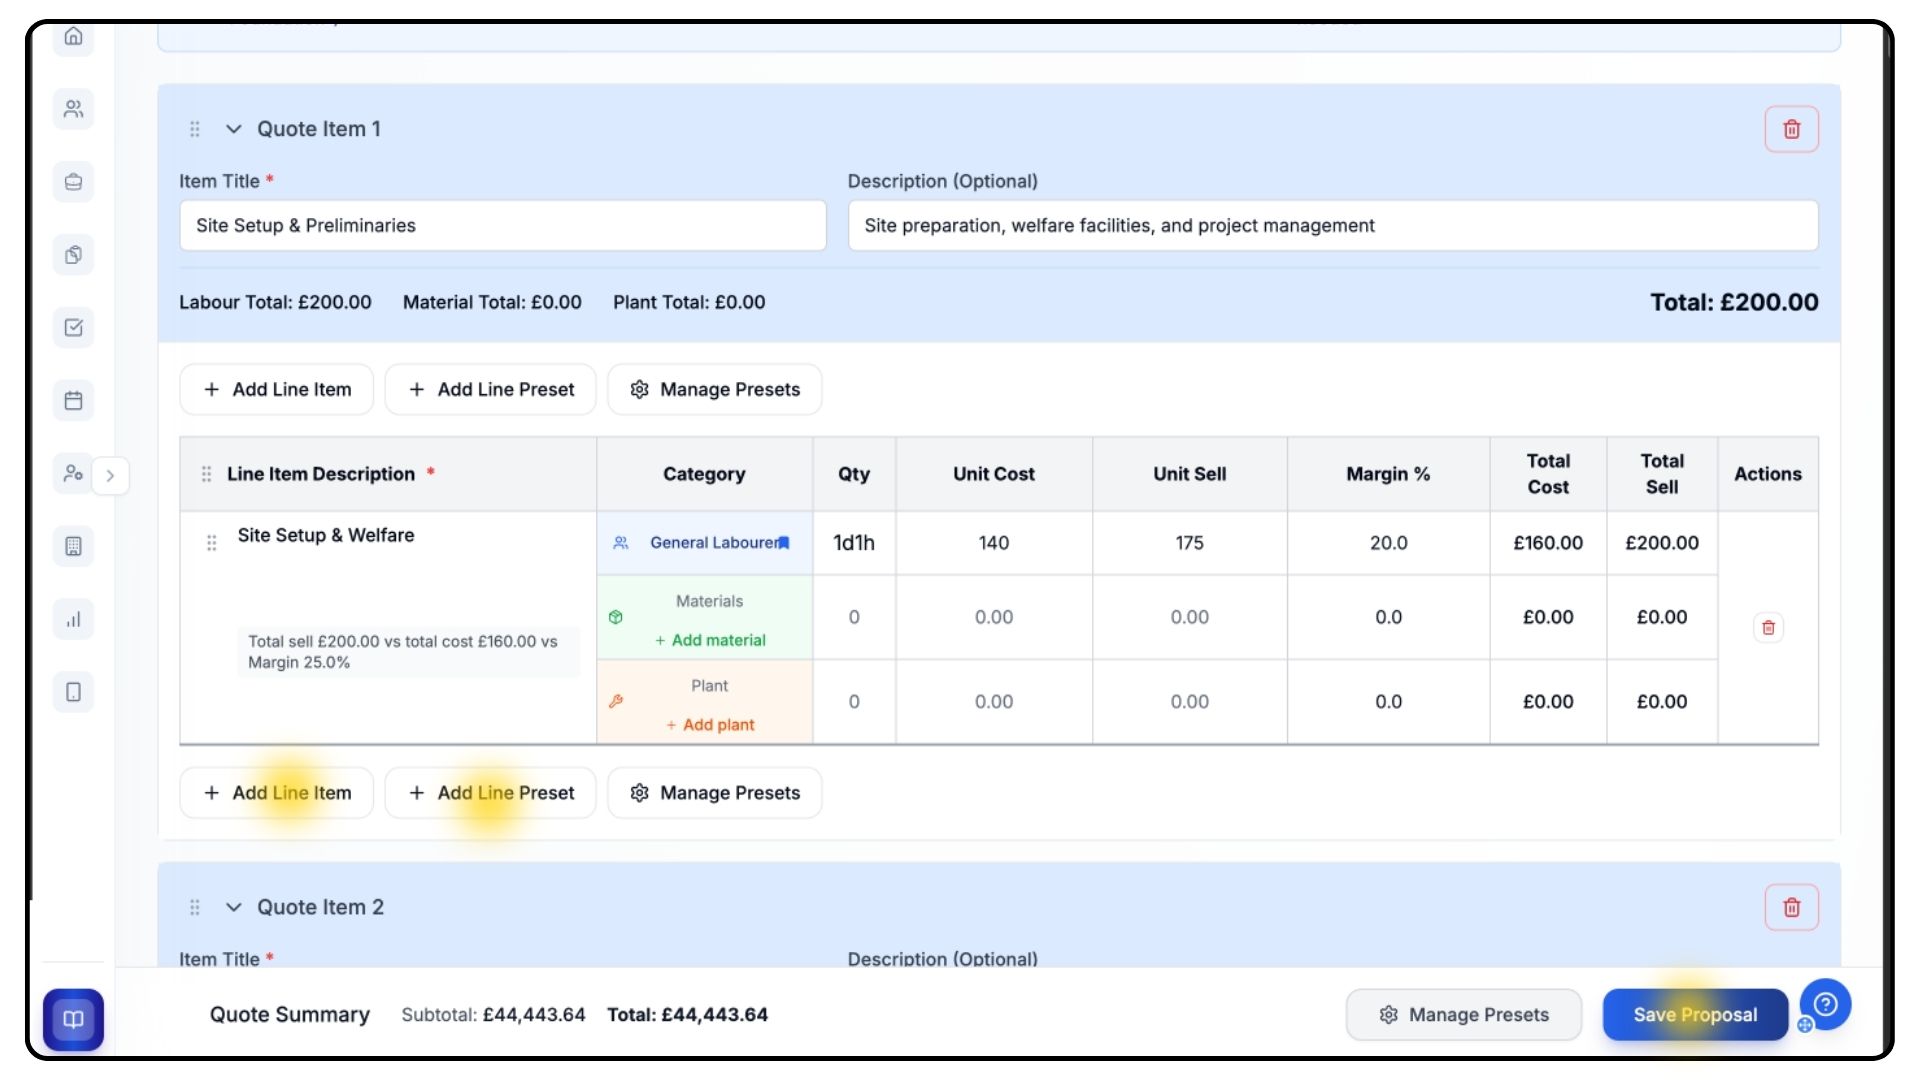
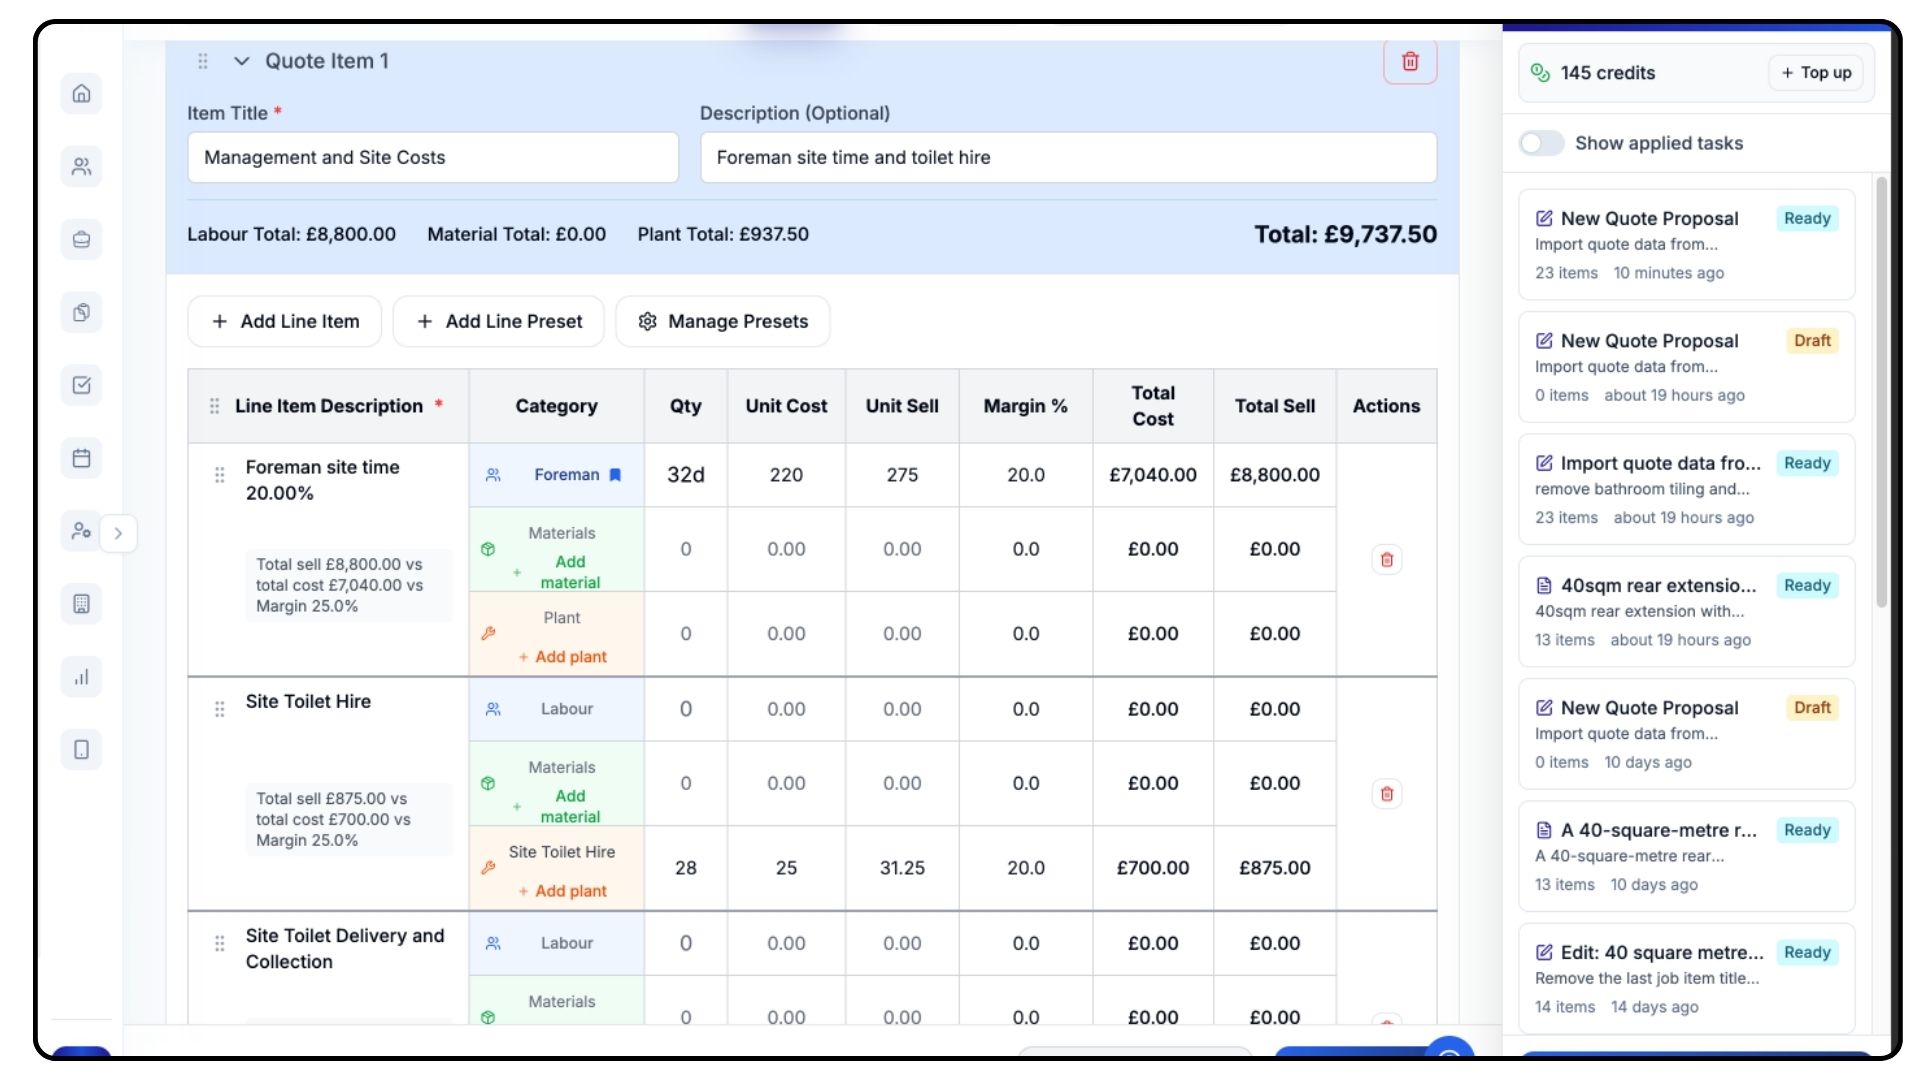
Scroll through the quote to review all the job and line items CrAIg has created.
It’s important to remember this is a guideline and starting point — not a final draft.
CrAIg uses your saved day rates and presets to calculate labour, material, and plant costs, but you should always check these carefully, especially if you haven’t set up any presets yet.
You can add more items using Add Line Item, use Add Presets to pull in saved templates, or create new job items using Add New Quote Item.
Once you’re happy, scroll down and click Save Proposal, then Accept and Create Quote at the top.
Editing an Existing Quote

Now go back to CrAig, Click New AI Task, select Quote Tasks, and choose Edit Existing Quote.
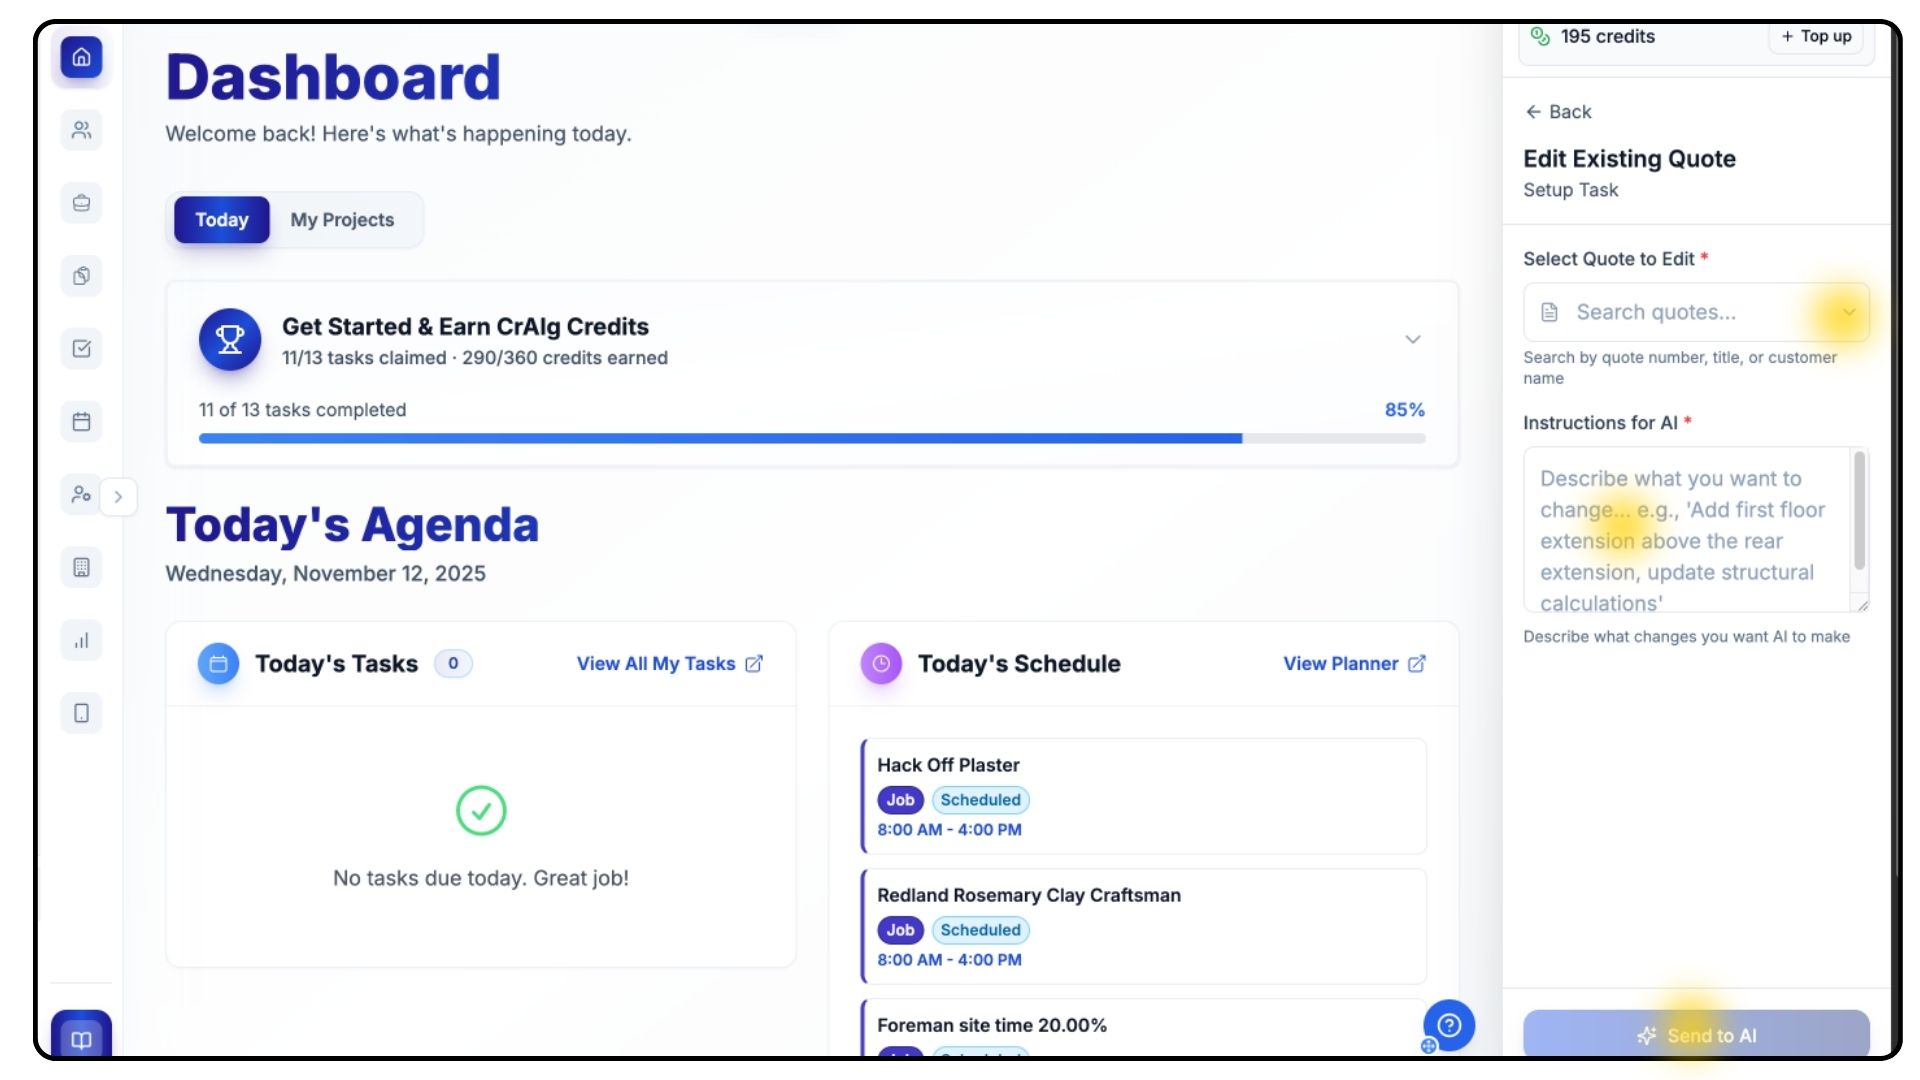
Pick the quote you’d like to change from the dropdown menu and describe exactly what you want CrAIg to update — for example, “Remove bathroom tiling and adjust the painting hours to 8.”
Click Start, and CrAIg will process your changes.
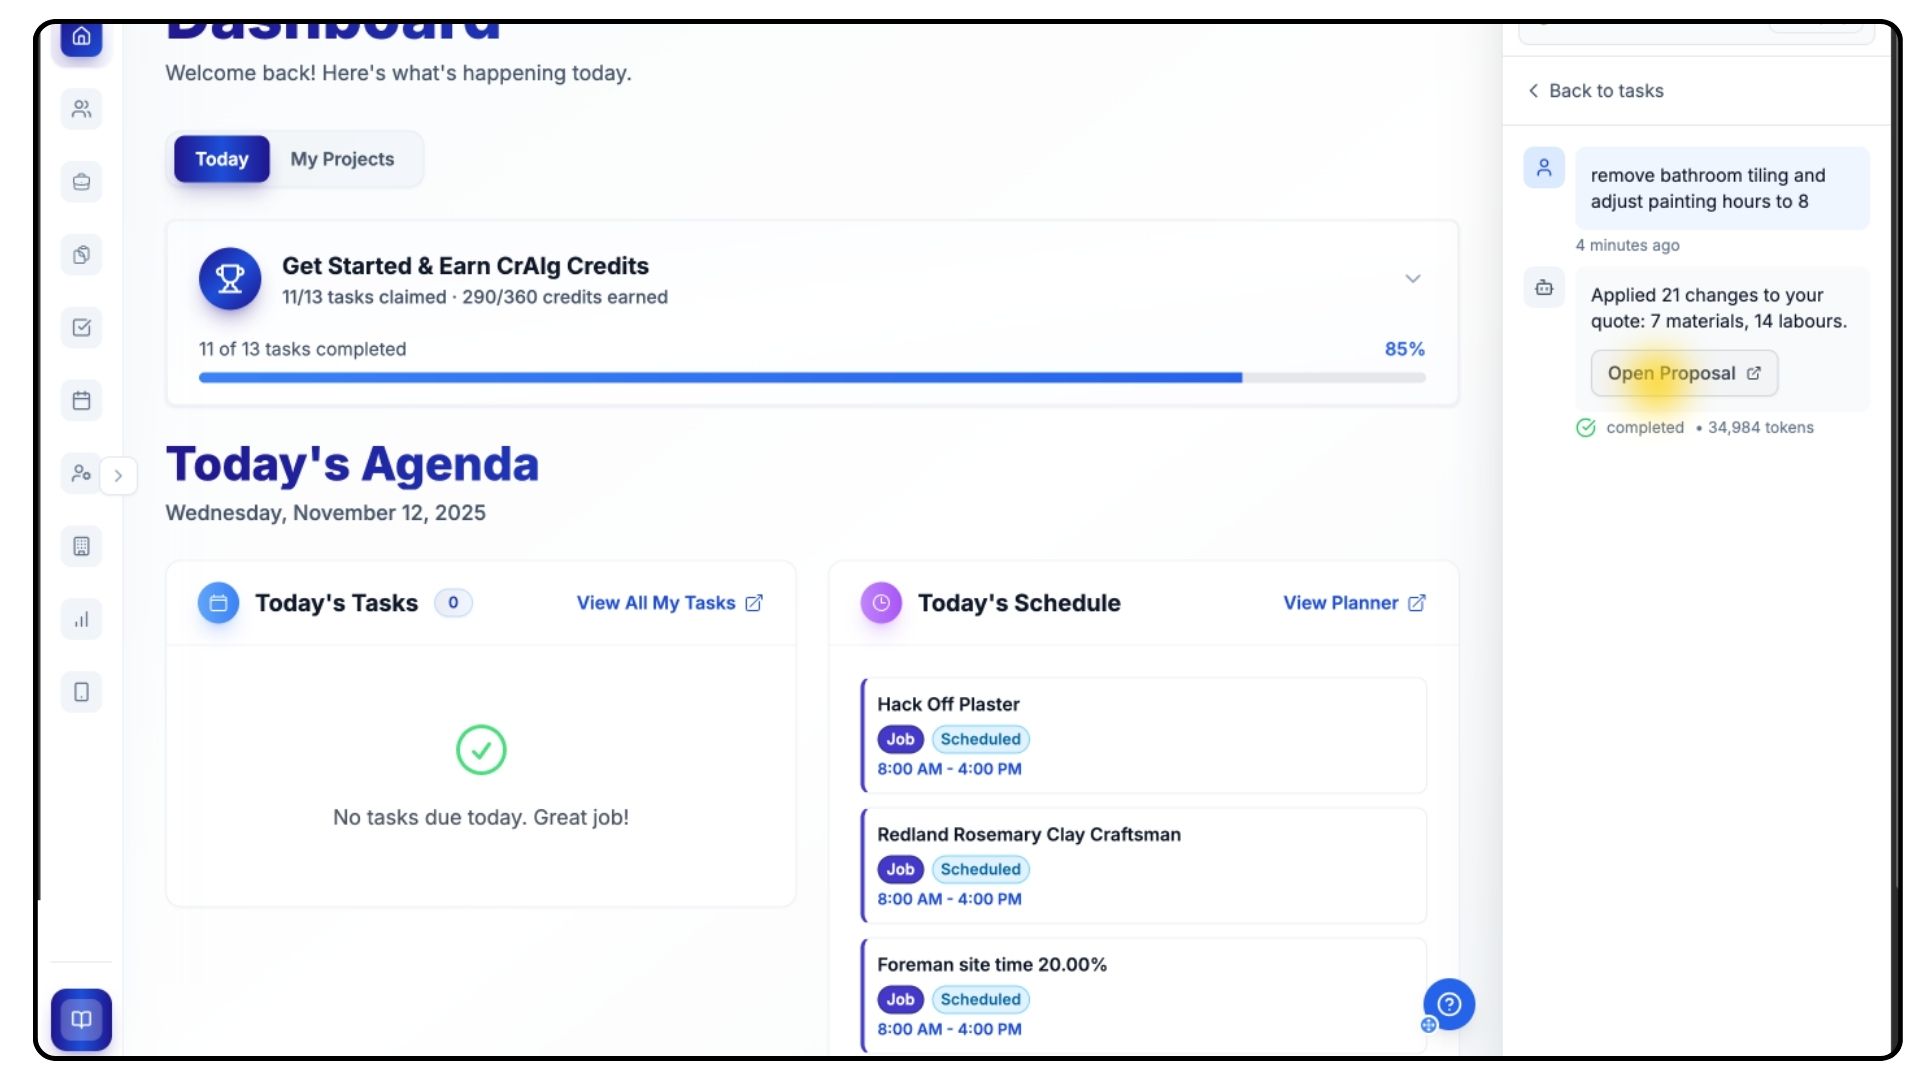
Once complete, click Open Proposal.
Review the updates and make the necessary changes, then click Save Proposal, followed by Accept and Create Quote to finalise the edits.
Your changes will now be saved to the system.
Importing a Quote

Click New AI Task, select Quote Tasks, then choose Import Quote.
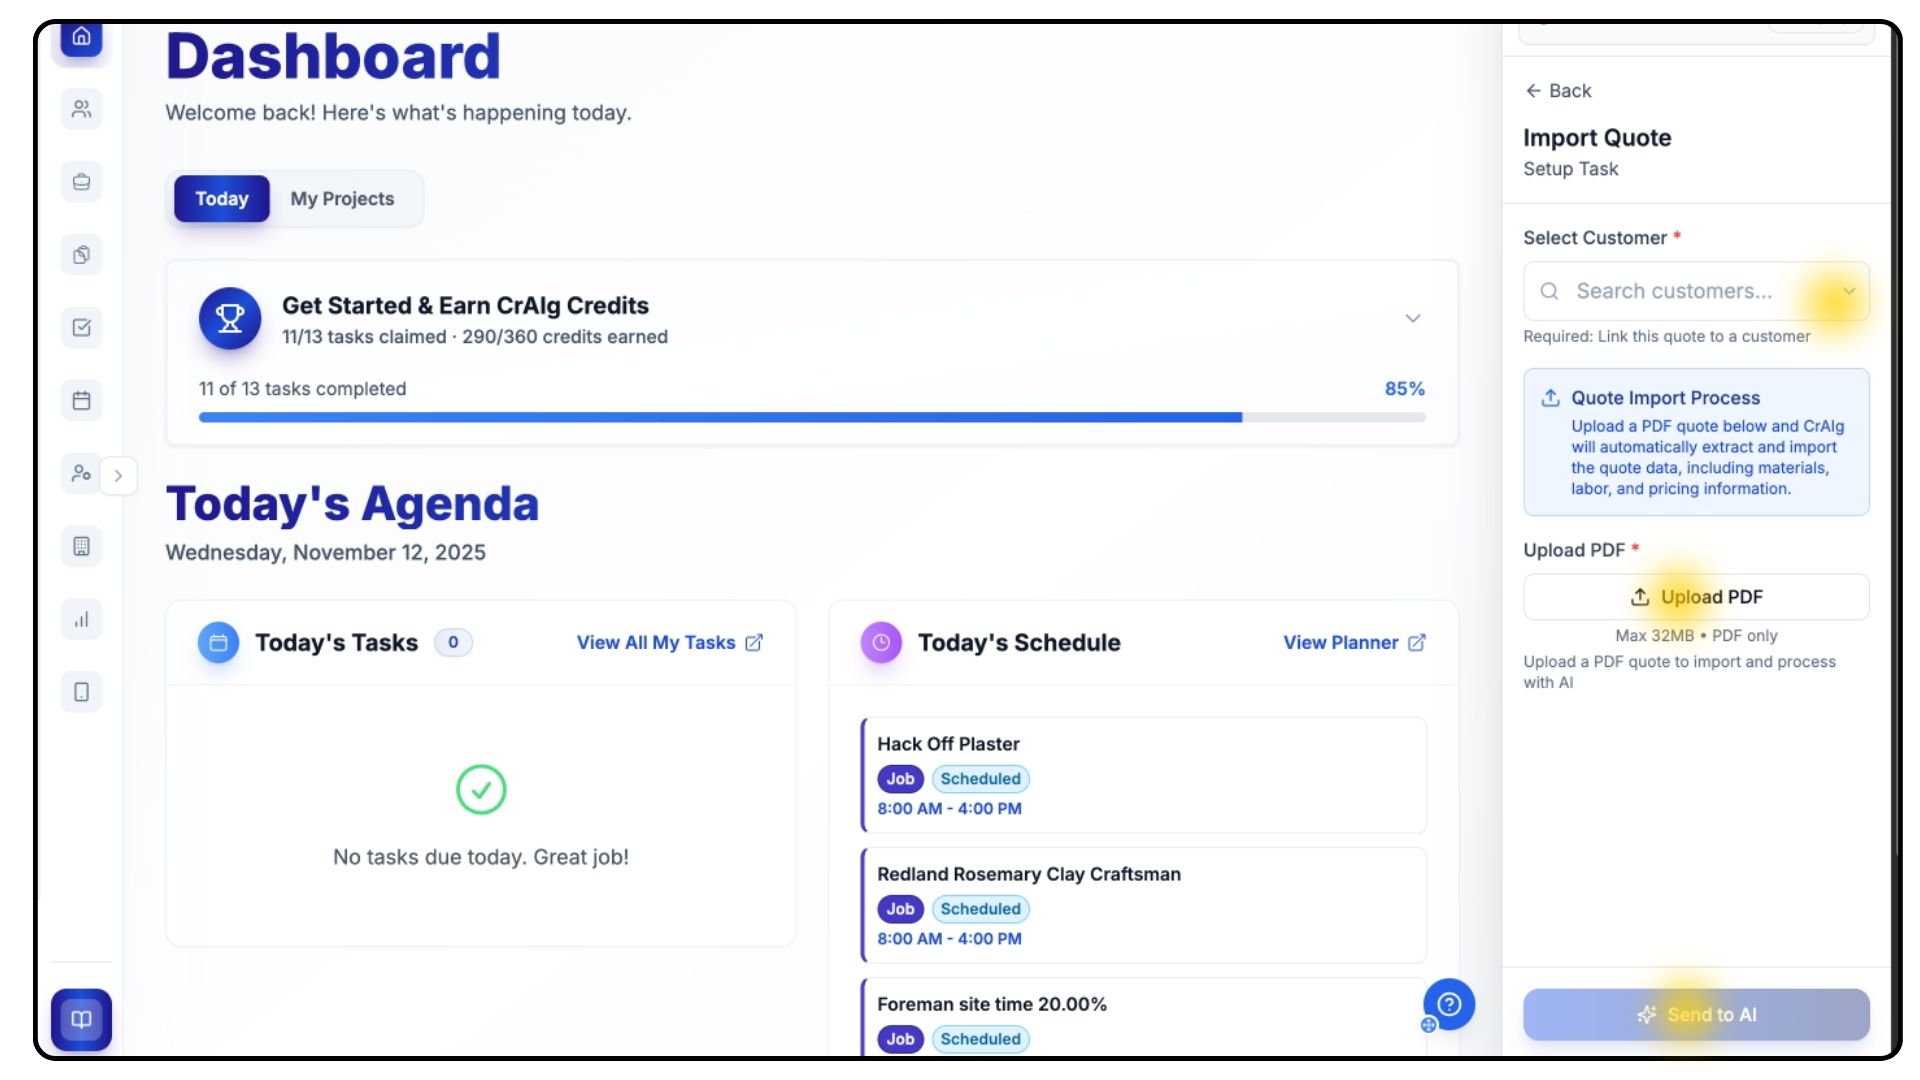
Select the customer, upload your PDF, and click Send to AI.
After processing, click Open Proposal to review the imported data.
Check that all line items, quantities, and prices are correct, then click Save, followed by Accept and Create Quote.
Your imported quote will now appear in the system.
Processing Purchase Invoices
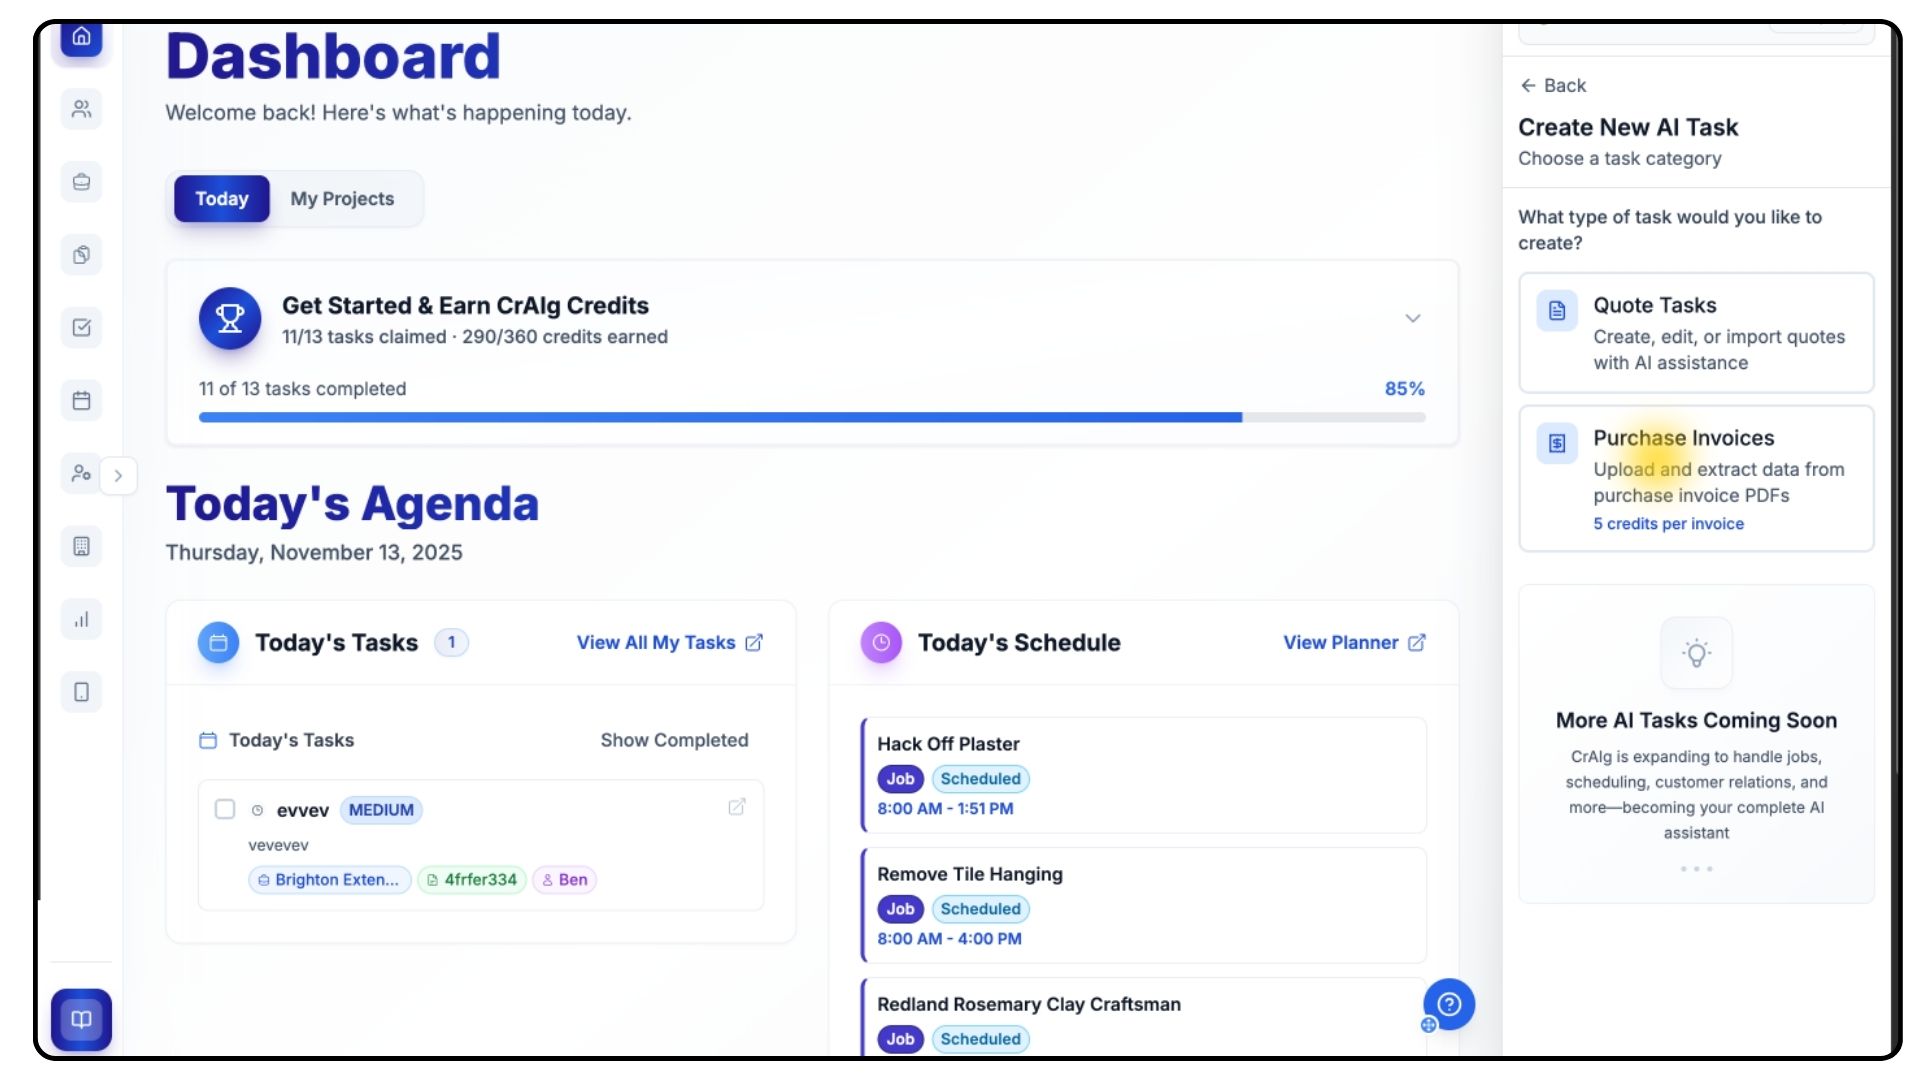
Head to the Purchase Invoice tab within CrAIg.
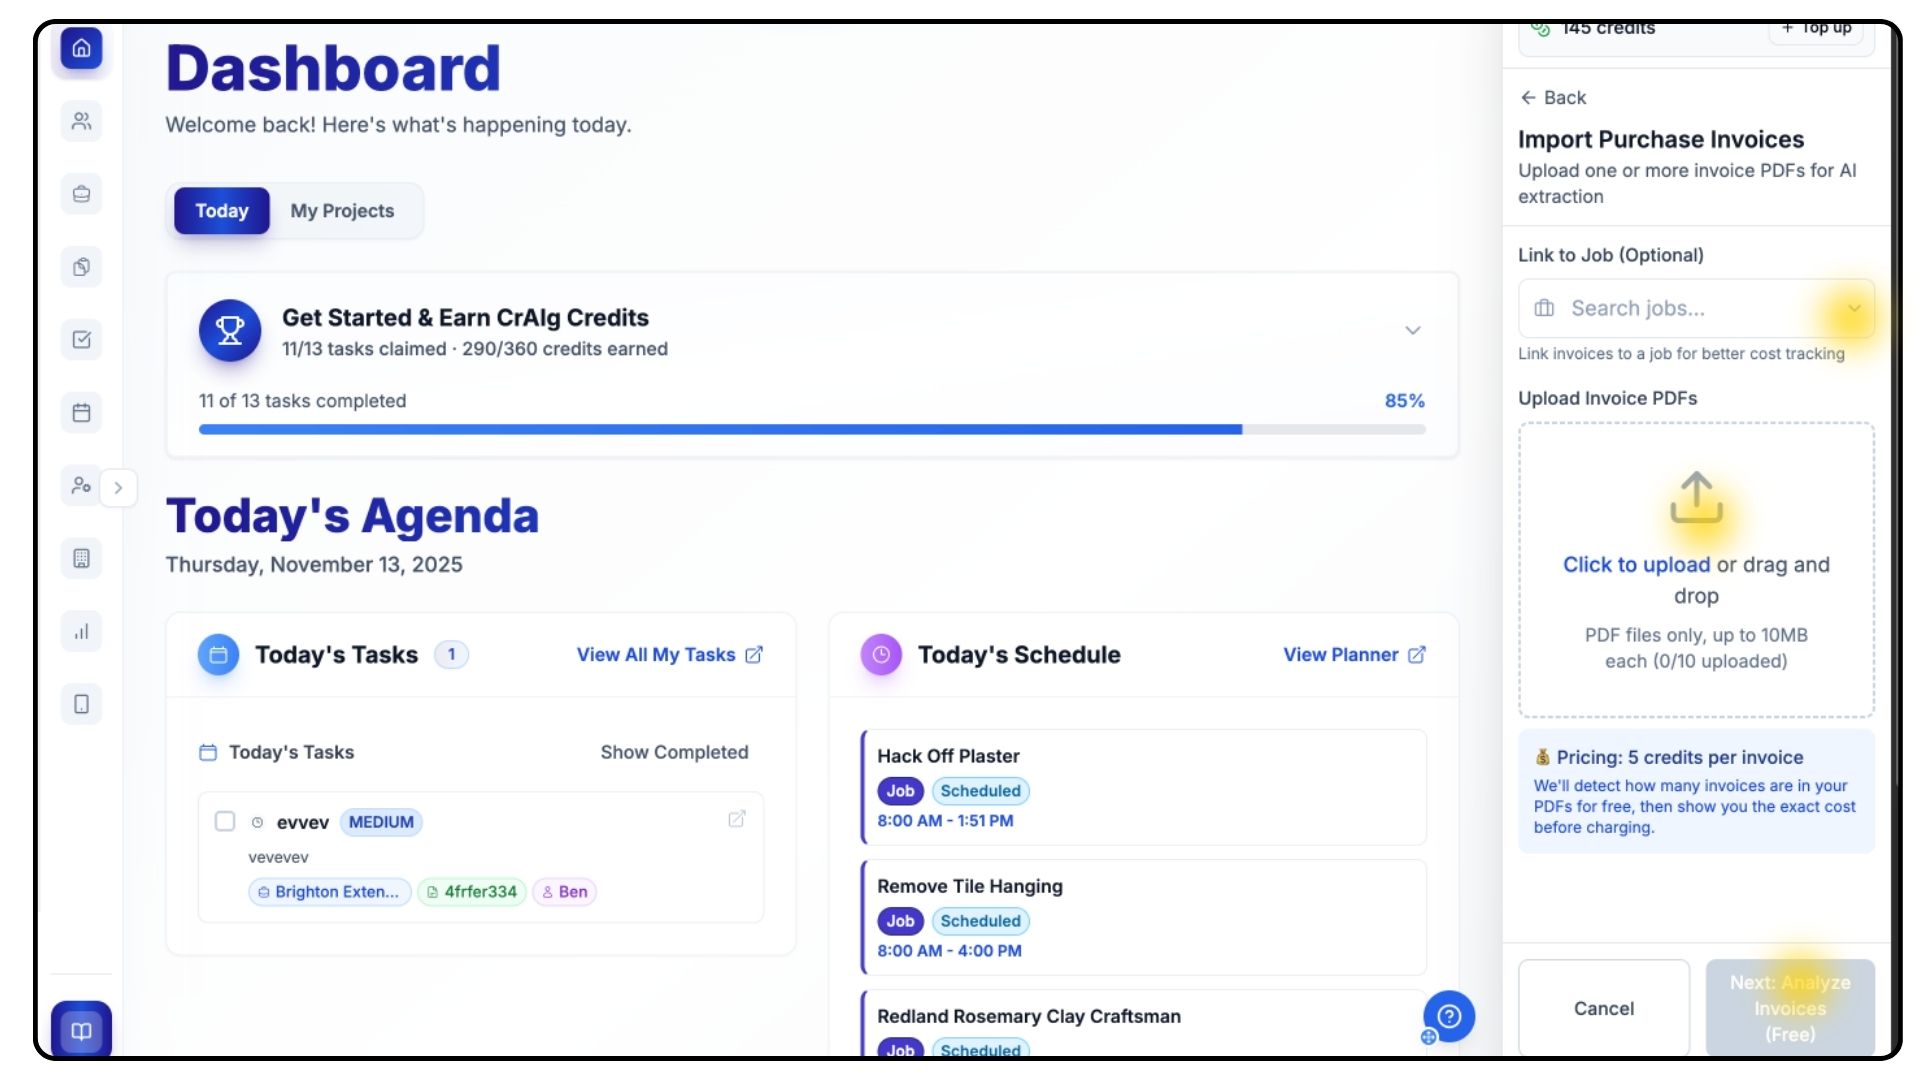
Link the invoice to a job using the dropdown, then click Upload PDF to add your file or files.
Once it’s uploaded, click Analyse.
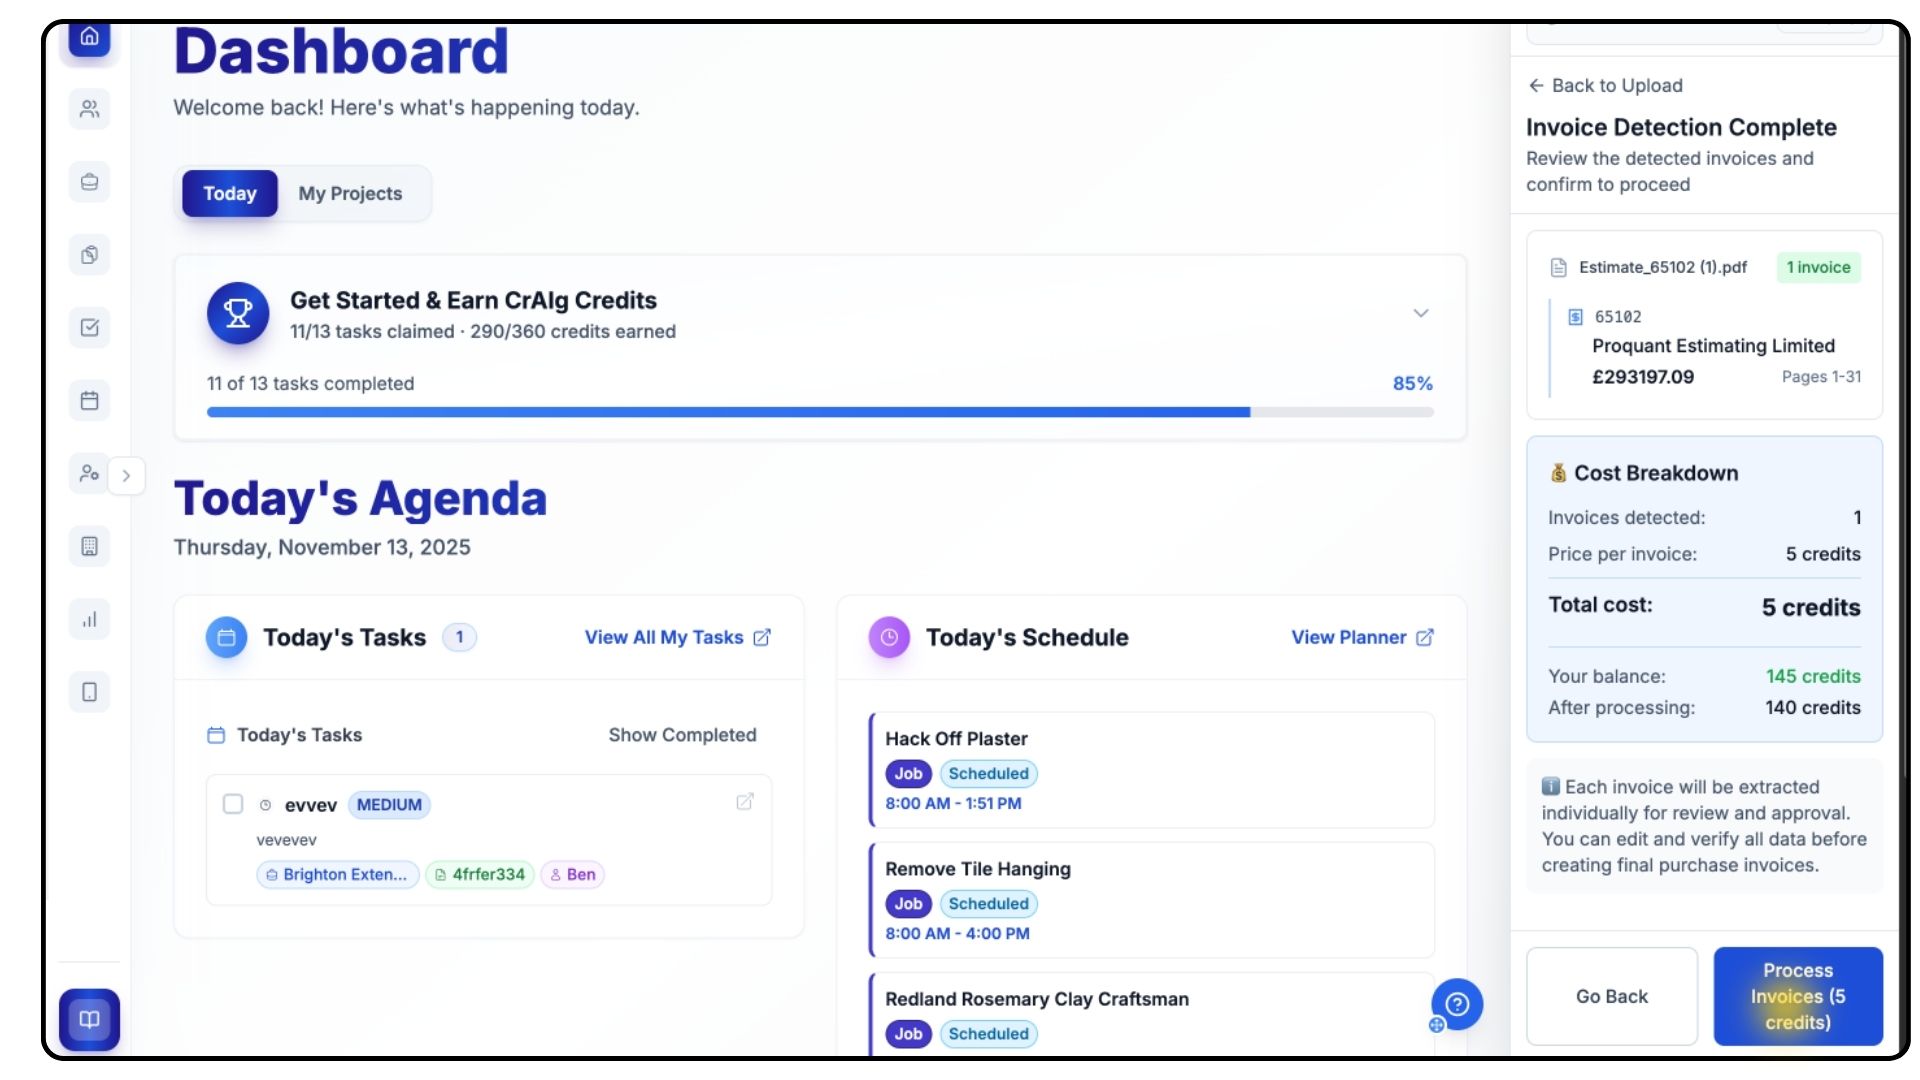
Before your invoice is uploaded, you’ll see a cost breakdown showing how many AI credits will be used for this upload.
Review the breakdown carefully, and if you’re happy to continue, click Process Invoices.
Once processing is complete, your invoice will open automatically.
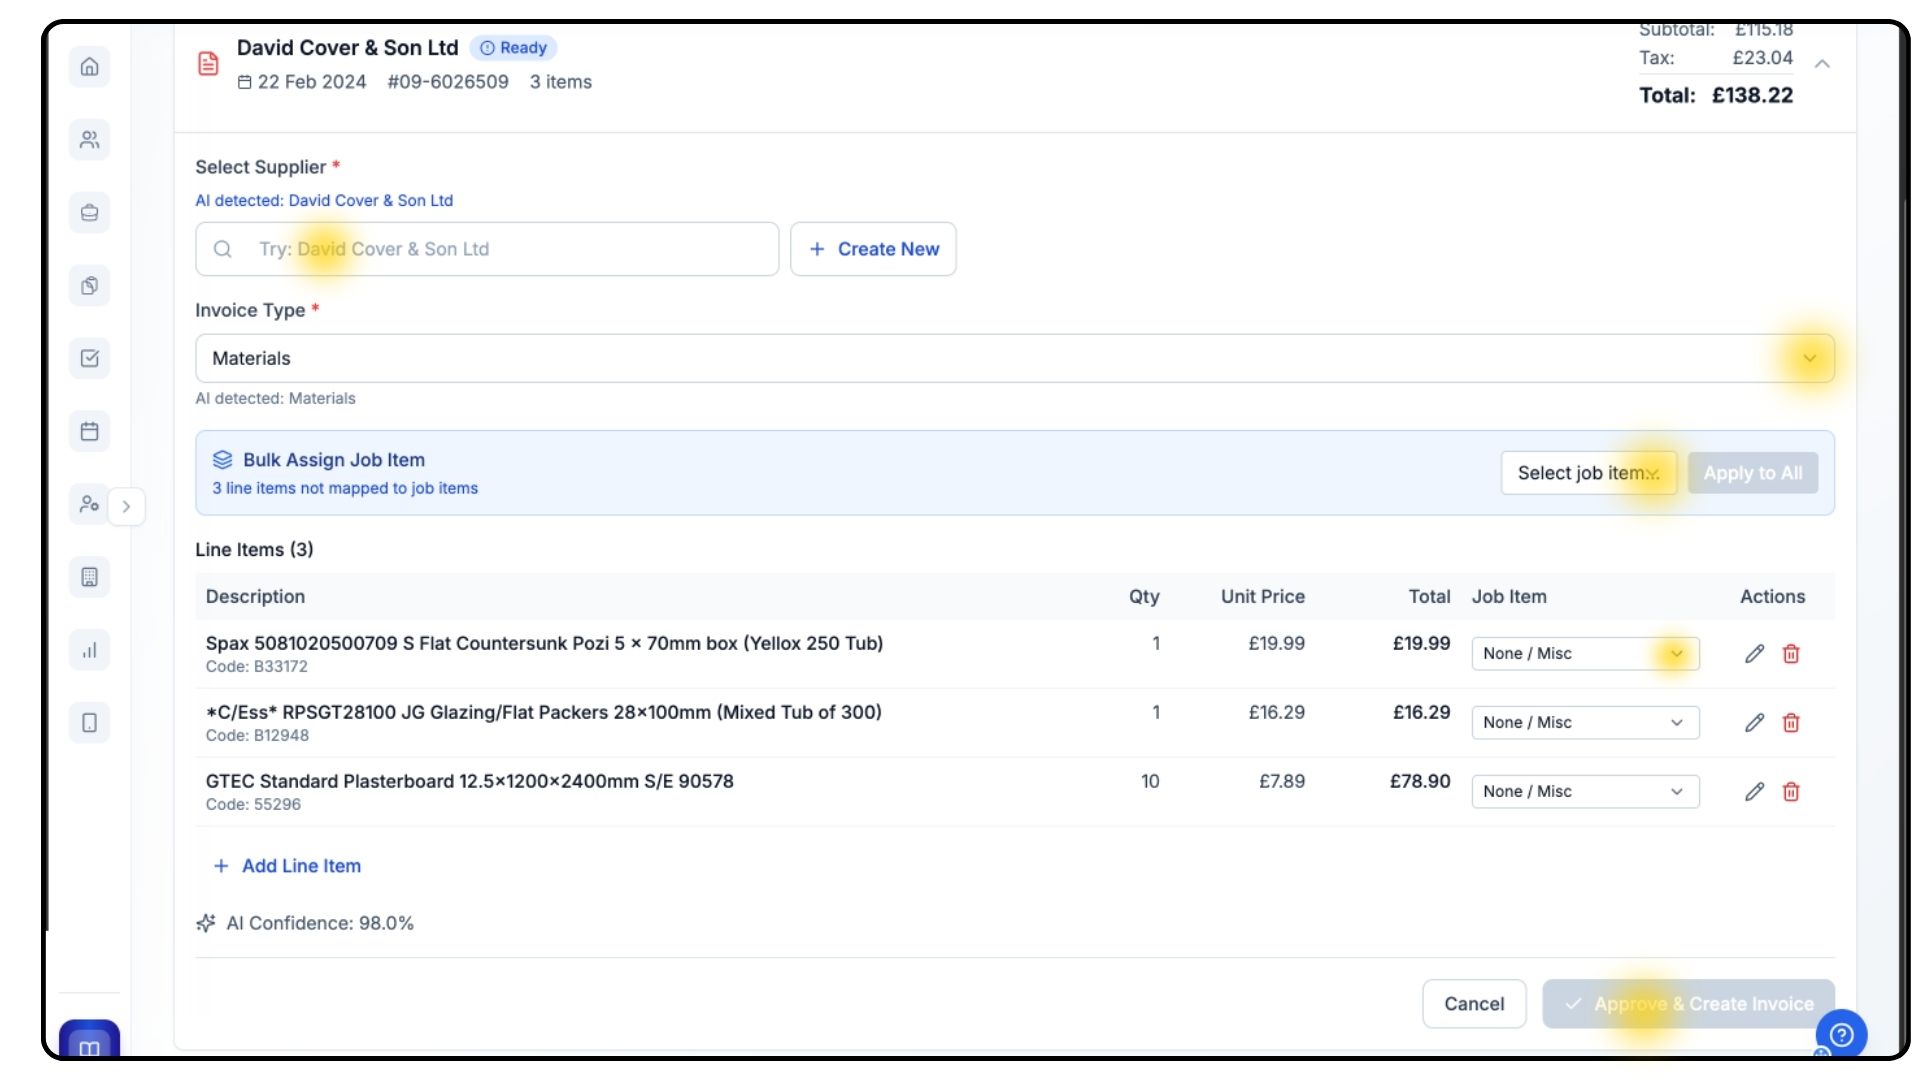
The total amount appears at the top.
Select the supplier the invoice relates to from the dropdown, or create a new one if required.
Confirm the invoice type — CrAIg will categorise it automatically, but double-check everything for accuracy.
Review each line item carefully to ensure the correct products, quantities, and unit prices have been extracted.
If anything’s missing, you can add extra line items using the Add Line Item button.
Next, assign the invoice items to a Job Item so the costs are reflected in your project’s financial data.
You can do this line by line using the dropdown and selecting the relevant job item, or assign them all at once using the Bulk Assign Job Item option in the blue bar.
Once everything is correct, click Approve and Create Invoice at the bottom.
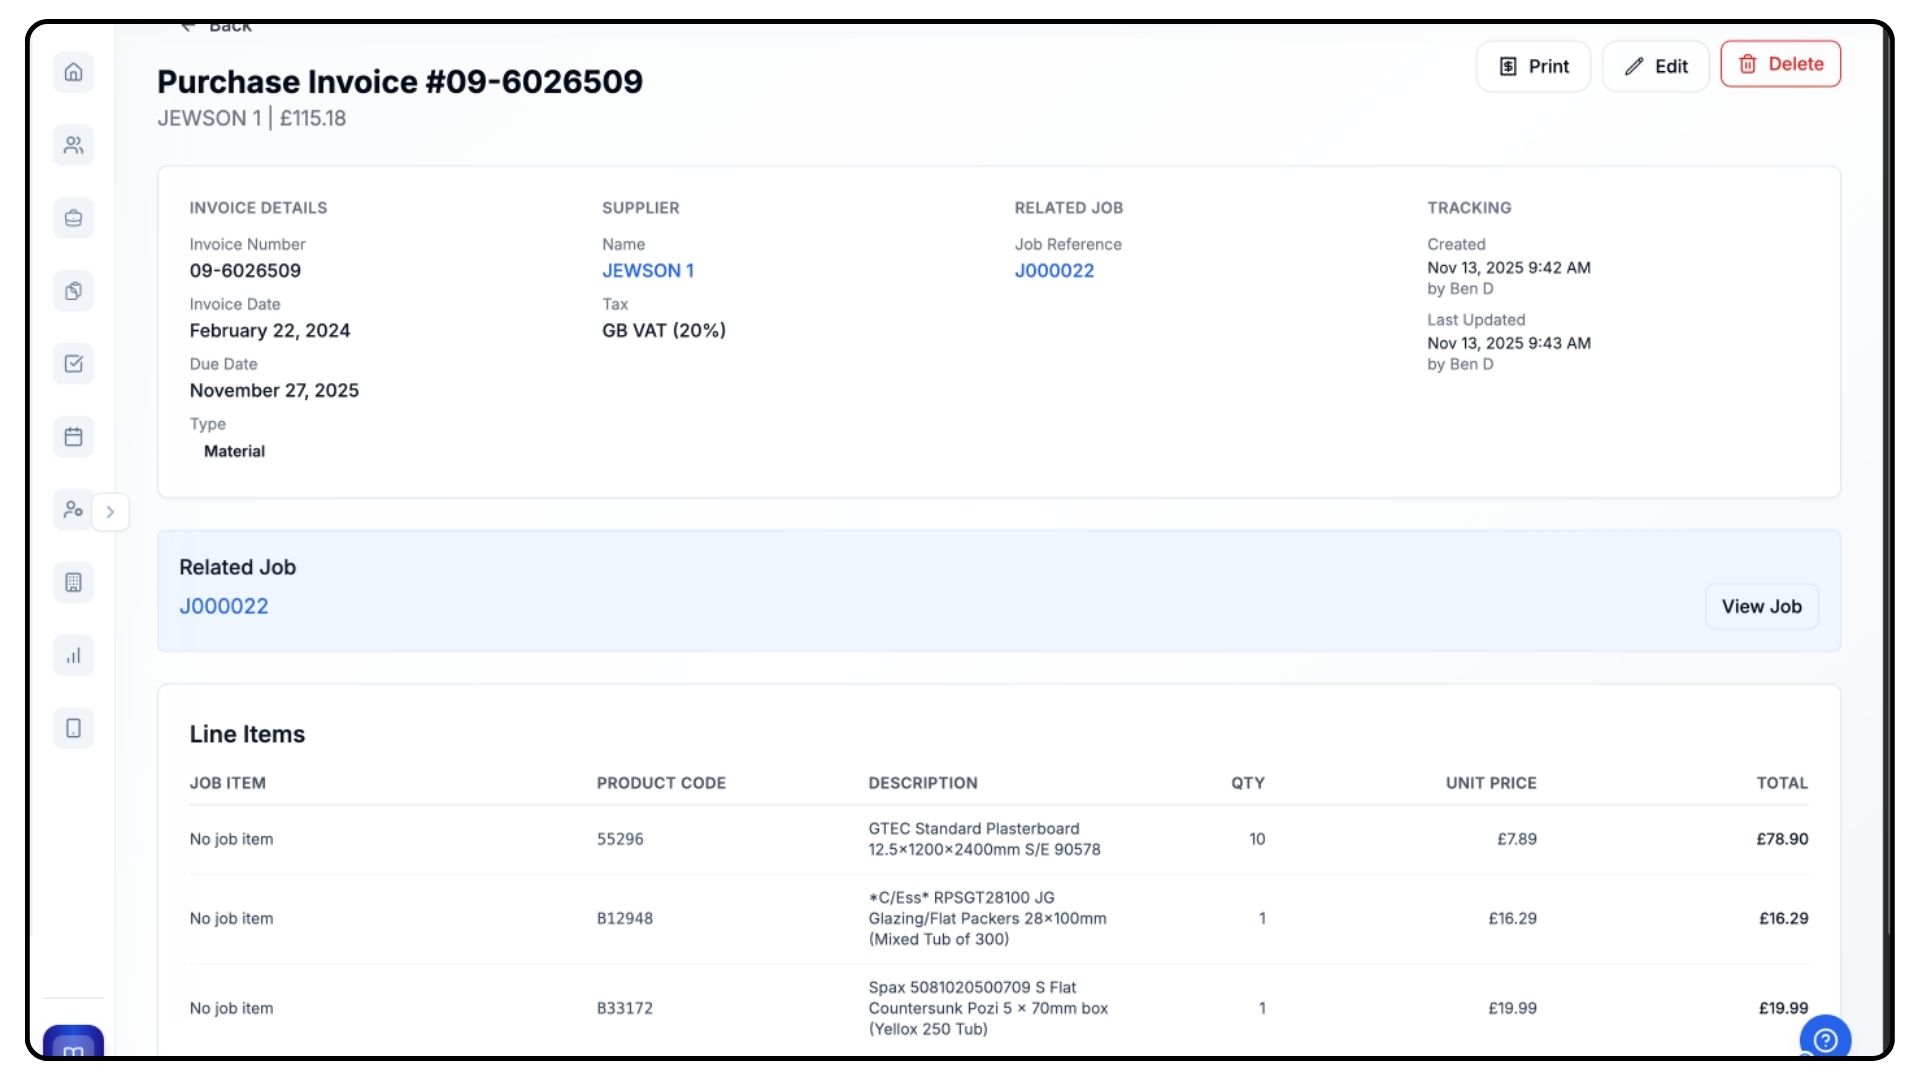
Your invoice is now created.
Click View Invoice to open it, and it will also appear automatically in the Outgoings tab within your project’s Finance section.
If you’d like to learn more about managing outgoings, we have a dedicated walkthrough video available in the Guides section.
Common Questions
Q: How many credits does each CrAIg task use?
Each task (quote creation, edit, or invoice upload) displays the credit cost before starting, so you’ll always know before proceeding.
Q: Can I upload multiple invoices at once?
Yes. You can upload multiple PDFs in one go, and CrAIg will process each sequentially.
Q: Does CrAIg overwrite existing quotes?
No. CrAIg always saves new or edited quotes as separate entries unless manually overwritten.
Q: What happens if I run out of credits mid-task?
The process will pause, and you’ll be prompted to top up your credits before continuing.
Q: Can I use CrAIg without presets?
Yes, but quotes will be less accurate. Setting up presets improves speed and pricing consistency.